React NativeでTypeScriptを使うメモ
React NativeでTypeScriptを使おうと思っていろいろ調べたのですが、
結構つまずいたので備忘録的に残しておこうと思います。
プロジェクトの作成
1. yarn のインストール
yarnを使用したいので、yarnを先に入れておきます。
-
npmでグローバルインストール
% npm install -g yarn
-
Homebrewでインストール
% brew install yarn
2. react-native-cli のインストール
% yarn global add react-native-cli
3. プロジェクトの作成
% react-native init [project-name]
4. 依存関係の追加
typescript@types/react@types/react-native@types/jest
を追加します
$ yarn add typescript @types/react @types/react-native @types/jest --dev
5. tsconfig.json の作成
tsc --initで自動生成されるものを一部変更しました。
tsconfig.json
{
  "compilerOptions": {
    "target": "es5",
    "module": "commonjs",
    "lib": ["es5","es6","dom"],
    "allowJs": true,
    "jsx": "react-native",
    "sourceMap": true,
    "outDir": "./build",
    "rootDir": "./src",
    "removeComments": false,
    "strict": true,
    "noImplicitAny": true,
    "strictNullChecks": true,
    "noImplicitThis": true,
    "alwaysStrict": true,
    "moduleResolution": "node",
    "types": ["react", "react-native"],
    "allowSyntheticDefaultImports": true
  },
  "include": [
    "src/**/*"
  ],
  "exclude": [
    "src/__tests__",
    "index.js",
    "build",
    "node_modules"
  ]
}
6. TypeScript用にファイルを編集
- App.jsは使用しないので、削除してしまい、代わりに
src/index.tsxを作成します
% rm App.js
% touch src/index.tsx
index.js
import { AppRegistry } from 'react-native';
// import App from './App';
import App from './build';

AppRegistry.registerComponent('[project-name]', () => App);
src/index.tsx
import * as React from 'react';
import { StyleSheet, Text, View } from "react-native";

interface Props {

}

interface State {

}

const styles: any = StyleSheet.create({
    container: {
      flex: 1,
      justifyContent: 'center',
      alignItems: 'center',
      backgroundColor: '#F5FCFF',
    },
    welcome: {
      fontSize: 20,
      textAlign: 'center',
      margin: 10,
    },
    instructions: {
      textAlign: 'center',
      color: '#333333',
      marginBottom: 5,
    },
});

export default class App extends React.Component<Props, State> {
    render() {
        return (
            <View style={styles.container}>
                <Text style={styles.welcome}>
                    Welcome to React Native
                </Text>
                <Text style={styles.instructions}>
                    To get started, edit index.tsx
                </Text>
                <Text style={styles.instructions}>
                    Press Cmd+R to reload, {"\n"}
                    Cmd+D or shake for dev menu
                </Text>
            </View>
        );
    }
}
ここまでで、とりあえず動くようになるはずです。
プロジェクトの実行
ここからは、実行の仕方について記載します。
1. Scriptの追加
先に、package.jsonにスクリプトをいくつか追加しておきます
package.json
・・・
  "scripts": {
    "start": "node node_modules/react-native/local-cli/cli.js start",
    "android": "node node_modules/react-native/local-cli/cli.js run-android",
    "ios": "node node_modules/react-native/local-cli/cli.js run-ios",
    "prebuild": "rm -rf build",
    "build": "tsc",
    "test": "jest"
  },
・・・
2. 依存関係の追加
% yarn
3. React Native サーバの立ち上げ
% yarn start
4. Typescriptのビルド
% yarn run build
5. アプリの実行
iOS
% yarn run ios
Android
% yarn run android
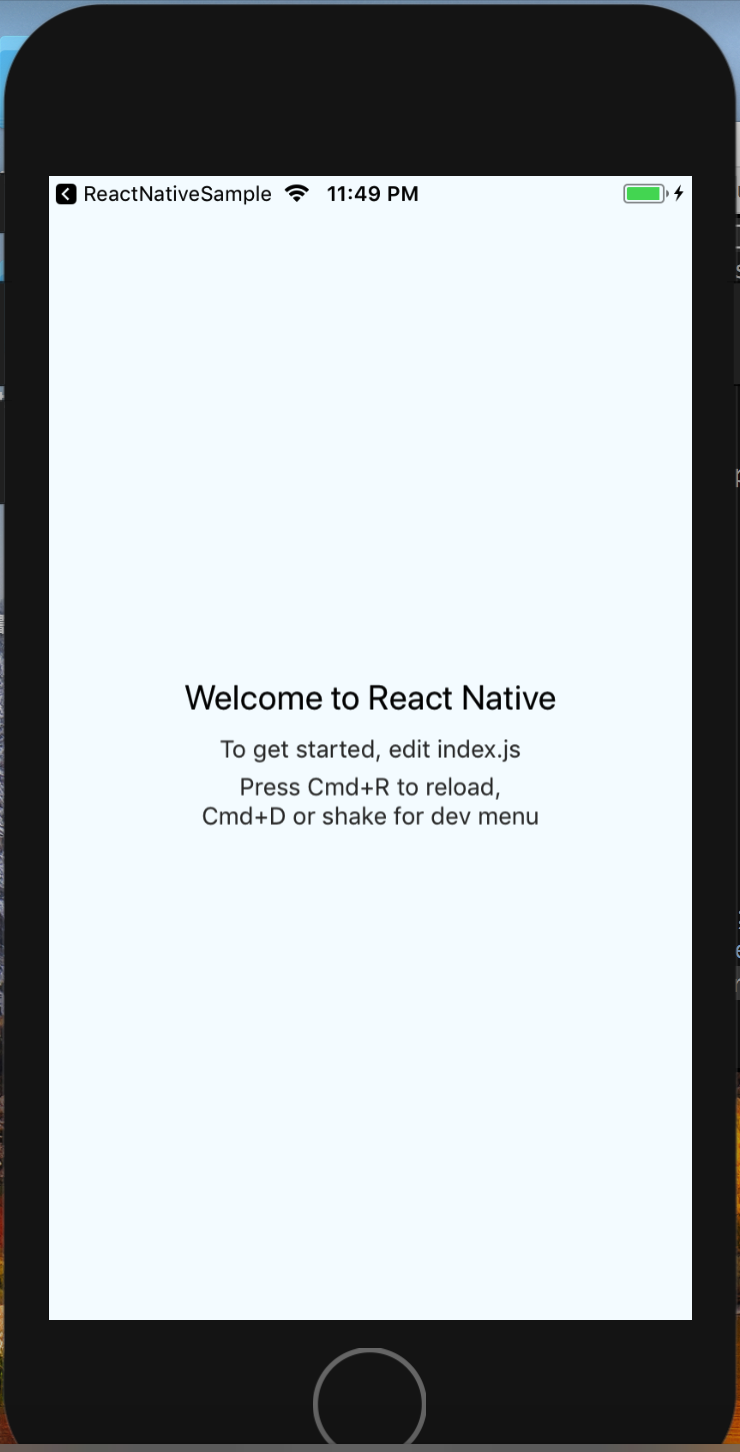
シミュレータが起動して、このような画面になれば、正常に実行できています。