SSLの証明書を無料で登録するものです。開発サーバレベルで使うのが良いと思います。
startsslだとWEBからごにょごにょしないといけなくてめんどくさいので、Let's Encryptをお試ししてみました。
https://letsencrypt.org/
なんのこたぁない。証明書をスクリプトで取ってくれるものだよん。ワイルドカードがないのが玉に瑕。(ワイルドカードはそのうちやりたいってどっかのコメントに書いてありました)
参考: https://letsencrypt.jp/usage/
今回はHTTPSの証明書を作りましたよ。
大まかに手順
- リポジトリをgit clone
- 中にあるcertbot-autoのシェルを使う。
気をつけること。
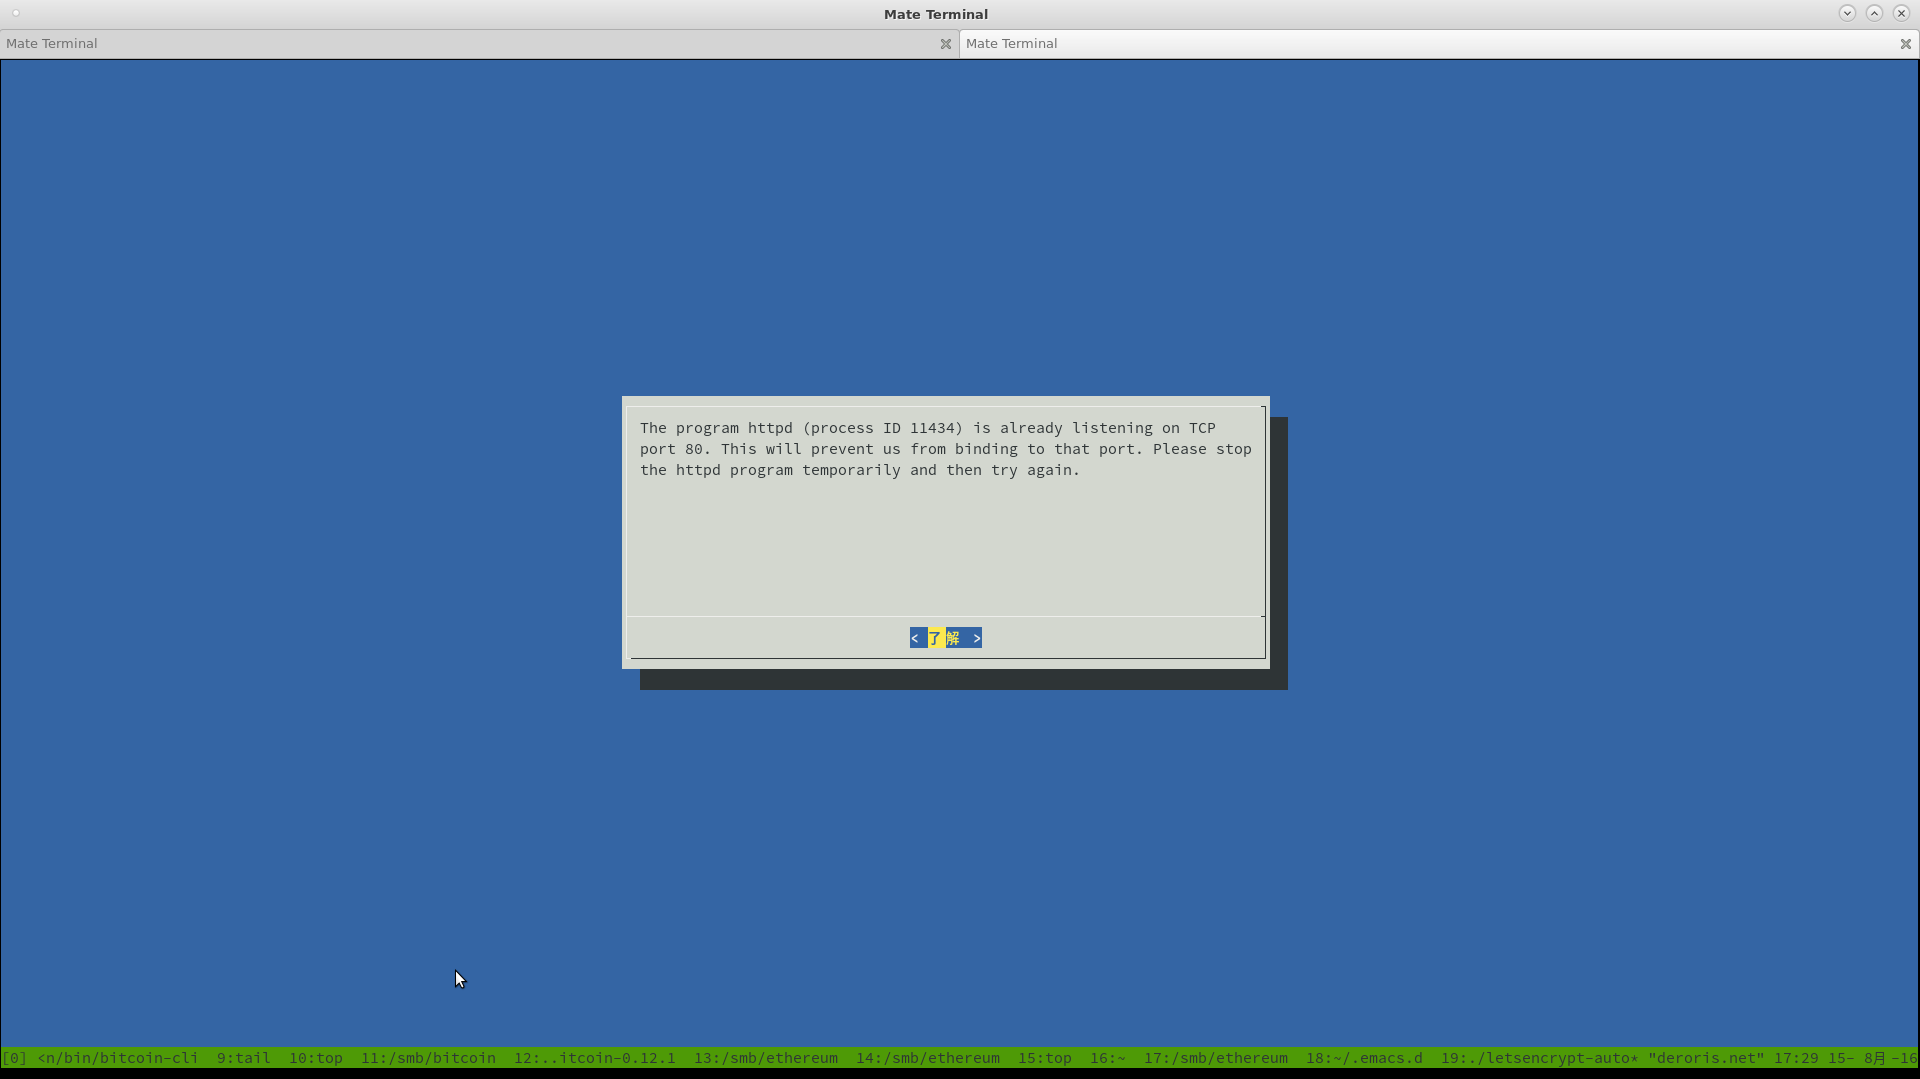
- 認証に80と443番ポートを使うので、httpdが動いていたら設定時に一瞬止めないといけない。(ポート番号を変えられるのかは知らないよ。)
- ルータを使っている場合にはポートを空けておくこと。(IPマスカレードしておけよ。)
やり方
git clone
適当なディレクトリにcloneする。
# git clone https://github.com/certbot/certbot
証明書作成
ディレクリ入って以下コマンド
# ./letsencrypt-auto certonly --standalone
-d で複数ドメインを指定できたりする。
ドメインがたくさんある場合には便利。
# ./letsencrypt-auto certonly --standalone -d deroris.net -d oauth.deroris.net -d oauth2.deroris.net -d oauth3.deroris.net
とかね。
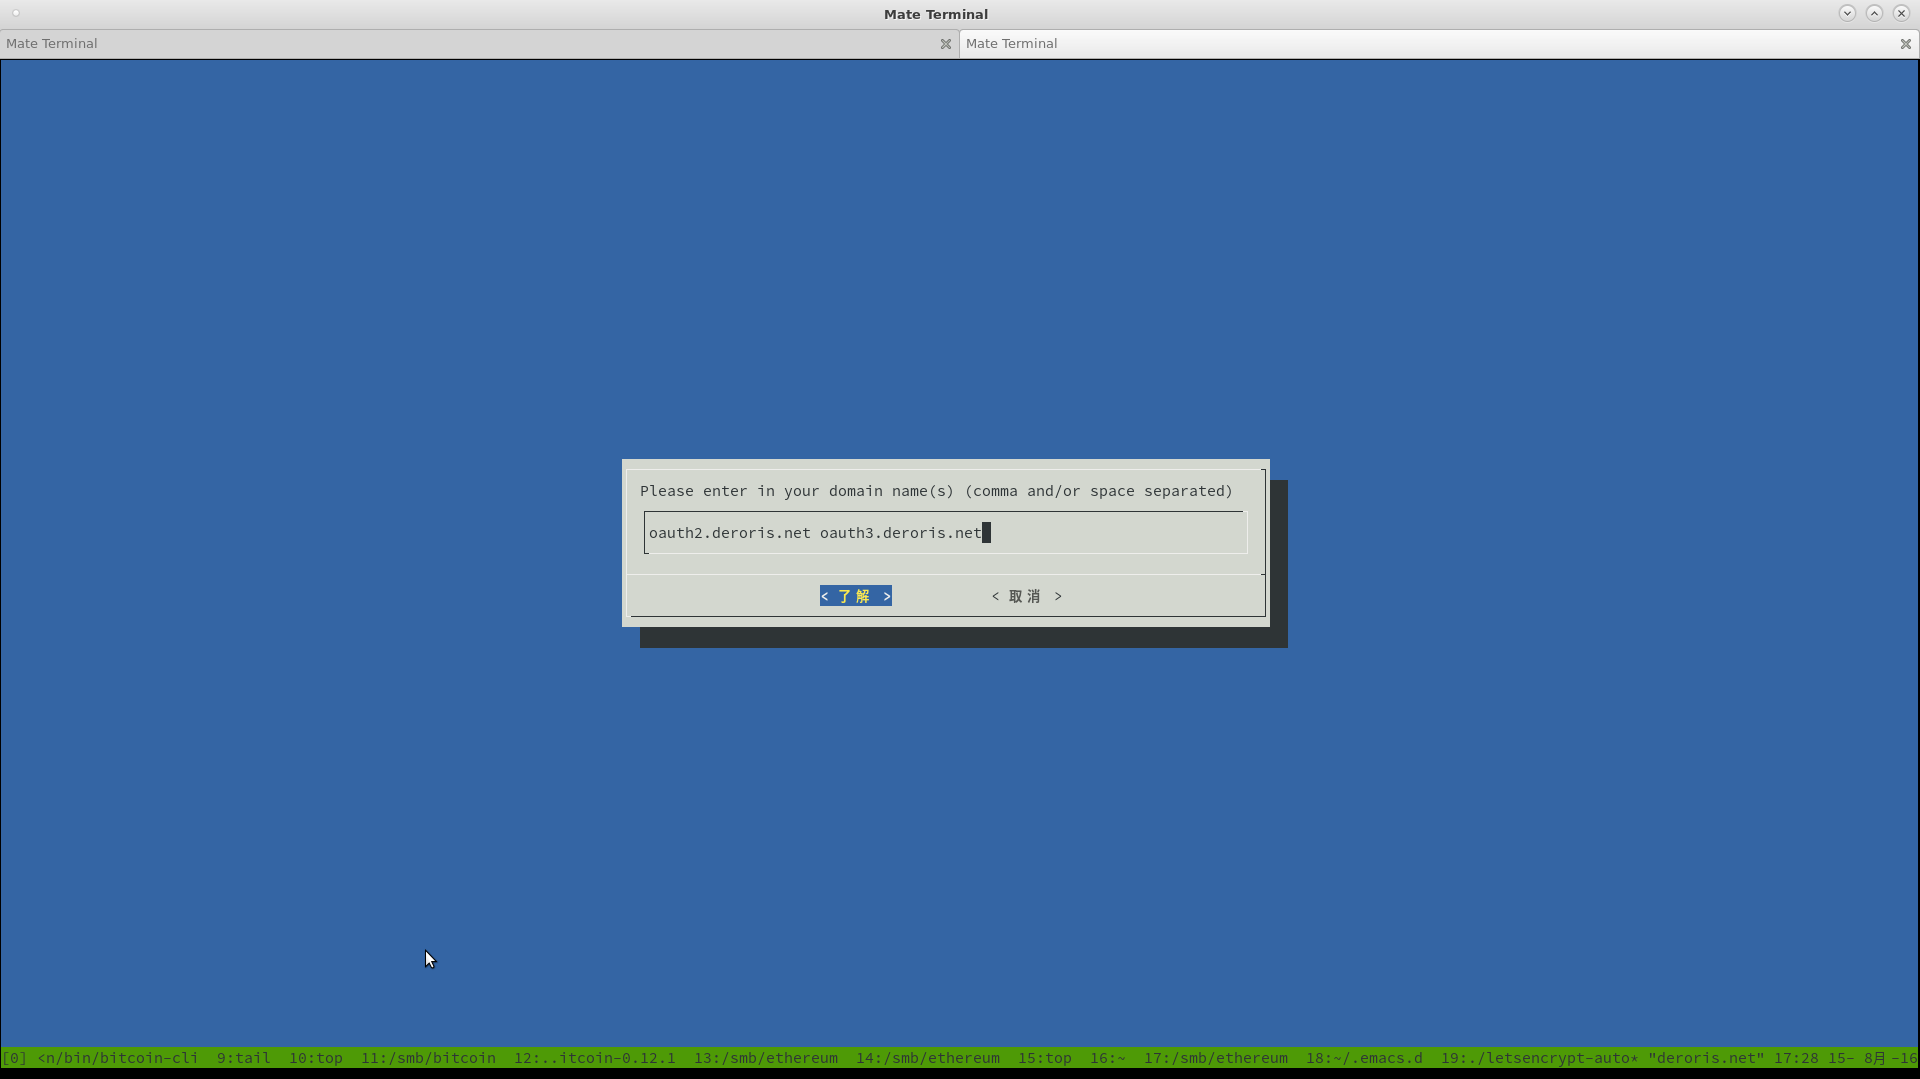
ドメイン名を入力
初回だと先にメールアドレスの入力を聞かれると思います。
ワイルドカードは無理です。スペース区切りで複数はおkです。
apacheを落としておかないとこうなります。
作成完了
apacheあげちゃっておkです。
IMPORTANT NOTES:
 - Congratulations! Your certificate and chain have been saved at
   /etc/letsencrypt/live/oauth2.deroris.net/fullchain.pem. Your cert
   will expire on 2016-11-13. To obtain a new or tweaked version of
   this certificate in the future, simply run letsencrypt-auto again.
   To non-interactively renew *all* of your certificates, run
   "letsencrypt-auto renew"
 - If you like Certbot, please consider supporting our work by:

   Donating to ISRG / Let's Encrypt:   https://letsencrypt.org/donate
   Donating to EFF:                    https://eff.org/donate-le
こんな感じで出てくる。
╭─root@deroris  ~
╰─$ ll /etc/letsencrypt/live/oauth2.deroris.net
合計 0
lrwxrwxrwx 1 root root 42  8月 15 17:29 cert.pem -> ../../archive/oauth2.deroris.net/cert1.pem
lrwxrwxrwx 1 root root 43  8月 15 17:29 chain.pem -> ../../archive/oauth2.deroris.net/chain1.pem
lrwxrwxrwx 1 root root 47  8月 15 17:29 fullchain.pem -> ../../archive/oauth2.deroris.net/fullchain1.pem
lrwxrwxrwx 1 root root 45  8月 15 17:29 privkey.pem -> ../../archive/oauth2.deroris.net/privkey1.pem
apacheに設定
これ2.4系でcompatです。2.2系はちょっと違うかも。
nginxはわかんにゃい。ぐぐってくれぃ。
virtualhostに書く。今回はoauth2.deroris.netとoauth3.deroris.netを作ったので、こんな感じ。
# oauth2.deroris.net
<VirtualHost *:443>
    ServerName oauth2.deroris.net
    SSLEngine on
    SSLProtocol all -SSLv2 -SSLv3
    SSLCipherSuite ALL:!ADH:!EXPORT:!SSLv2:RC4+RSA:+HIGH:+MEDIUM

    SSLCertificateFile /etc/letsencrypt/live/oauth2.deroris.net/fullchain.pem
    SSLCertificateKeyFile /etc/letsencrypt/live/oauth2.deroris.net/privkey.pem

    DocumentRoot /home/httpd/oauth2.deroris.net/project/web
    <Directory "/home/httpd/oauth2.deroris.net/project/">
        Options ExecCGI FollowSymLinks
        Order allow,deny
        Allow from all
        AllowOverride All
        <FilesMatch \.php$>
            SetHandler "proxy:fcgi://127.0.0.1:19001/"
        </FilesMatch>
    </Directory>
    AddType application/x-httpd-php .php
</VirtualHost>

# oauth3.deroris.net
<VirtualHost *:443>
    ServerName oauth3.deroris.net
    SSLEngine on
    SSLProtocol all -SSLv2 -SSLv3
    SSLCipherSuite ALL:!ADH:!EXPORT:!SSLv2:RC4+RSA:+HIGH:+MEDIUM

    SSLCertificateFile /etc/letsencrypt/live/oauth2.deroris.net/fullchain.pem
    SSLCertificateKeyFile /etc/letsencrypt/live/oauth2.deroris.net/privkey.pem

    DocumentRoot /home/httpd/oauth3.deroris.net/project/web
    <Directory "/home/httpd/oauth3.deroris.net/project/">
        Options ExecCGI FollowSymLinks
        Order allow,deny
        Allow from all
        AllowOverride All
        <FilesMatch \.php$>
            SetHandler "proxy:fcgi://127.0.0.1:19001/"
        </FilesMatch>
    </Directory>
    AddType application/x-httpd-php .php
</VirtualHost>
証明書の場所
/etc/letsencrypt/ に保存されます。
サーバ証明書(公開鍵)
/etc/letsencrypt/live/ドメイン名/cert.pem
中間証明書
/etc/letsencrypt/live/ドメイン名/chain.pem
サーバ証明書と中間証明書が結合されたファイル
/etc/letsencrypt/live/ドメイン名/fullchain.pem
秘密鍵
/etc/letsencrypt/live/ドメイン名/privkey.pem
を使うのがよろし。
動作確認
ブラウザから開いてみるとよろし。
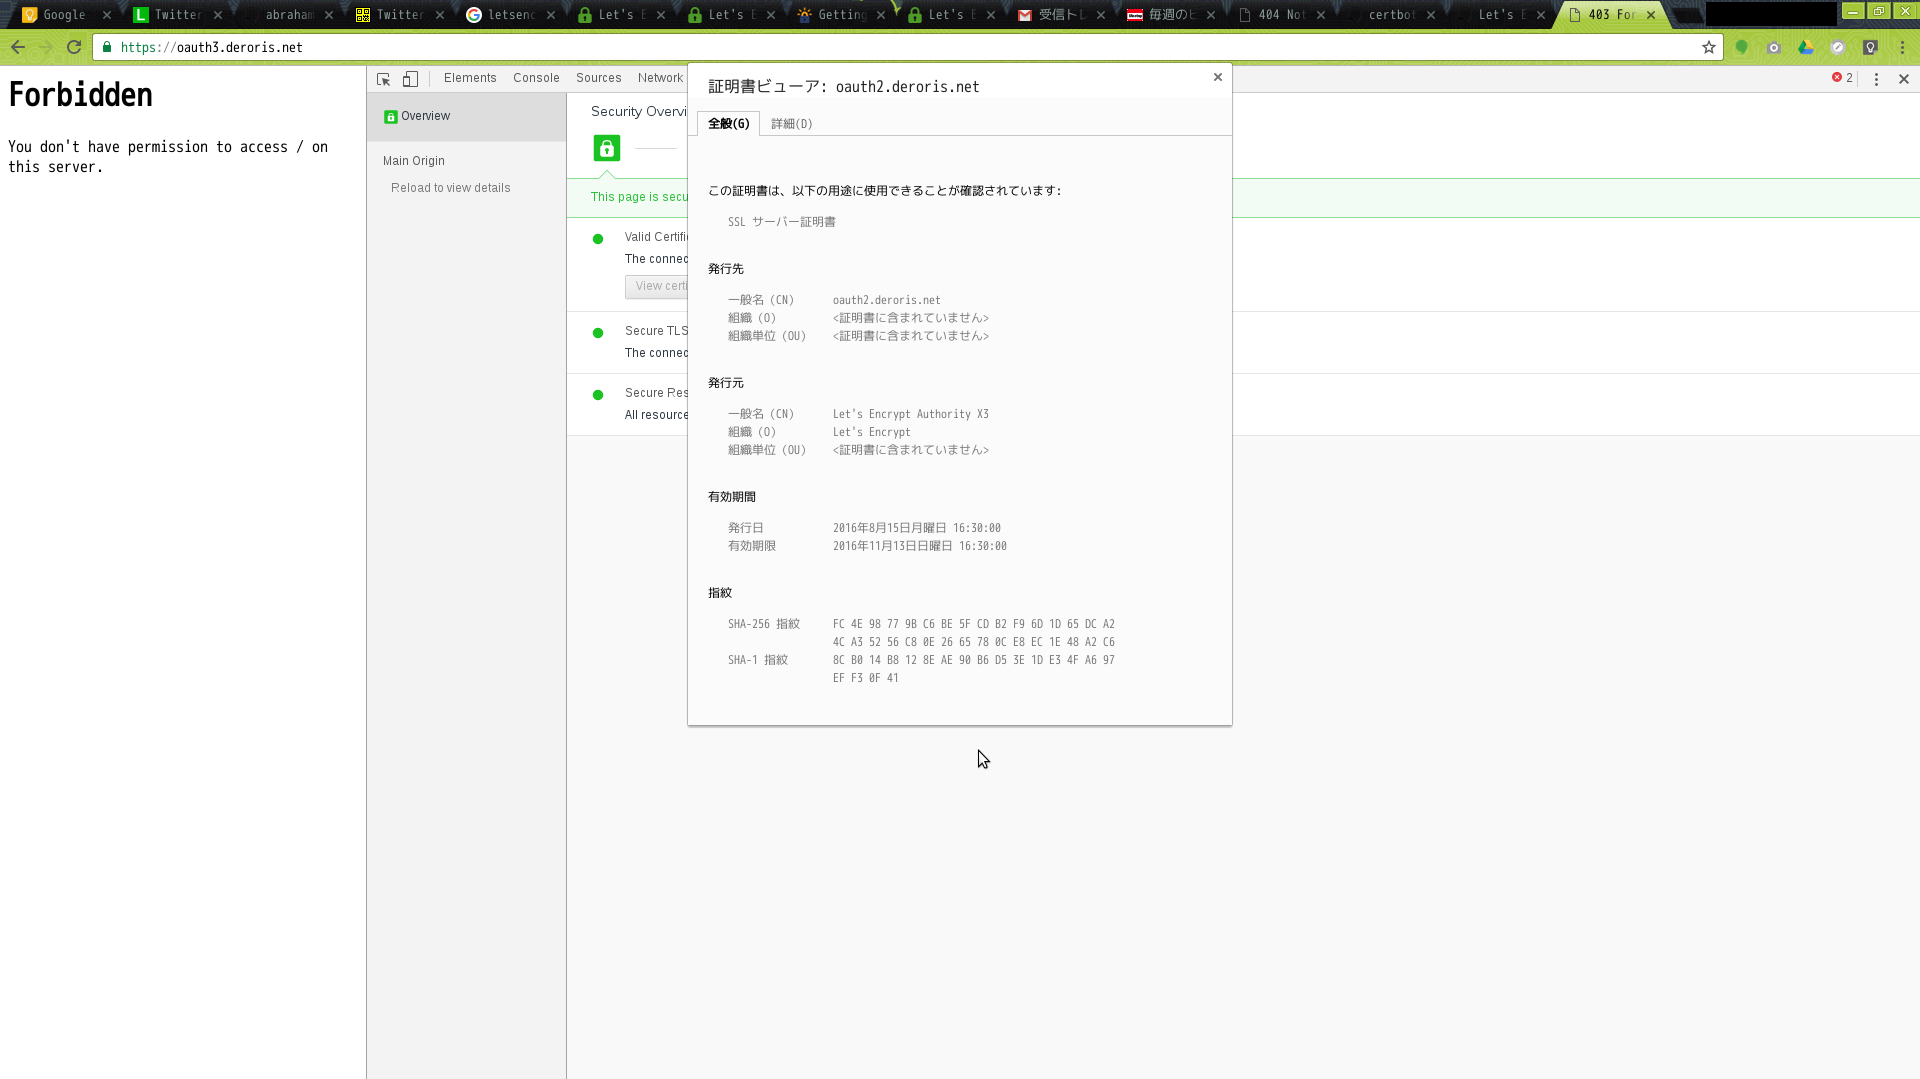
ホラネ!おkですよ。
証明書更新
たぶん./letsencrypt-auto renew で更新できる。
╭─root@deroris  /usr/local/src/letsencrypt  ‹master›
╰─$ ./letsencrypt-auto renew

-------------------------------------------------------------------------------
Processing /etc/letsencrypt/renewal/oauth.deroris.net.conf
-------------------------------------------------------------------------------

-------------------------------------------------------------------------------
Processing /etc/letsencrypt/renewal/oauth2.deroris.net.conf
-------------------------------------------------------------------------------

The following certs are not due for renewal yet:
  /etc/letsencrypt/live/oauth.deroris.net/fullchain.pem (skipped)
  /etc/letsencrypt/live/oauth2.deroris.net/fullchain.pem (skipped)
No renewals were attempted.
ドメイン追加するとき
普通に新規と同じ用にすればどこのドメイン(ファイル)に追加するか聞かれるはずなので、心配御無用。たぶんね。