概要
- ova から、boxを作成。
- 通常のovaをそのままboxとして、vagrantで使った場合の問題点。
環境
-
ホスト: Windows 10 64ビット
C:\>VBoxManage.exe --version
5.0.32r112930
C:\>vagrant --version
Vagrant 1.9.1
ovaファイル
"zfs - 持ってけ ubuntu 16.04 仮想マシン" ( http://qiita.com/dankogai/items/3107a3f95fd805e6ccd7 ) より、ubuntu-zfs-xenial-20170211.ovaを使用。
手順
-
ova=>box
インポートして、そのままpackageOVA_FILE=ubuntu-zfs-xenial-20170211.ova BOX_FILE=ubuntu-zfs-xenial-20170211.box # # ovaをインポート. VBoxManage.exe import ${OVA_FILE} ## VMの構成変更するなら ## VBoxManage.exe import ${OVA_FILE} --vsys 0 --cpus 2 --memory 4096 # # 確認 VBoxManage.exe list vms ## > "ubuntu-zfs-xenial" {f6de290b-4679-4d4c-aa83-85cd7f032948} # # VM_NAME=ubuntu-zfs-xenial # # box作成 vagrant package --base ${VM_NAME} --output ${BOX_FILE} # # VM削除. VBoxManage.exe unregistervm "ubuntu-zfs-xenial" --delete -
VM登録
# boxを追加 vagrant box add ubuntu-zfs-xenial-20170211.box --name ubuntu-zfs-xenial # # Vagrantfile作成 vagrant init -m ubuntu-zfs-xenial -
vagrant up# 起動、、といきたいところだが、問題点が...-
openssh-serverがインストールされていない.
=> 起動後、急い(タイムアウトが5分くらいっぽい)で ログインして、手動でインストールするsudo apt-get install openssh-server -
ユーザvagrant/privateキーで、ログインしようとする
=>Vagrantfileを編集して、user: ubuntu , password:zfs 、keyを入れる、ようにする。config.ssh.username = 'ubuntu' config.ssh.password = 'zfs' # うまくキーがいれられたら、コメントアウト config.ssh.insert_key = 'true' # うまくキーがいれられたら、コメントアウト -
共有フォルダを使用しようとして、エラー
=>Vagrantfileを編集、とりあえずdisableにする。config.vm.synced_folder ".", "/vagrant", disabled: true # # うまく設定したら、コメントアウト -
sudoで、パスワードを求められる。
=> sudoers の設定を追加shellで実行echo 'ubuntu ALL=(ALL) NOPASSWD: ALL' | sudo tee -a /etc/sudoers.d/ubuntu -
自動でログインしない
=>lightdm.confを編集shellで実行echo -e '[Seat:*]\nautologin-user=ubuntu\nautologin-user-timeout=0' | sudo tee /etc/lightdm/lightdm.conf
-
-
Vagrantfile作成Vagrantfile例# Vagrantfile # mt08 VB_NAME="ubuntu-zfs-xenial" VM_MEMORY=4096 VM_CORES=2 VM_HOSTNAME="ubuntu-zfs-xenial.local" Vagrant.configure("2") do |config| config.vm.box = "ubuntu-zfs-xenial" config.ssh.username = 'ubuntu' # 1st: use password config.ssh.password = 'zfs' config.ssh.insert_key = 'true' config.vm.synced_folder ".", "/vagrant", disabled: true # 2nd #config.vm.hostname = VM_HOSTNAME config.vm.provider "virtualbox" do |vb| vb.gui = true vb.name = VB_NAME vb.memory = VM_MEMORY vb.cpus = VM_CORES end end -
vagrant up
のあと- 以下、VM内で行う
- ログイン画面が出てきたら、ubuntu / パスzfsでログイン。
- 左上の Seachアイコン?をクリックして、
terとだして、Teminalをクリック。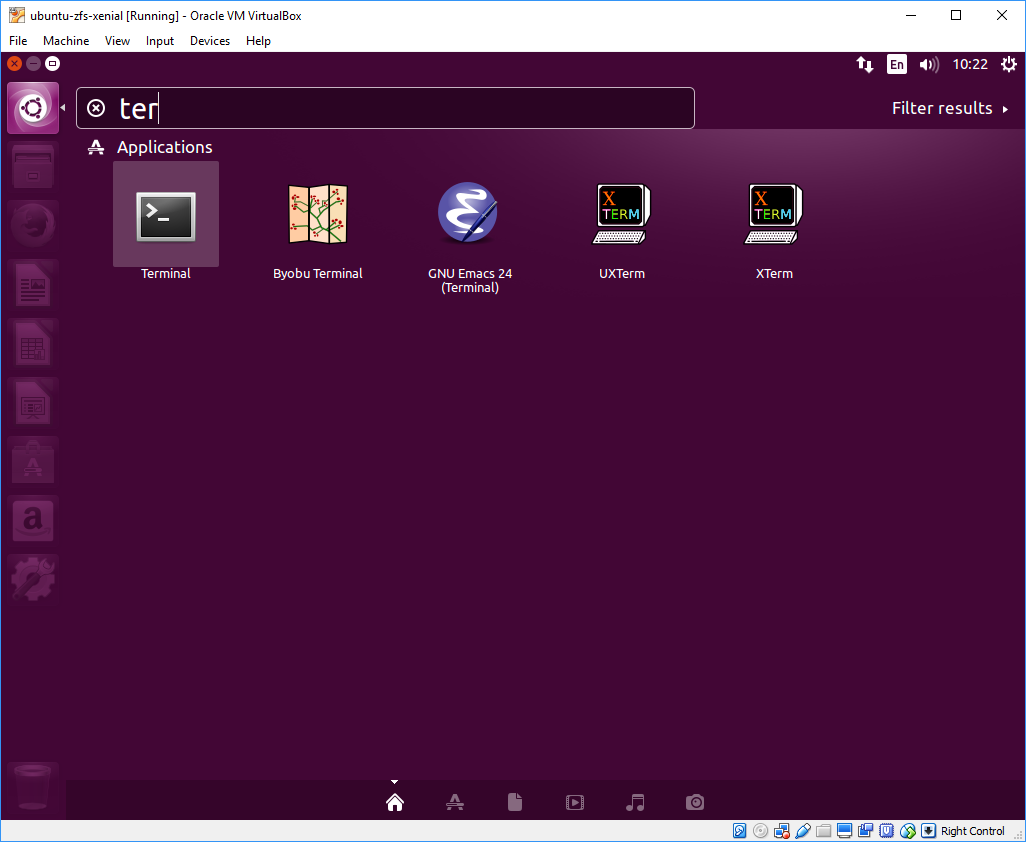
- Teminalから、
sudo apt-get install openssh-server
とタイプして <Enter>キー.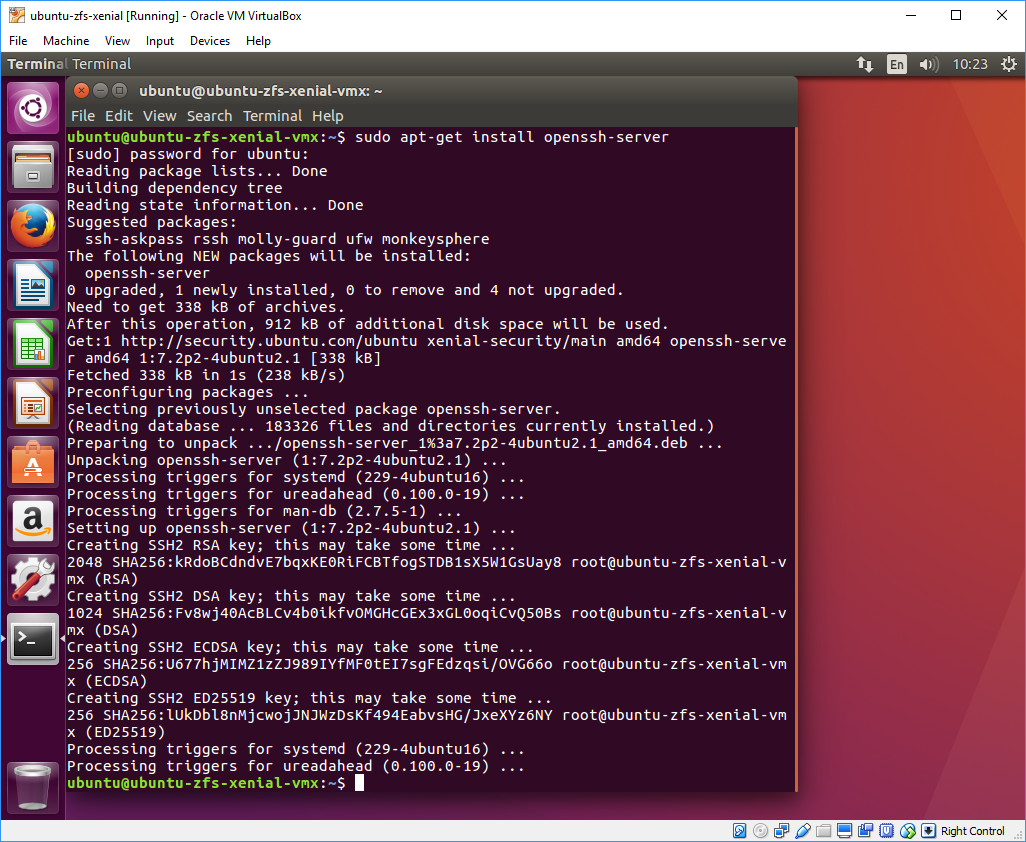
- ssh serverが動き出すと、 publicキーを設定しにいくはず.
-
vagrant ssh
でログイン、sudo -sで、rootになって、以下コピペecho 'ubuntu ALL=(ALL) NOPASSWD: ALL' > /etc/sudoers.d/ubuntu echo -e '[Seat:*]\nautologin-user=ubuntu\nautologin-user-timeout=0' > /etc/lightdm/lightdm.conf exitを2回して、ホストのターミナルにもどる。
- 以下、VM内で行う
-
Vagrantfile編集Vagrantfile# 1st: use password #config.ssh.password = 'zfs' #config.ssh.insert_key = 'true' #config.vm.synced_folder ".", "/vagrant", disabled: true # 2nd config.vm.hostname = VM_HOSTNAME ... vagrant reload

その他
日本語?
-
sudo -sにて# apt cache サーバ ... あれば # echo 'Acquire::http::Proxy "http://apt-cache-server:3142";' | tee /etc/apt/apt.conf.d/02proxy # 日本語. locale-gen "ja_JP.UTF-8" localectl set-locale LANG=ja_JP.UTF-8 wget -q https://www.ubuntulinux.jp/ubuntu-ja-archive-keyring.gpg -O- | apt-key add - wget -q https://www.ubuntulinux.jp/ubuntu-jp-ppa-keyring.gpg -O- | apt-key add - # # xenial=16.04 wget https://www.ubuntulinux.jp/sources.list.d/xenial.list -O /etc/apt/sources.list.d/ubuntu-ja.list apt-get update apt-get install -y ubuntu-defaults-ja # apt-get install -y compizconfig-settings-manager unity-tweak-tool imagemagick dos2unix dconf-editor # # apt-get -q update -q DEBIAN_FRONTEND=noninteractive apt-get -q -y -o Dpkg::Options::="--force-confdef" -o Dpkg::Options::="--force-confold" upgrade
dconfでエラー
-
(vagrantの)ターミナルから、
gsettingsを使った際に、エラーが出たエラー(process:5995): dconf-WARNING **: failed to commit changes to dconf: Cannot autolaunch D-Bus without X11 $DISPLAY -
DBUS_SESSION_BUS_ADDRESSにうまいのを設定する... # DBUS if [ -z "$DBUS_SESSION_BUS_ADDRESS" ]; then echo Trying to set DBUS_SESSION_BUS_ADDRESS dbus_session_file=${HOME}/.dbus/session-bus/$(cat /var/lib/dbus/machine-id)-0 if [ -e "$dbus_session_file" ]; then export $(grep -E '^DBUS_SESSION_BUS_PID=' $dbus_session_file) export $(</proc/${DBUS_SESSION_BUS_PID}/environ tr \\0 \\n | grep -E '^DBUS_SESSION_BUS_ADDRESS=') fi fi ...
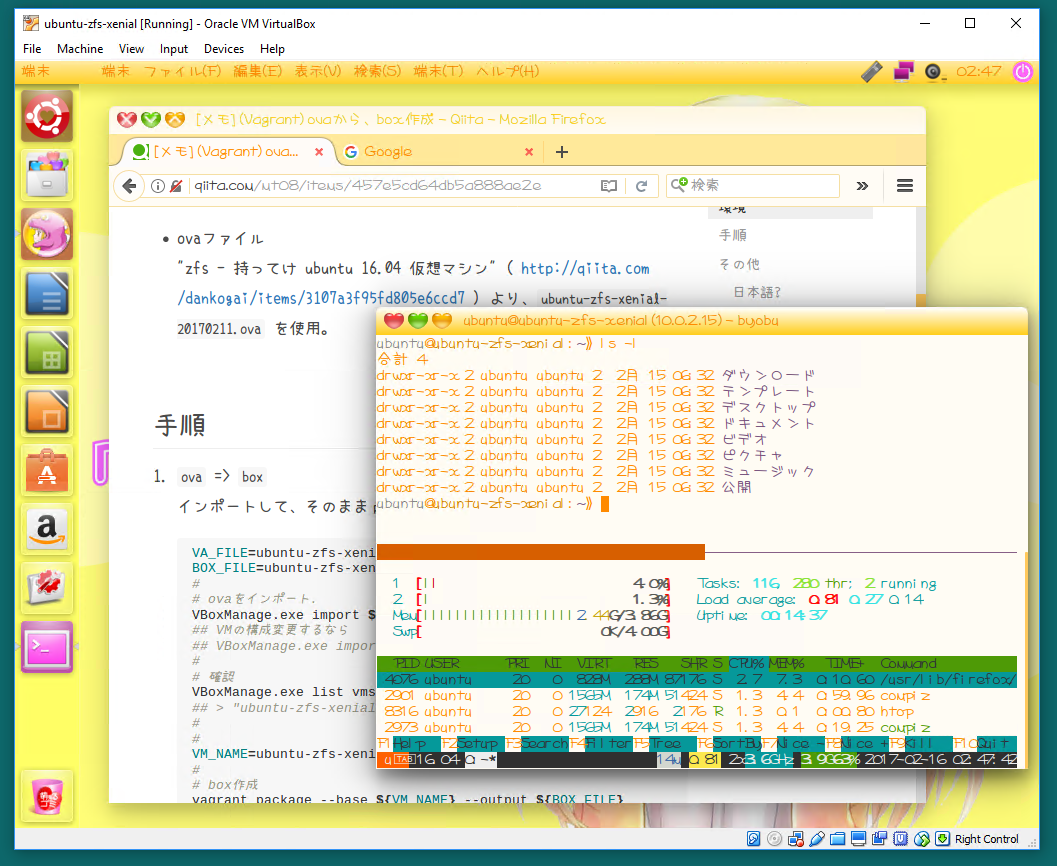
Moe化
-
スクリプト取得
こぴぺ#OUTFOLDER=${HOME}/moe/ OUTFOLDER=/vagrant/moe/ for i in Theme Font Wallpaper; do rm -fv ${OUTFOLDER}/MoeSetup${i}.sh; wget https://raw.githubusercontent.com/mt08xx/Vagrantfiles/master/moebuntu/MoeSetup${i}.sh -P ${OUTFOLDER}; done -
フォント:
AKUBIN1.34.TTF- あくびんfont http://pandachan.jp/ より
アイコンテーマ(その3-(MoePinkIcons)をここから):
MoePinkIcons_150719.tar.gzDash変更用アイコン(その5-DashIcons3):
DashIcons3.tar.gz-
テーマ: 以下のURLに、ダウンロード先がある
- (桃) Moe-Pink10.tar.gz: http://moebuntu.blog48.fc2.com/blog-entry-1022.html
- (青) Moe-Blue10.tar.gz: http://moebuntu.blog48.fc2.com/blog-entry-1027.html
- (黄) Moe-Yellow10.tar.gz: http://moebuntu.blog48.fc2.com/blog-entry-1032.html
-
壁紙:
- ロゴ: http://moebuntu.web.fc2.com/moehowto.html ロゴ (その10-moebuntuのロゴはこちら)=>
moebuntu_logo800new.png - (Pink) http://www.theanimegallery.com/image/12631 から、1600x1200 =>
theAnimeGallery_12631_1600x1200.jpg - (Blue) http://www.theanimegallery.com/image/12631 から、1600x1200 =>
theAnimeGallery_12631_1600x1200.jpg - (Yellow) http://photozou.jp/photo/show/1101860/148821581 =>
onyanoko1600x1200_logo.png
- ロゴ: http://moebuntu.web.fc2.com/moehowto.html ロゴ (その10-moebuntuのロゴはこちら)=>
上のファイルをそろえて、同一フォルダ(例:${HOME}/moe とか /vagrant/moe/とか)につっこむ
#export MOE_BASE_COLOR=Pink #色指定.
#export MOE_BASE_COLOR=Blue #色指定.
export MOE_BASE_COLOR=Yellow #色指定.
#
#OUTFOLDER=${HOME}/moe/
OUTFOLDER=/vagrant/moe/
for i in Theme Font Wallpaper; do bash ${OUTFOLDER}/MoeSetup${i}.sh  ; done
- 設定例)