目次
Vue.js+Sinatraでブログを作成する① Hello Vue.js World編
Vue+Sinatraでブログを作成する② MarkdownEditor編
本章の概要
前章、「Vue+Sinatraでブログを作成する① ~Hello Vue.js World編~」では、vue-cliを使用してHelloWorldを表示するコンポーネントを作成しました。
本章で扱う内容は
- Headerコンポーネント作成
- MarkdownEditorを司るコンポーネントの作成
です。
App.vue で全体のstyleを定義する。
簡単なreset.cssを書いたり、フォントを設定しましょう。
省略

<style scoped>
body {
  margin: 0;
  color: #706D7F;
}

#app {
  font-family: PingFang SC Hiragino Sans GB, Microsoft YaHei, Arial,sans-serif;;
  -webkit-font-smoothing: antialiased;
  -moz-osx-font-smoothing: grayscale;
  text-align: center;
}

#content {
  padding: 100px 0px 60px;
}

a {
  text-decoration: none;
  color: #706D7F;
}
</style>
Headerを作成する。
Header.vueを作成
グローバルに使われるようなコンポーネントを入れておく
globalディレクトリを作成し、
その中にHeader.vueを作成しましょう。
$ mkdir src/components/global
$ touch src/componets/Header.vue
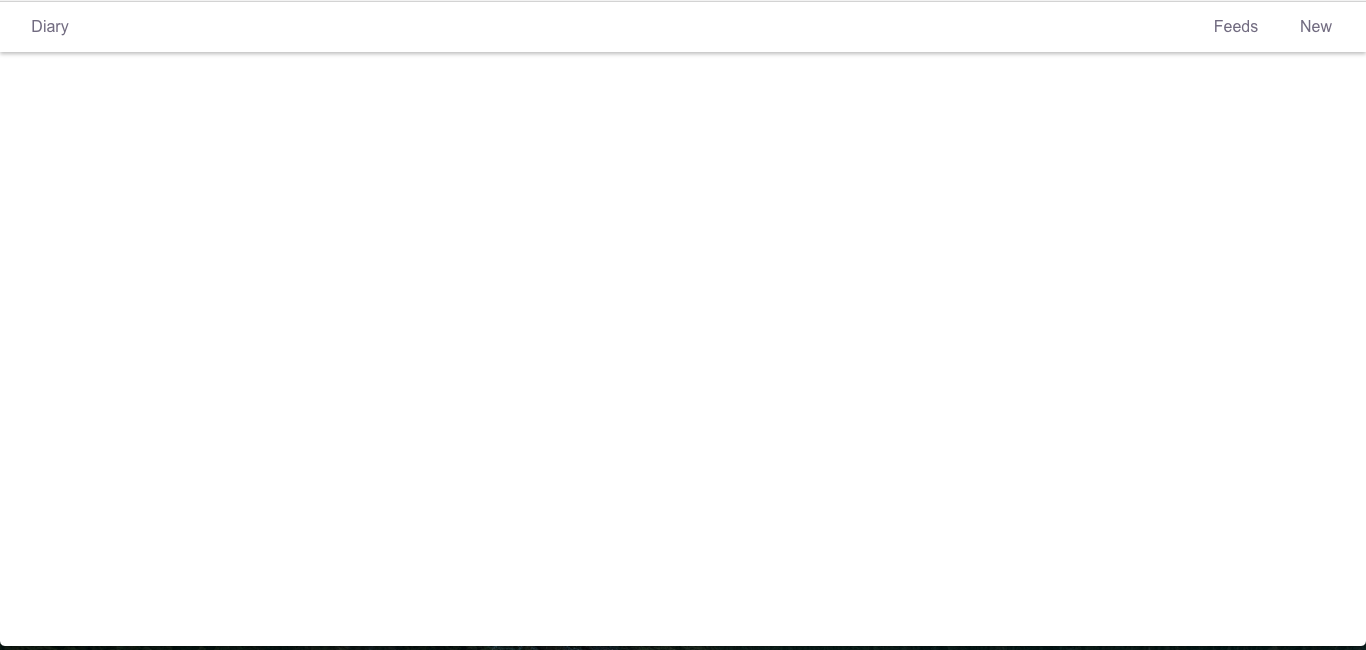
Header.vueもHelloworld.vueと同様にコンポーネントの骨組みを作りましょう。
細かいHeaderのデザインに関しては本章では言及しません。
<template>
  <div class="main-header">
    <ul class="button-group">
      <li class="logo">Diary</li>
      <li class="link">Feeds</li>
      <li class="link">New</li>
    </ul>
  </div>
</template>


<style scoped>

.main-header {
  position: fixed;
  width: 100%;
  height: 50px;
  background: rgba(255,255,255,0.75);
  box-shadow: 0 2px 5px rgba(0,0,0,0.26);
  z-index: 999;
}

ul {
  list-style: none;
  padding: 0;
  margin: 0 10px 0 0;
  height: 100%;
  display: flex;
  justify-content: flex-end;
}

li {
  width: 80px;
  cursor: pointer;
  transition: all .3s;
}

li:first-child {
  margin-left: 10px;
  margin-right: auto;
}

li:hover {
  background: #ECF4FF;
}

.logo {
  display: flex;
  align-items: center;
  justify-content: center;
}

.link {
  height: 100%;
  display: block;
  display: flex;
  align-items: center;
  justify-content: center;
}

</style>

<script>

</script>
※ちなみに style scoped というのは"stylesheetのcssのスコープがこのコンポーネントに限定される"という記述です。便利ですね!
Header.vueをApp.vueに埋め込む
あるコンポーネントを別のコンポーネントに埋め込むには3ステップ必要です。
- 呼び出し元でimportする
- componentsに登録する
- template内に記述する
やってみましょう!
<template>
  <div id="app">
    <MainHeader></MainHeader> <= 追加
    <div id="content"> <= MainHeaderのずれを解消するためrouter-viewをdivで囲っています。
      <router-view/>
    </div>
  </div>
</template>

<script>
import MainHeader from "./components/global/Header"

export default {
  name: 'app',
  components: {
    MainHeader
  }
}
</script>

<style>
#app {
  font-family: 'Avenir', Helvetica, Arial, sans-serif;
  -webkit-font-smoothing: antialiased;
  -moz-osx-font-smoothing: grayscale;
  text-align: center;
  color: #2c3e50;
  margin-top: 60px;
}
</style>
Headerのできあがりです!
MarkdownEditorを作成する。
layoutsというディレクトリを作成します。
このディレクトリ配下に置いていくのは、"vue-routerで遷移するページ"としていきます。
$ mkdir src/components/layouts
つづいてブログを作成画面のコンポーネントを作成します。
$ touch src/components/layouts/NewFeed.vue
routing登録
ルーティングを登録しましょう!
import Vue from 'vue'
import Router from 'vue-router'
import HelloWorld from '@/components/HelloWorld'
import NewFeed from '@/components/layouts/NewFeed' <=追加

Vue.use(Router)

export default new Router({
  routes: [
    { path: '/hello', name: 'HelloWorld', component: HelloWorld },
    { path: '/new', name: 'NewFeed', component: NewFeed } <=追加
  ]
})
Editor実装
ではこのNewFeedにMarkdownEditorを実装していきましょう。
まずはtemplateとstyleのみを実装して見た目を実現
<template>
  <div id="editor">
    <textarea></textarea>
    <div id="markdown-display"></div>
  </div>
</template>


<script>

export default {
  name: "newFeed"
}

</script>


<style scoped>
  #editor {
    font-family: 'Helvetica Neue', Arial, sans-serif;
    margin: 30px 50px;
    height: 900px;
    text-align: left;
  }

  #editor #markdown-display {
    display: inline-block;
    width: 49%;
    height: 100%;
    vertical-align: top;
    box-sizing: border-box;
    padding: 0 20px;
    overflow: scroll;
  }

  #editor textarea {
    width: 49%;
    height: 100%;
    overflow: scroll;
    border: none;
    border-right: 1px solid #ccc;
    resize: none;
    outline: none;
  }

</style>

script実装
つづいてscript部分を実装していきます!
実は、Vue.jsチュートリアルに簡単なMarkdownEditorのサンプルコードがのっているので
こちらを拝借しましょう!
https://jp.vuejs.org/v2/examples/index.html
index.htmlの配下で必要なライブラリを読み込みましょう
<script src="https://unpkg.com/marked@0.3.6"></script>
<script src="https://unpkg.com/lodash@4.16.0"></script>
つづいてNewFeed.vueのtemplateとscriptを編集していきます
<template>
  <div id="editor">
    <textarea :value="input" @input=update></textarea>
    <div id="markdown-display" v-html="compiledMarkdown"></div>
  </div>
</template>


<script>

export default {
  name: "newFeed",
  data() {
    return {
      input: "# "
    }
  },
  computed: {
    compiledMarkdown: function() {
      return marked(this.input, { sanitize: true } )
    }
  },
  methods: {
    update: _.debounce(function(e) {
      this.input = e.target.value
    }, 300)
  }
}

</script>
MarkdownEditorの完成です!
補足説明
:value
v-bind:valueと同義です。
v-bind:valueでscript内のdata内のプロパティと紐付ける(バインディングする)ことができます。
:value = input
はdata内のinputと紐付いています。
@input
v-on:inputと同義です。
要はonInputが発火する時に実行するメソッドを定義できます。
_debunce
Lodashというライブラリのメソッドで連続処理を間引いたりすることができます。
今回は@input(=onInput)すなわちinputイベントが発火するたびに実行される
処理を、300ミリ秒に1回実行するように間引いています。
参考サイト: https://www.lynda.jp/lessons/35956
リアルタイムに反応するUIつくるときは必須そうですね。
computed(算出プロパティ)
関数をvueのインスタンスに登録するという点では
methodsとやっていることほぼ一緒に見えますが1つ大きな特徴があります!
特徴:算出プロパティは依存関係にもとづきキャッシュされる*
どういうことかと言うと、算出プロパティに登録した関数は、
依存するものが変更された場合のみ再計算される
らしいです。
べんりですね〜。
第二章終了
以上になります!
次章はSinatraをつかってサーバーサイドを簡単に実装していきます。