公式サイト
公式サイトにはラズパイ用のパッケージはありませんでした。
GitHub
探してみるとラズパイ用のパッケージがありました。
Pythonのインストール
ラズパイの標準OS(Raspbian)には最初からインストールされていましたが、念のためインストール手順を書きます。
$ sudo apt-get install python-pip python-dev
ラズパイ用TensorFlowのダウンロードとインストール
以下のコマンドを実行します。
$ wget https://github.com/samjabrahams/tensorflow-on-raspberry-pi/blob/master/archive/tensorflow-0.8.0rc0-cp27-none-linux_armv7l.whl?raw=true
$ mv tensorflow-0.8.0rc0-cp27-none-linux_armv7l.whl\?raw\=true tensorflow-0.8.0rc0-cp27-none-linux_armv7l.whl
$ sudo pip install tensorflow-0.8.0-cp27-none-linux_armv7l.whl
追記(2017/7/31)
バージョンがあがって、手順が以下のように変更されていました。
$ wget https://github.com/samjabrahams/tensorflow-on-raspberry-pi/releases/download/v1.1.0/tensorflow-1.1.0-cp27-none-linux_armv7l.whl?raw=true
$ mv tensorflow-1.1.0-cp27-none-linux_armv7l.whl\?raw\=true tensorflow-1.1.0-cp27-none-linux_armv7l.whl
$ sudo pip install tensorflow-1.1.0-cp27-none-linux_armv7l.whl
※ GitHubで説明されている手順と若干変えてあります。
動作確認
上記サイトにサンプルプログラムがあったので、そのまま流用します。
エディタを起動し、ソースをコピペします。
$ nano hello-tf.py
hello-tf.py
# hello-tf.py
import tensorflow as tf
import multiprocessing as mp

core_num = mp.cpu_count()
config = tf.ConfigProto(
    inter_op_parallelism_threads=core_num,
    intra_op_parallelism_threads=core_num )
sess = tf.Session(config=config)

hello = tf.constant('hello, tensorflow!')
print sess.run(hello)

a = tf.constant(10)
b = tf.constant(32)
print sess.run(a+b)
以下のコマンドでプログラムを実行します。
$ python hello-tf.py
hello, tensorflow!
42
$
できたっぽい!
詳細については、上記URLをご参照下さい。
さて、これから何しようかな〜(^-^)
追記
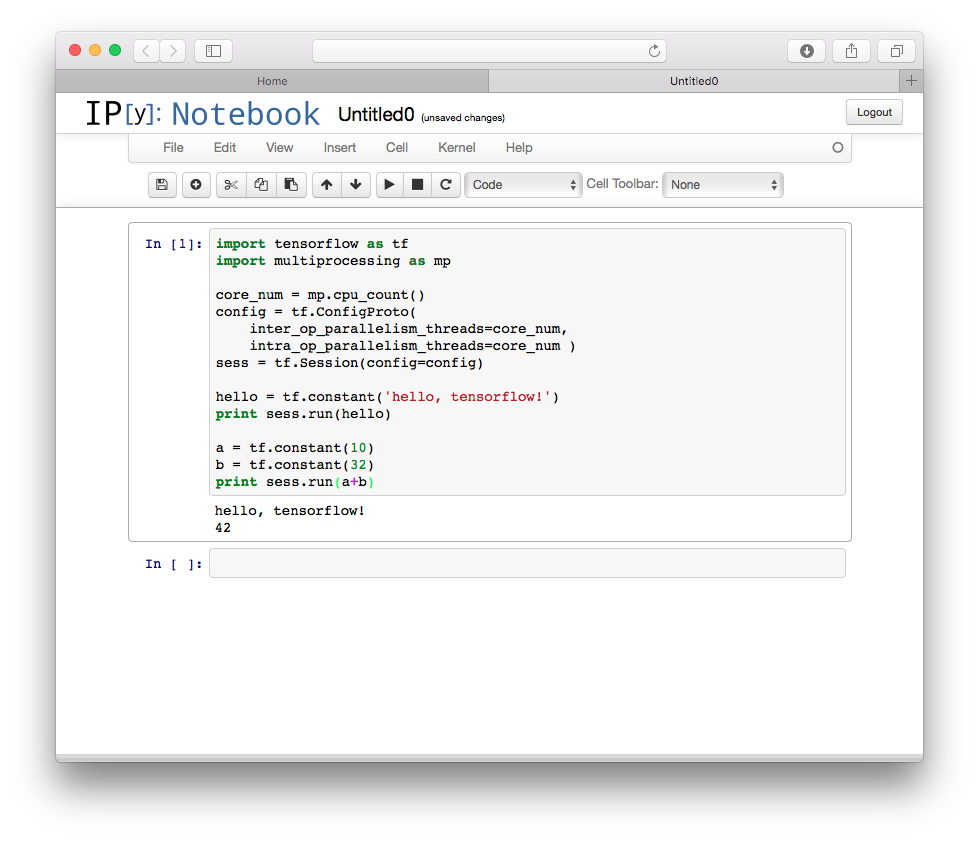
ついでにiPython notebookでもTensorFlowを試せるようにしてみた。
さて、これから何しようかな〜(^-^)