初めに
Androidアプリを製作している途中で状況に応じて、表を動的に生成する必要が出たのでそのメモです。
kotlinを使用して、Androidアプリ上のtablelayoutの行にボタンやテキストビューを含めて動的に追加する方法について書き残します。
※Android初心者が書いています。
環境
- Kotlin
- Android Studio 3.2
プログラム
下記のような構成になっています。
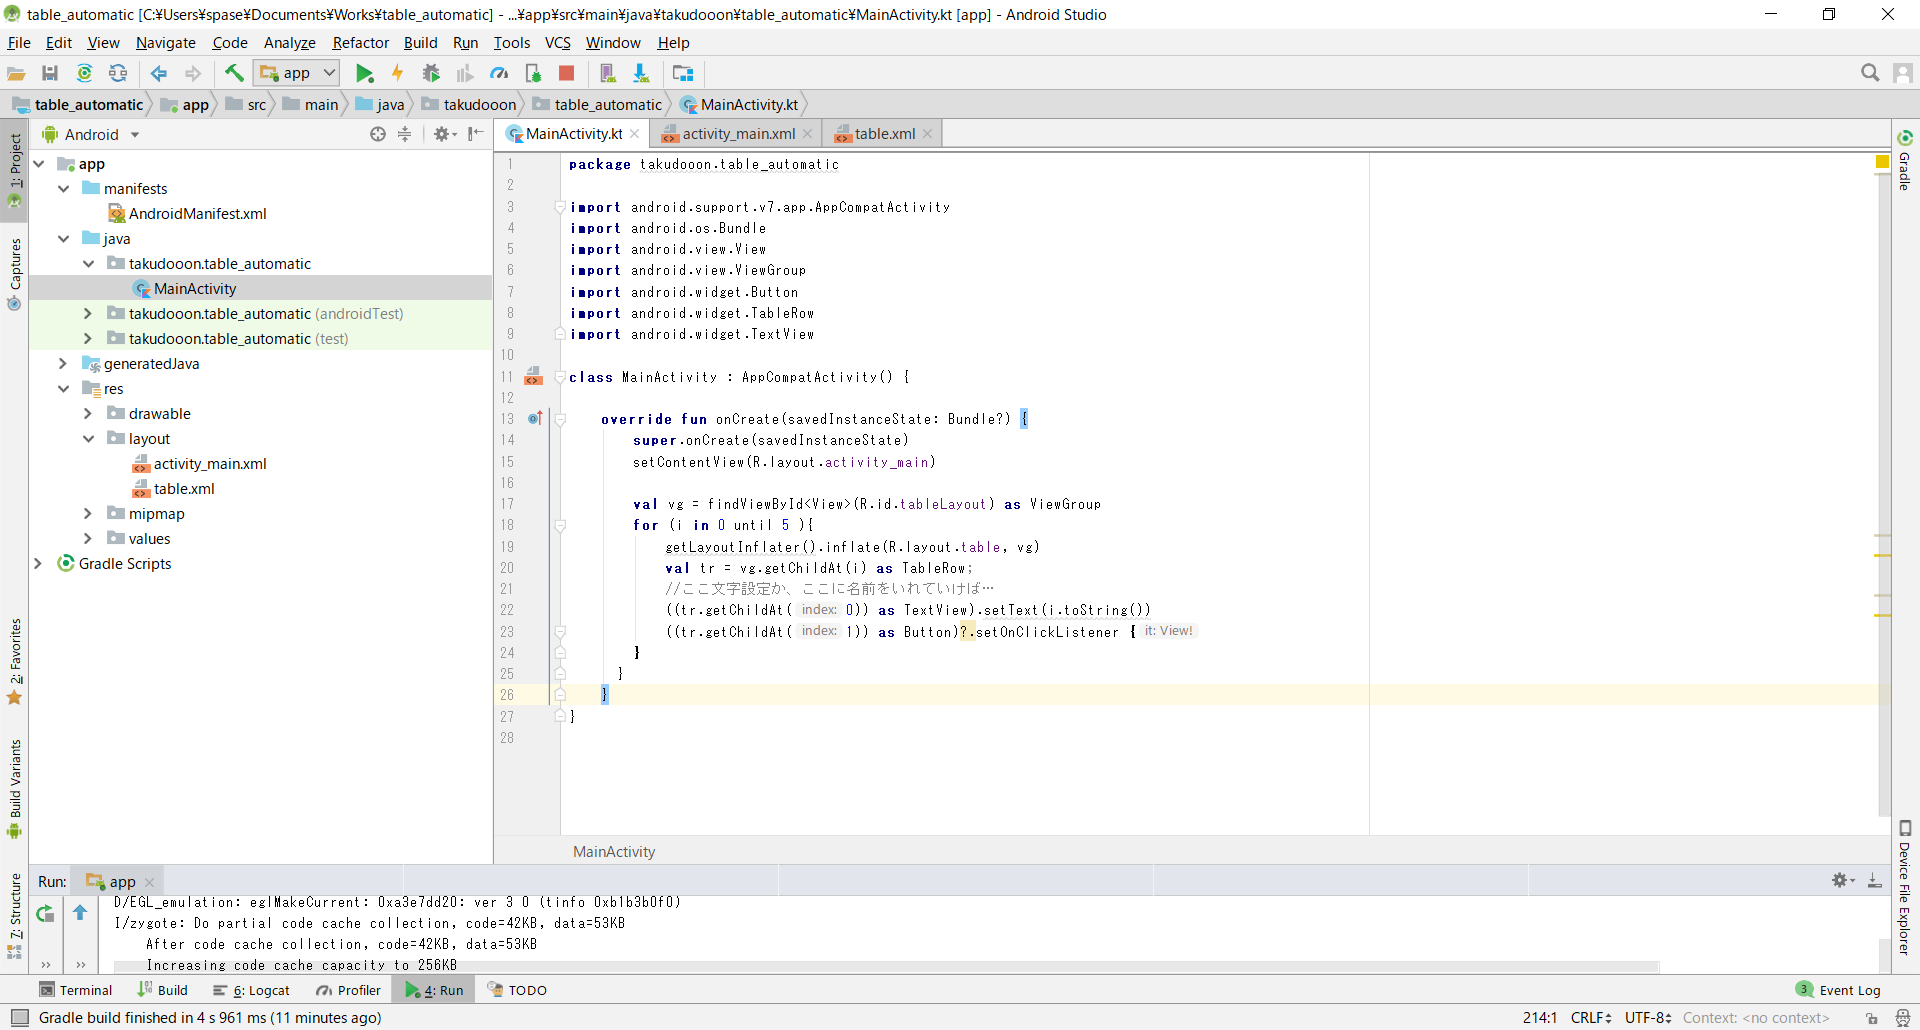
MainActivity
getLayoutInflater().inflate()を使用します。
class MainActivity : AppCompatActivity() {

    override fun onCreate(savedInstanceState: Bundle?) {
        super.onCreate(savedInstanceState)
        setContentView(R.layout.activity_main)

        val vg = findViewById<View>(R.id.tableLayout) as ViewGroup
        for (i in 0 until 5 ){
            getLayoutInflater().inflate(R.layout.table, vg)
            val tr = vg.getChildAt(i) as TableRow;
            //textviewに文字を格納
            ((tr.getChildAt(0)) as TextView).setText(i.toString())
            //buttonの動的追加と押されたときの処理の記載
            ((tr.getChildAt(1)) as Button)?.setOnClickListener {
            //この中に処理を書きます
            }
      }
    }
}
activity_main.xml
    <TableLayout
        android:id="@+id/tableLayout"
        //この間は、layoutの情報//////////////////////
        android:layout_width="0dp"
        android:layout_height="0dp"
        android:layout_marginStart="8dp"
        android:layout_marginTop="8dp"
        android:layout_marginEnd="8dp"
        android:layout_marginBottom="8dp"
        app:layout_constraintBottom_toBottomOf="parent"
        app:layout_constraintEnd_toEndOf="parent"
        app:layout_constraintStart_toStartOf="parent"
        app:layout_constraintTop_toTopOf="parent"
        ////////////////////////////////////////////
        android:stretchColumns="1">
    </TableLayout>
table.xml
Layout直下にtable.xmlが入っており、どのような行を追加していくかを記述します。
今回はtextviewとbuttonを追加します。
<TableRow xmlns:android="http://schemas.android.com/apk/res/android"
    android:layout_width="match_parent"
    android:layout_height="match_parent"
    android:paddingVertical="5dp">

    <TextView
        android:layout_width="149dp"
        android:layout_height="46dp"
        android:gravity="center_horizontal|center"
        android:textSize="18sp" />

    <Button
        android:id="@+id/button"
        android:layout_width="153dp"
        android:layout_height="wrap_content"
        android:text="Button"
        android:textSize="18sp" />
</TableRow>
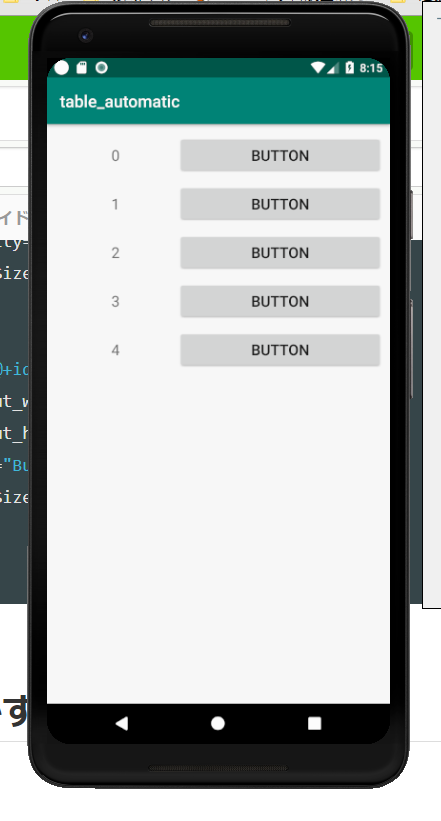
これらを動かすと…
下記のようになります。