基本
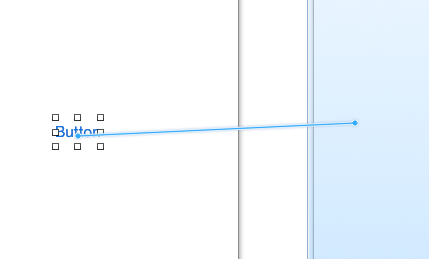
- ボタンから矢印を伸ばして対象のViewControllerへsegueを繋げる
任意で遷移先を切り替える
segueの設定
- ボタンとかではなく「ViewController」から矢印を伸ばして対象のViewControllerへsegueを繋げる
- segueのidentifierに名前をつける
- コードの実行
[self performSegueWithIdentifier:@"identifier名" sender:self];
1つ前にもどる
pushの場合
[self.navigationController popViewControllerAnimated:YES];
modalの場合
[self dismissModalViewControllerAnimated:YES];
特定のところにもどる
Unwindをつかう準備
戻り先に
- (IBAction)xxxx:(UIStoryboardSegue *)segue{
}
segueのひもづけ
- ExitのPresenting Seguesに「xxxx」が現れるので戻り元のボタンから矢印でひもづける
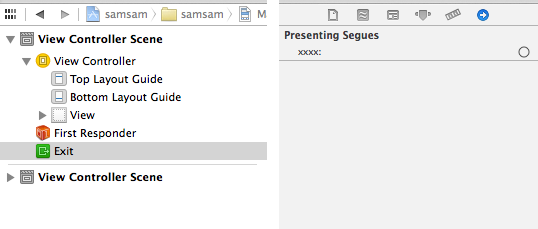
- 戻り元のViewControllerから繋げるとManual Segueで設定できる
- 戻り元のExitの下にUnwind segue from Item to Exitが現れるのでidentifierに名前をつける
- performSegueWithIdentifierで遷移させる
[self performSegueWithIdentifier:@"identifier名" sender:self];
イベント
遷移元@遷移直前:prepareForSegue
-(void)prepareForSegue:(UIStoryboardSegue *)segue sender:(id)sender{
   if([[segue identifier] isEqualToString:@"identifier名"]) {
      //遷移先のViewController
      NextViewController *nextViewController = [segue destinationViewController];
   }
}
Unwind遷移直前:canPerformUnwindSegueAction
- (BOOL)canPerformUnwindSegueAction:(SEL)action fromViewController:(UIViewController *)fromViewController withSender:(id)sender{
   //遷移させない
   //return NO;
   return YES;
}