使うもの
- Windows10
- Vagrant
- VirtualBox
- CentOS 7
- nginx
手順
1.VagrantとVirtualBoxインストール
2.下記Vagrantgileを準備してvagrant up
Vagrant.configure("2") do |config|
  config.vm.box = "bento/centos-7.2"
  config.vm.network "forwarded_port", guest: 80, host: 8080
  config.vm.provider :virtualbox do |vb|
    vb.customize ["modifyvm", :id, "--memory", "2048"]
  end
end
3.vagrant sshでSSH接続
4.nginxのインストール
# リポジトリ追加
sudo rpm -ivh http://nginx.org/packages/centos/7/noarch/RPMS/nginx-release-centos-7-0.el7.ngx.noarch.rpm

# インストール
sudo yum -y install --enablerepo=nginx nginx
5.nginxの起動
sudo systemctl start nginx
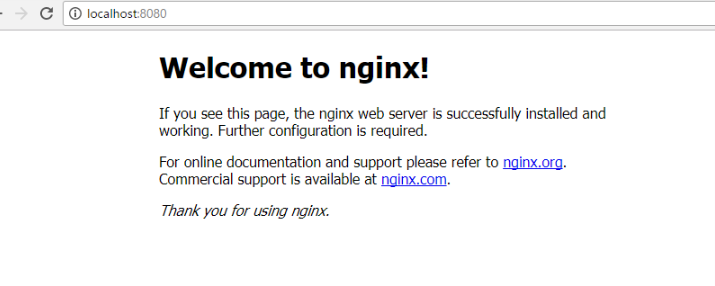
6.動作確認
http://localhost:8080/ へアクセス
設定ファイル
/etc/nginx/conf.d/default.conf
デフォルトの公開ルート
/usr/share/nginx/html/
つまづいたとこ
vagrantの起動で何故かつまづきました。
- vagrant自体は起動していそう
- ssh接続ができない
という不思議な状況だったので、VirtualBoxを開いて確認したところ、、"仮想化支援機能(VT-x/AMD-V)を~とエラーがでたので、下記記事を参考に解決しました。
Windows の Vagrant で 64 bit OS が起動しないとき