環境
- CentOS 6.5
- nginx v1.4.4
- node v0.10.24
- ghost v0.4.0
- pm2 v0.7.1
nginxのインストール
/etc/yum.repos.d/nginx.repoを以下の内容で作成
/etc/yum.repos.d/nginx.repo
[nginx]
name=nginx repo
baseurl=http://nginx.org/packages/centos/6/$basearch/
gpgcheck=0
enabled=1
これでyumでnginxをインストールできる。
sudo yum install -y nginx
nginx起動
sudo nginx
nvmのダウンロード
node.jsの管理ツール、nvmをダウンロードします。
wget https://github.com/creationix/nvm/archive/master.zip
unzip master
mv nvm-master/ .nvm
.bashrcとかに以下のコマンドを書いて、端末起動時にnvmを使えるようにします。
source ~/.nvm/nvm.sh
node.jsのインストール
nvmを使って、node.jsをインストールします。
ここでは、バージョンは0.10.24とします。
nvm起動時のデフォルトのバージョンも指定します。
nvm install v0.10.24
nvm alias default v0.10.24
ghostのインストール
ghostのバージョンはv0.4.0にしています。
まずは、zipをダウンロードして解凍
wget --no-check-certificate https://ghost.org/zip/ghost-0.4.0.zip
unzip ghost-0.4.0.zip -d ghost
解凍したフォルダに移動して、インストール
設定ファイルもコピーします。
cd ghost
npm install --production
cp config.example.js config.js
pm2のインストール
ghostをデーモン化するのにpm2を使います。
まずはインストール
npm install -g pm2
ghostを起動
cd ghost # ghostのディレクトリに移動
NODE_ENV=production pm2 start index.js
ghost用にnginxの設定ファイルを作成します。
/etc/nginx/conf.d/ghost.conf
server {
    listen       80;
    server_name  yourdomain.com;

    location / {
        proxy_pass http://localhost:2368;
    }
}
nginxの設定を再読み込みします。
sudo nginx -s reload
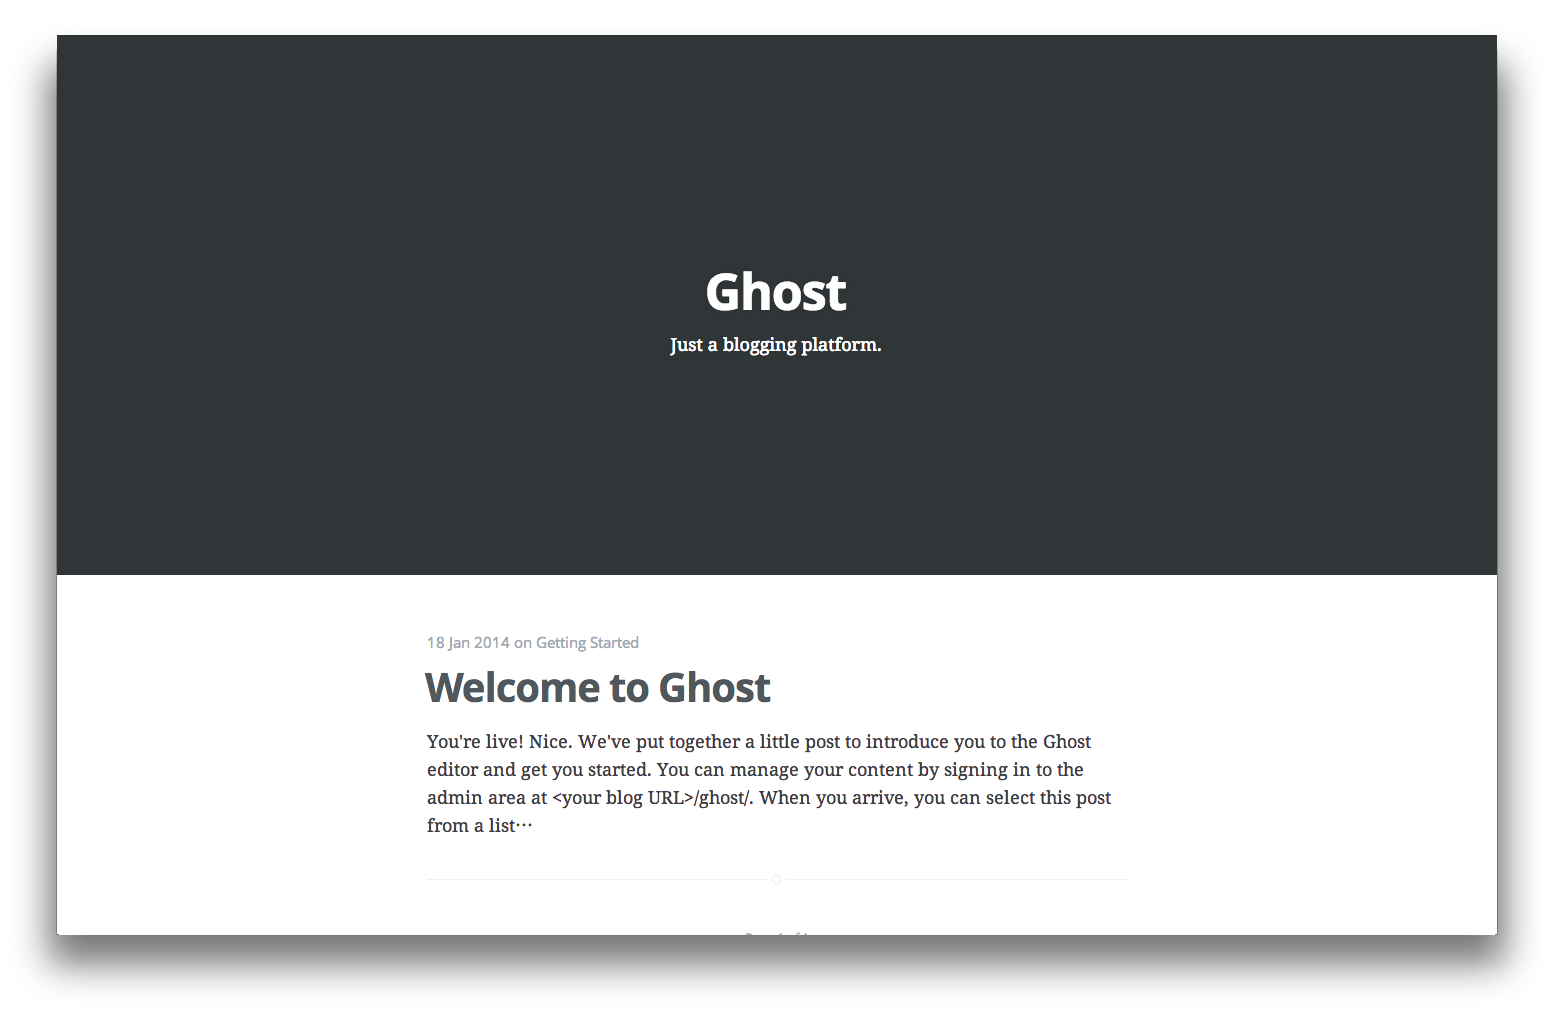
ブラウザからyourdomain.comにアクセスすれば、ghostのトップページが表示されます。
