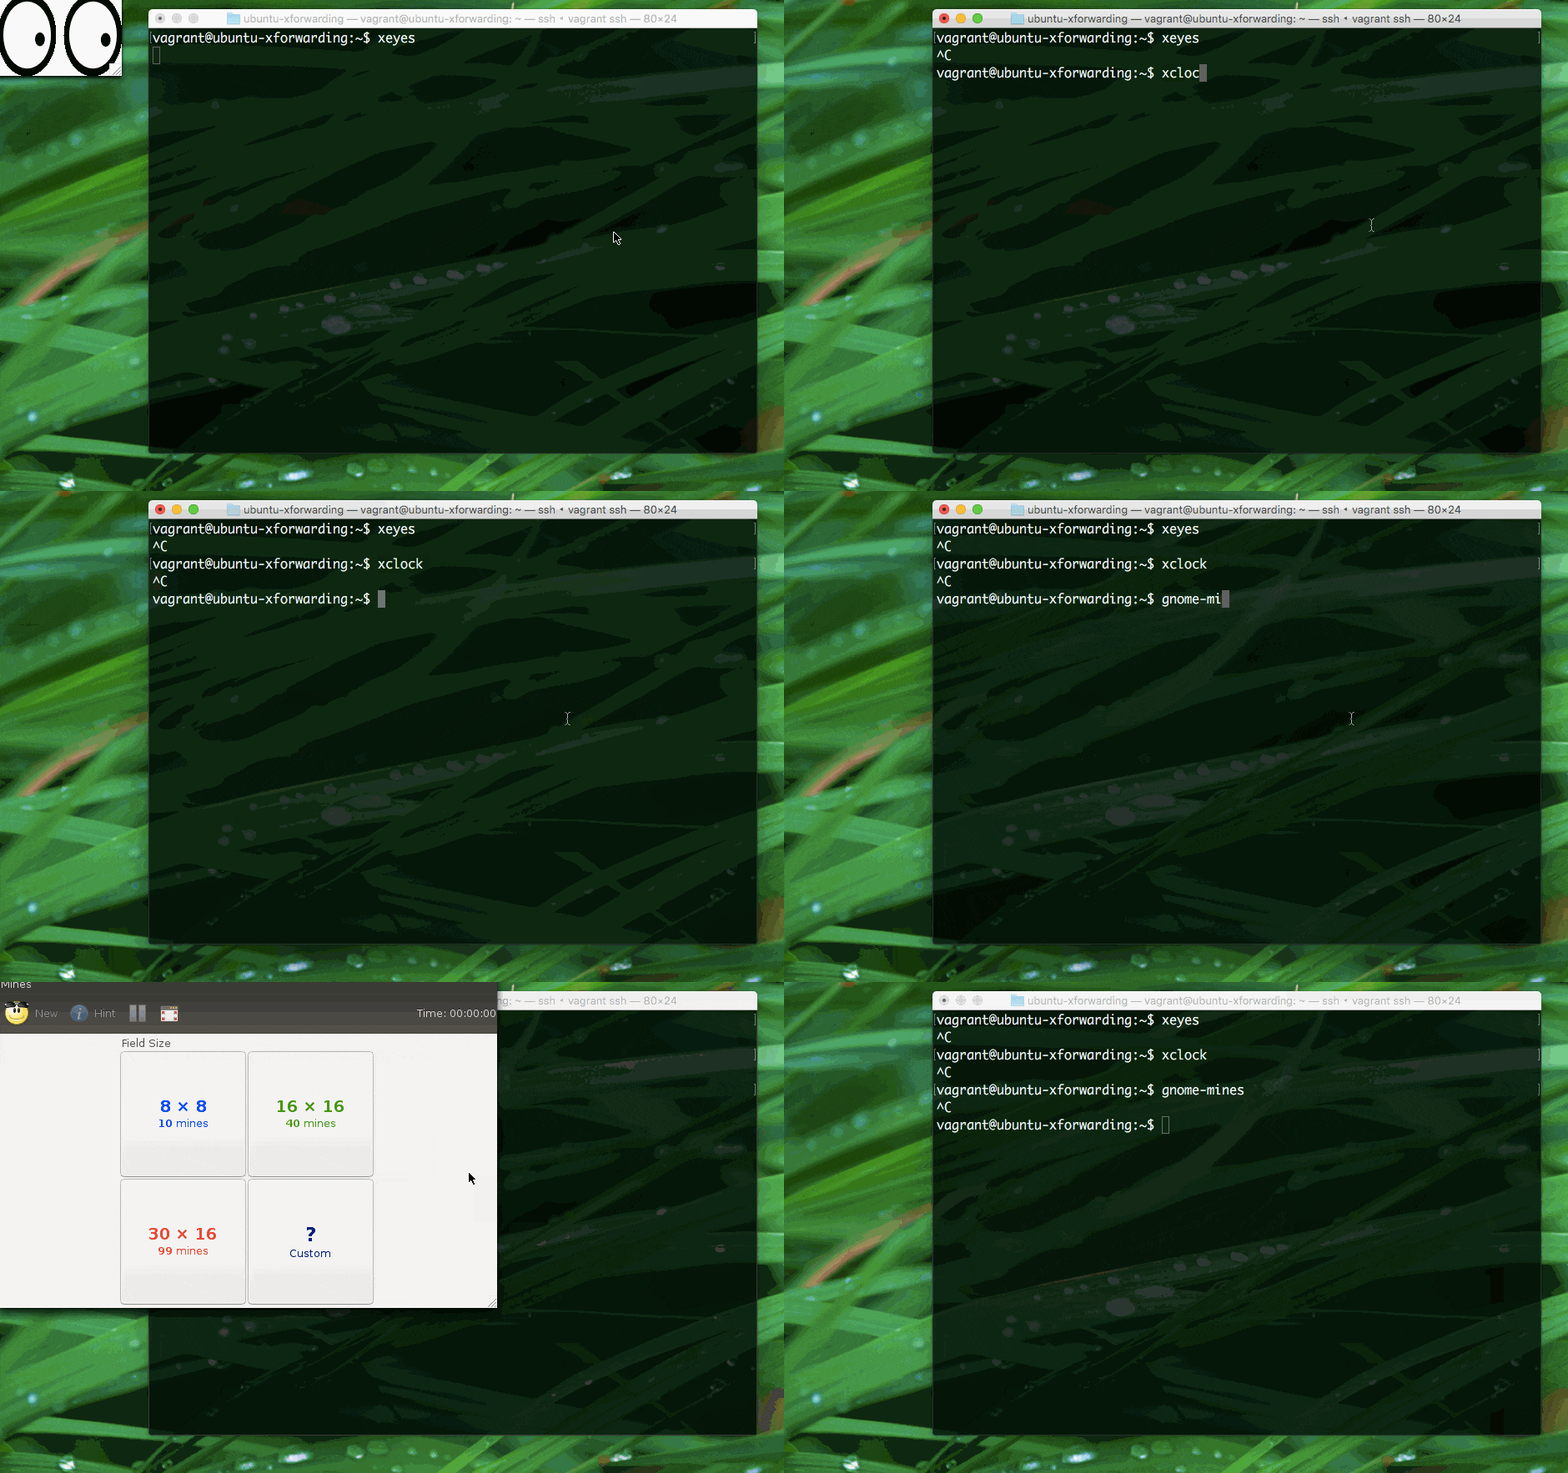
デモ動画
OS
| 項目 | バージョン |
|---|---|
| ホストOS | Mac OS X EL Capitan(10.11.3) |
| ゲストOS | Ubuntu 14.04 LTS |
利用したソフト
| 項目 | バージョン |
|---|---|
| vagrant | 1.8.1 |
| VirtualBox | 5.0.10 |
| XQuartz | 2.7.8 |
インストール手順
- vagrant, VirtualBox のインストールは省略
- XQuarts を以下のサイトからダウンロードして、Mac にインストール
- 適当な場所にディレクトリを掘る
$ mkdir ubuntu-x11fowarding
$ cd ubuntu-x11forwarding
- 以下のような Vagrantfile をディレクトリ内に作る
Vagrant.configure("2") do |config|
  config.vm.box = "ubuntu/trusty64"

  # ubuntu-desktop をインストール
  config.vm.provision :shell, :inline => "sudo apt-get update && sudo apt-get install -y ubuntu-desktop"
  # X11 Fowarding を有効にする
  config.ssh.forward_x11 = true

  config.vm.hostname = "ubuntu-xforwarding"
  config.vm.provider :virtualbox do |vb|
    vb.customize ["modifyvm", :id, "--memory", "1024"]
  end
end
- 後は以下のコマンドを実行して適当に xeyes を起動してみれば OK
[Mac]$ vagrant up # VM を立ち上げる
(ubuntu-desktop のインストールが走るのでしばらく待つ)
[Mac]$ vagrant ssh # ssh で接続する
[Ubuntu]$ xeyes
[Ubuntu]$ xclock
何に使うの?
- qemu や virt-manager を GUI で立ち上げるときに使ってみたり
- Linux 上でしか動かない GUI アプリを検証してみたり(あまりやらないけど)
注釈
- ポイントは
config.ssh.forward_x11 = true。これだけで X11 転送が有効になる - ssh コマンドで
-Xオプションを利用してもいいし、~/.ssh/config にForwardX11 yesを追記しても良い
備考
- OS X のバージョンによっては以下の更新が必要かも
