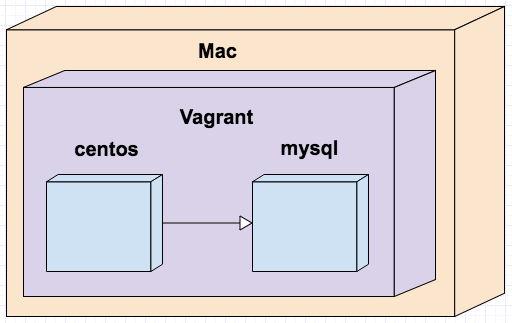
This is how we setup docker
dockerのセットアップは、こちらを見て下さい
This is in Vagrant
bash
sudo docker pull centos
bash
sudo docker pull mysql
bash
sudo docker run -d --name dbserver -e MYSQL_ROOT_PASSWORD='Password1_' mysql
bash
sudo docker run -it --name appserver --link dbserver:db centos /bin/bash
You can check ENV in container.
DB is alias name which you named above command "dbserver:db"
bash
set | grep DB
DB_ENV_GOSU_VERSION=1.7
DB_ENV_MYSQL_MAJOR=5.7
DB_ENV_MYSQL_ROOT_PASSWORD=Password1_
DB_ENV_MYSQL_VERSION=5.7.19-1debian8
DB_NAME=/appserver/db
DB_PORT=tcp://172.17.0.2:3306
DB_PORT_3306_TCP=tcp://172.17.0.2:3306
DB_PORT_3306_TCP_ADDR=172.17.0.2
DB_PORT_3306_TCP_PORT=3306
DB_PORT_3306_TCP_PROTO=tcp
install mysql client
bash
yum install -y mysql
You can login
bash
mysql -uroot -pPassword1_ -h $DB_PORT_3306_TCP_ADDR
