さくらのVPS(1G)にOpenCartをインストールします。
標準OSは、CentOS 6.8 が入っています。
opencartのインストール要件を確認する
公式ドキュメントにあるように、以下の環境が必要です。
http://docs.opencart.com/requirements/
- Web Server (Apache推奨)
- PHP 5.4以上 (ドキュメントは内容が古く、OpenCart2.3以降は、PHP5.3ではなく5.4以上が必要となっています)
- データベース (MySQL推奨)
他に、PHPライブラリ/モジュールとして以下が必要です。
- Curl
- ZIP
- Zlib
- GD Library
- Mcrypt
- Mbstrings
- Xml
LAMP環境を構築する
- 「サーバーってなに?」~初心者でもよくわかる!VPSによるWebサーバー構築講座(1) http://knowledge.sakura.ad.jp/beginner/2691/
あたりを参考に、LAMP環境を構築します。
phpのバージョンを上げる
標準では、PHP 5.3.3が入っているので、Remiリポジトリから新しいバージョンをインストールします。
- Yum で任意のバージョンの PHP をインストールする http://qiita.com/bezeklik/items/74106f3ed528584293c3
# php -v
PHP 5.3.3 (cli) (built: Aug 11 2016 20:33:53)
# yum install http://rpms.famillecollet.com/enterprise/remi-release-6.rpm
# yum install yum-utils
# yum-config-manager --enable remi-php56
# yum install php
# php -v
PHP 5.6.26 (cli) (built: Sep 15 2016 14:47:05)
# service httpd restart
ここでは5.6をインストールしていますが、5.4以上であればOKです。
PHPライブラリ/モジュールを追加
# yum install mcrypt php-mcrypt
opencartのダウンロード、展開、サーバにアップロード
サーバ上から直接GitHubにつないで、最新バージョン(2016年9月時点では2.3.0.2)のzipファイルをダウンロードして、展開します。
$ cd ~
$ wget https://github.com/opencart/opencart/archive/2.3.0.2.zip
$ mv 2.3.0.2.zip opencart-2.3.0.2.zip
展開して出てきたファイルを、配置します。
# cd /var/www/
# unzip /home/myname/opencart-2.3.0.2.zip
# mv html html.bak
# mv opencart-2.3.0.2/upload .
# mv upload html
configファイルのコピー、ディレクトリのパーミッションを設定する
# cd /var/www/html
# cp config-dist.php config.php
# chown apache:apache config.php
# cp admin/config-dist.php admin/config.php
# chown apache:apache admin/config.php

# chown apache:apache image image/cache image/catalog
# chown apache:apache system/storage/cache system/storage/logs
# chown apache:apache system/storage/download system/storage/upload
# chown apache:apache system/storage/modification
データベースの作成
phpMyAdminなどから、データベースとデータベースユーザを作成します。
データベース名:oc2302
ユーザ名:ocuser
パスワード:mypassword
としました。
コマンドラインから作成する場合は以下です。
# mysql -u root -p
mysql> CREATE DATABASE oc2302;
mysql> GRANT ALL ON oc2302.* TO ocuser@localhost;
mysql> FLUSH PRIVILEGES;
mysql> SET PASSWORD FOR ocuser@localhost = password('mypassword');
mysql> quit
ブラウザからインストール画面を開いてインストール
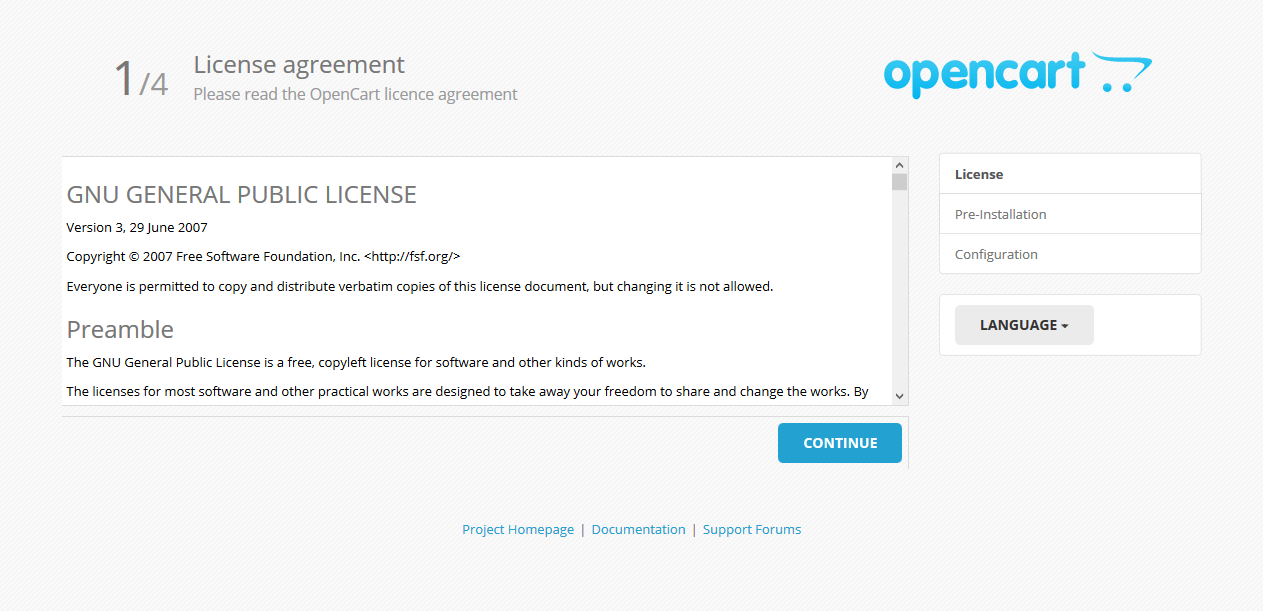
(1/4)License agreement
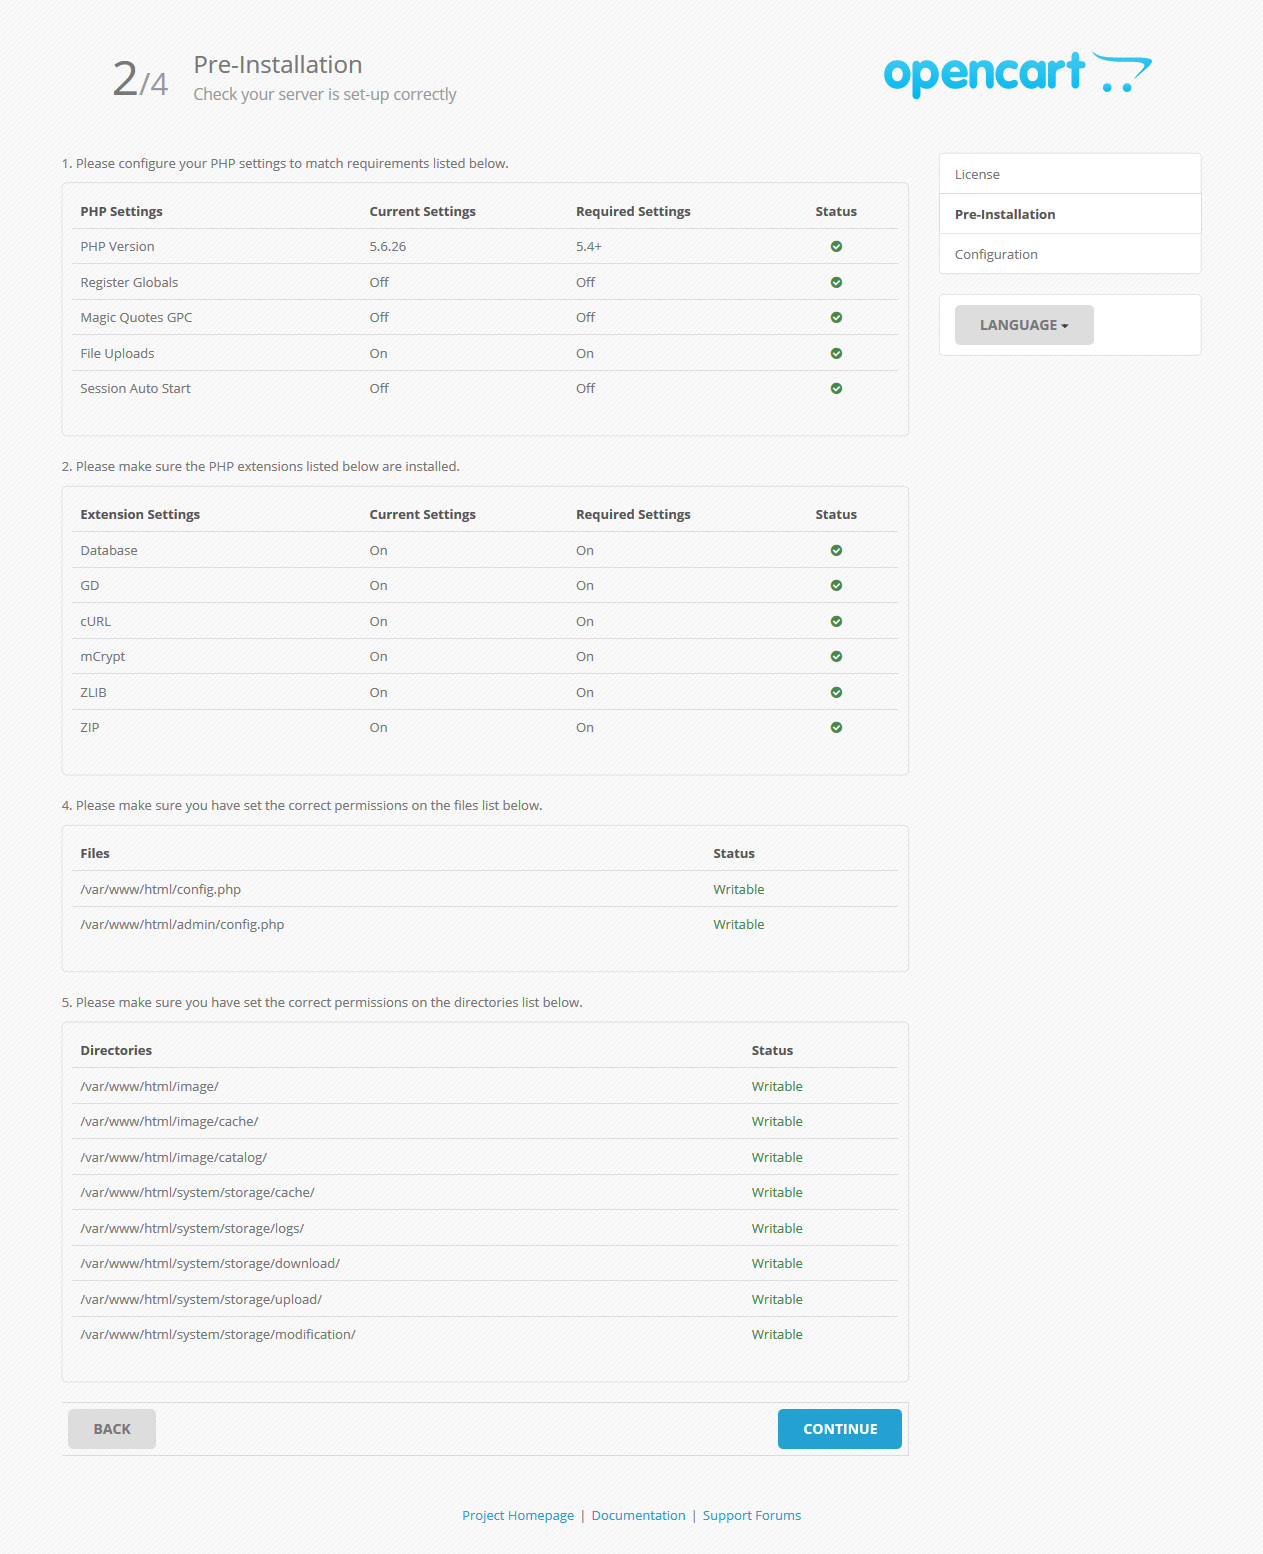
(2/4)Pre-Installation
全て緑色のチェックマーク、あるいは緑色の文字でWritableとなっているのを確認して、
CONTINUEをクリックします。
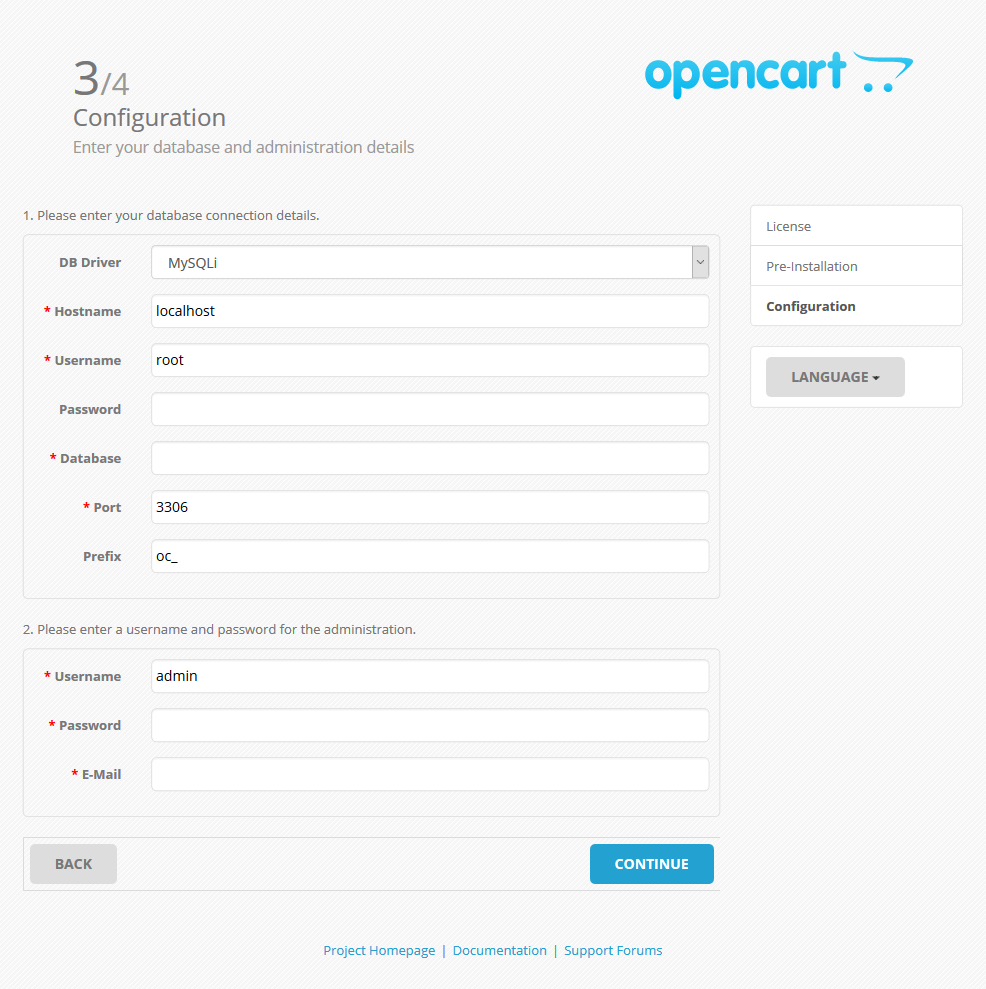
(3/4)Configuration
1.データベースへの接続設定
(Usernameはデータベースユーザ名なので注意してください)
DBDriver:MySQLi
Hostname:localhost
Username:ocuser
Password:mypassword
Database:oc2302
Port:3306
Prefix:oc_
2.管理者情報を設定
Username:admin
Password:adminpassword
E-Mail:test@example.com
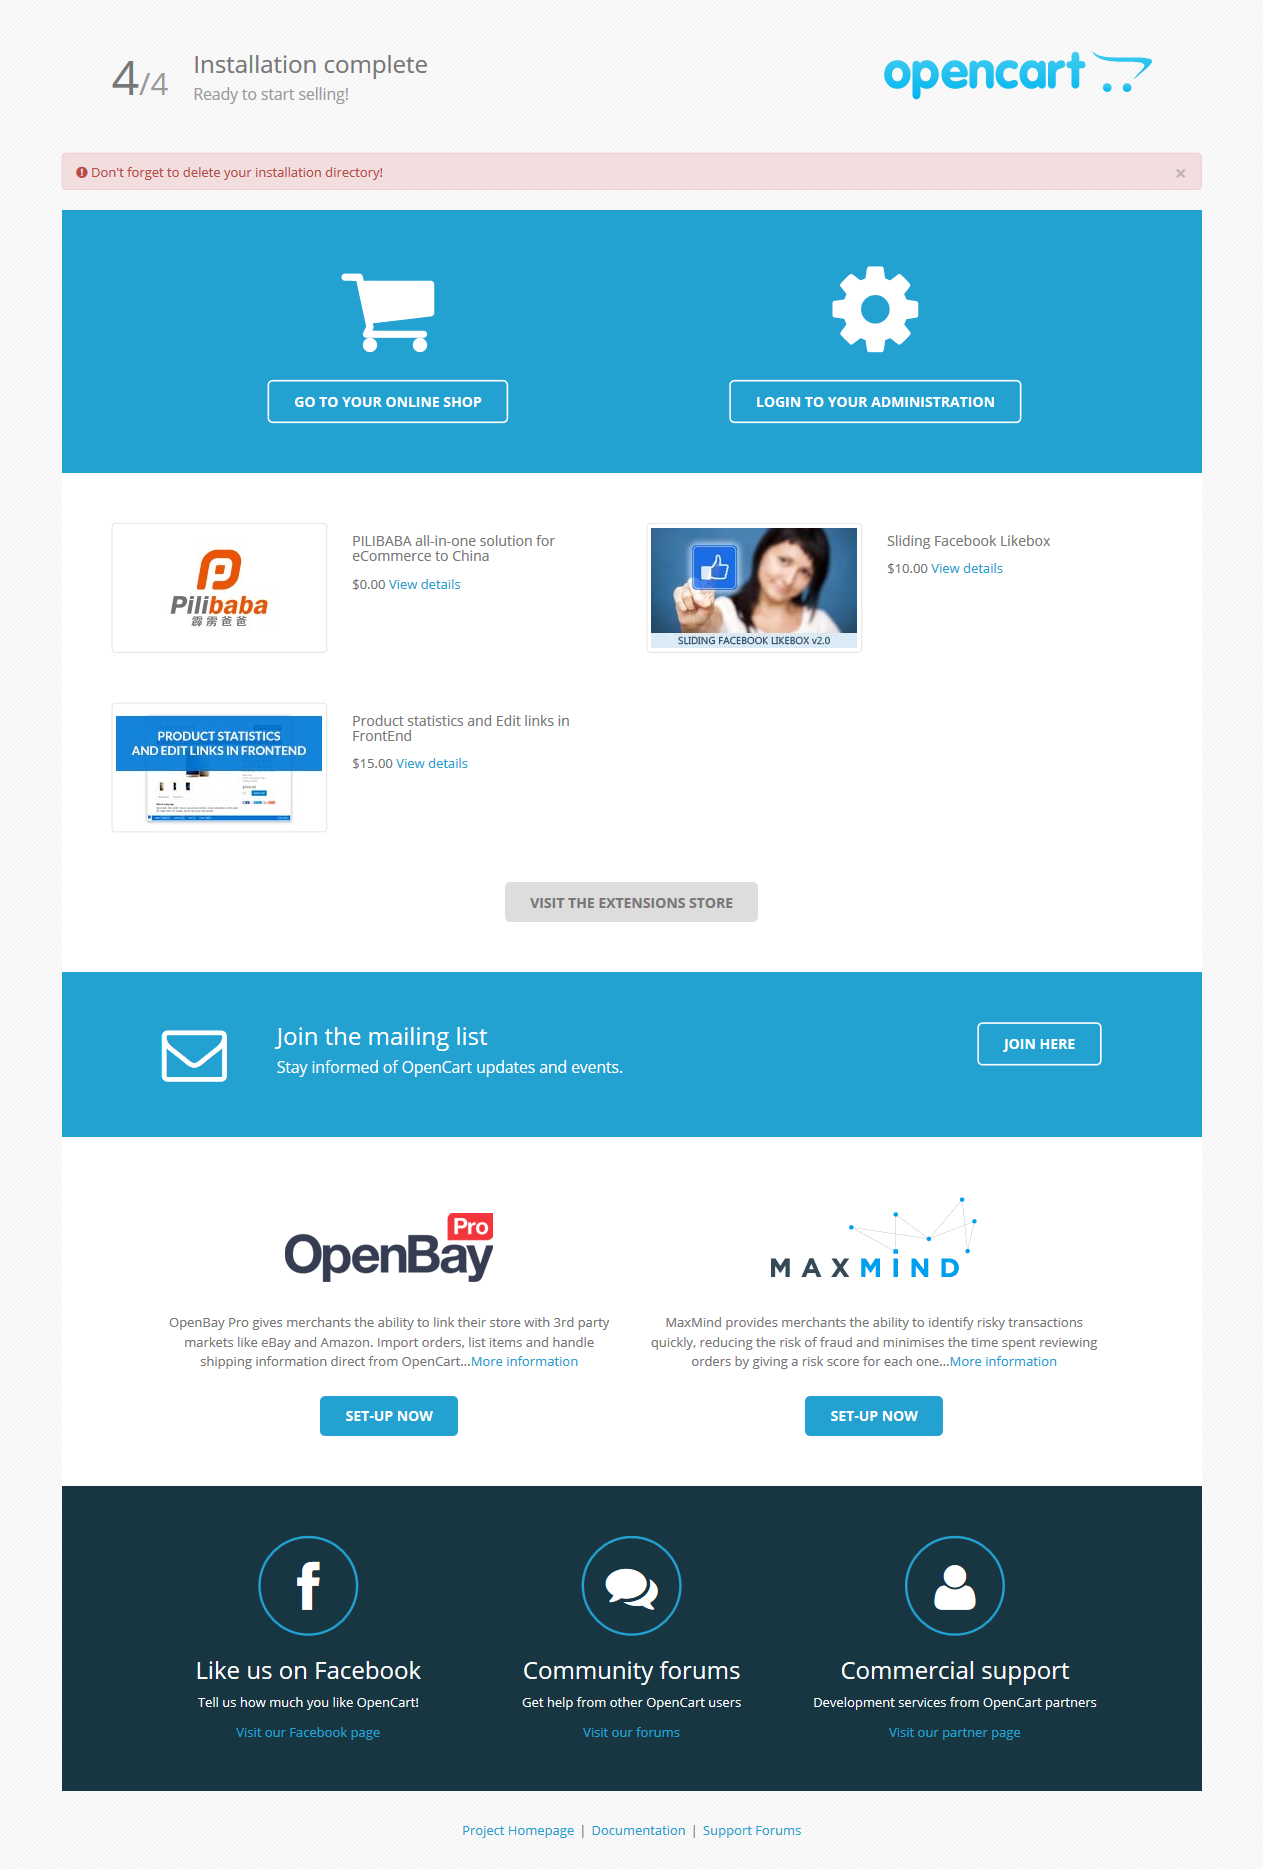
(4/4)Installation complete
installフォルダの削除
# rm -r /var/www/html/install/
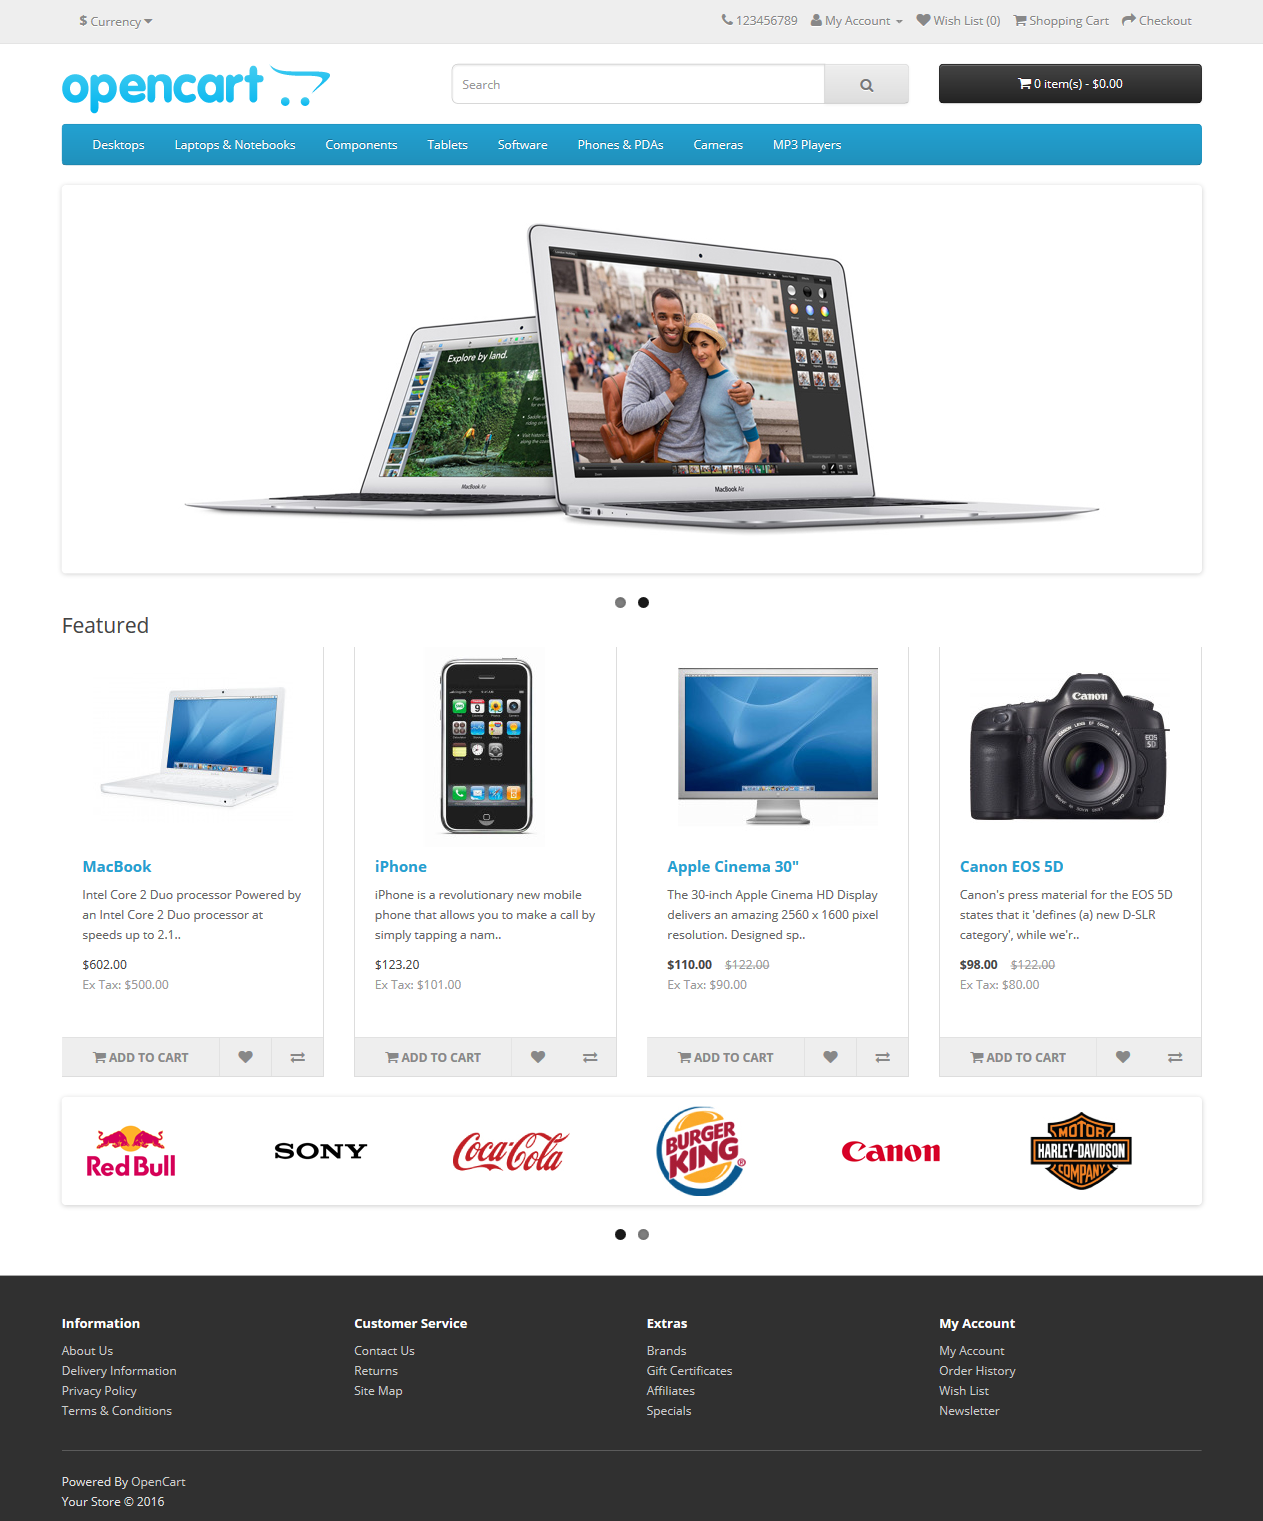
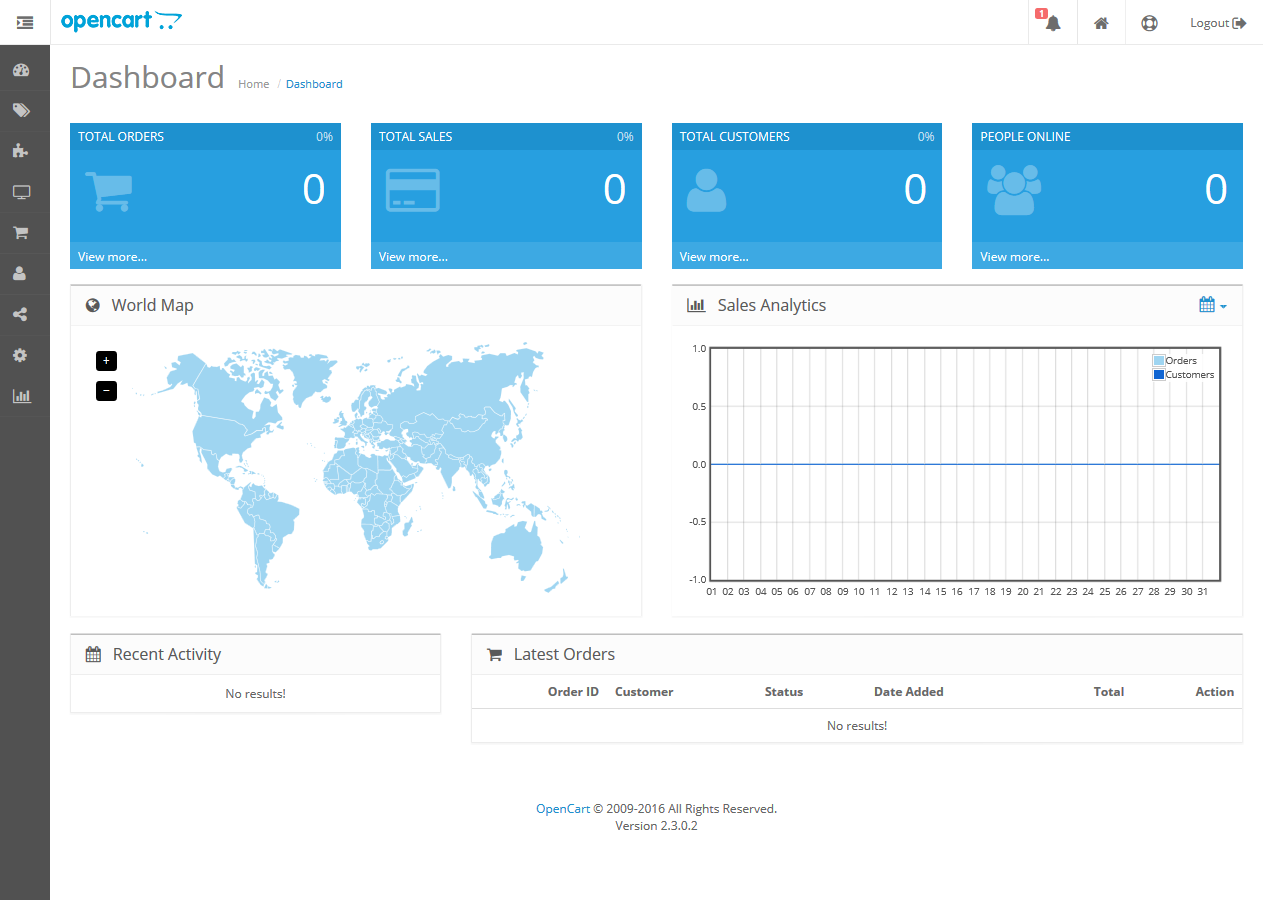
ショップ画面、管理者画面にアクセスする
以上です。
