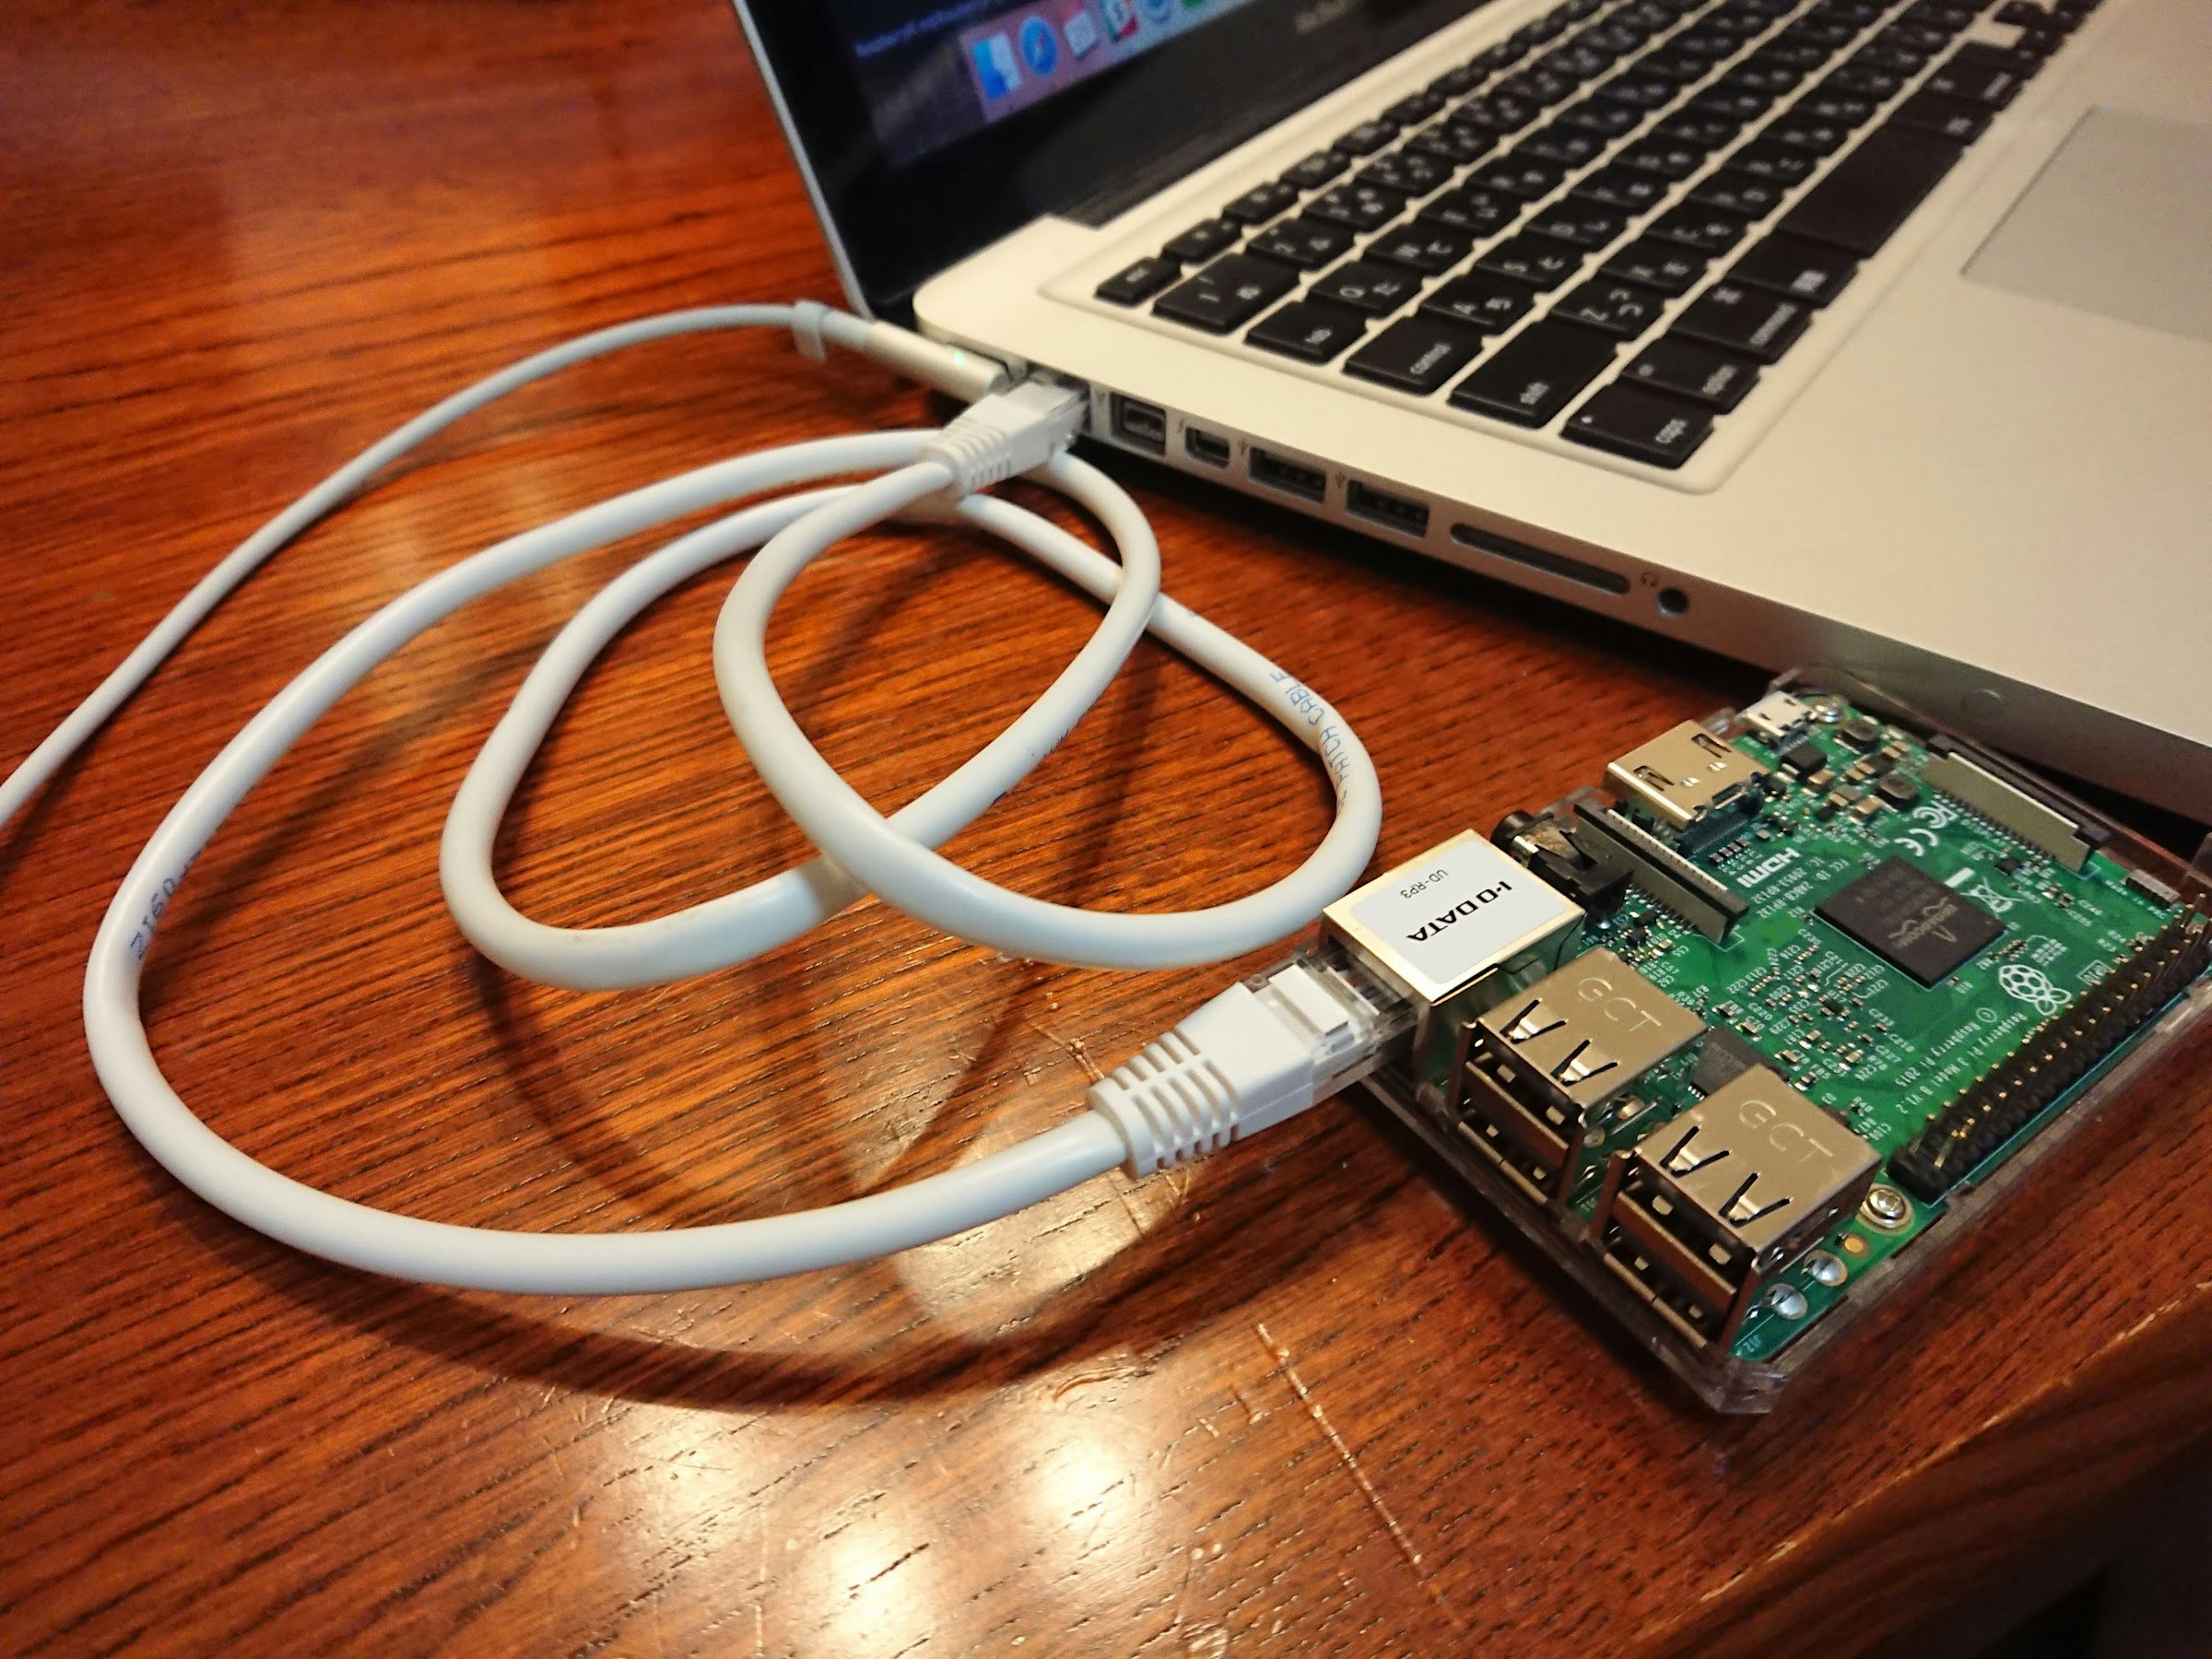
やりたいこと
Raspberry Pi(ラズパイ)をPCに繋げてVNCで作業がしたい。
要件
- ラズパイとPCを有線LANで直接接続するだけでVNC表示できること
前提
- ラズパイのVNCサーバー設定がONになっていること
- PC に Homebrew がインストールされていること https://brew.sh
- PC に VNC Viewer がインストールされていること https://www.realvnc.com/en/connect/download/viewer/
ネットワークに接続されているデバイスを調べる
arp-scan をインストール
brew install arp-scan
実行
$ sudo arp-scan --interface en0 -l
パスワードを求められたら、OSのパスワードを入力してください。
--interface ** で、調べるLANを指定できます。
実行結果
Interface: en0, datalink type: EN10MB (Ethernet)
Starting arp-scan 1.9 with 65536 hosts (http://www.nta-monitor.com/tools/arp-scan/)
111.222.3.444   aa:bb:cc:00:11:22   Raspberry Pi Foundation

137425 packets received by filter, 0 packets dropped by kernel
Ending arp-scan 1.9: 65536 hosts scanned in 263.793 seconds (248.44 hosts/sec). 1 responded
接続されているデバイスのIPとMACアドレスとデバイス名の一覧が出力されます。
あとは VNC Viewer でラズパイのIPを指定して接続すれば表示されます。
ラズパイの画面解像度を変更する
初期設定
ラズパイの初期設定の解像度は720x480になっているので、VNCで表示するとちょっと手狭です。
コンフィグ画面の手順
以下のコマンドでコンフィグ画面を開きます。
$ sudo raspi-config
コンフィグ画面が開いたら以下の手順を行ってください。
1. 「Advanced Options」を選択
2. 「A5 Resolution」を選択
3. 目的の解像度を選択
4. コンフィグ画面を終了
コンフィグ画面を終了する際、再起動を求められるのでRebootしてください。
