Pythonを使ってWebアプリを構築できるDjangoというライブラリがあります。また最近は、Webサービスを公開するにあたっては、サーバーを借りるよりもPaaSを使う方がイケているらしいです。という訳で、自分の中でのおさらいもかねて、Djangoでホームページを作ってHerokuにデプロイして公開するまでの手順をまとめます。あとこういうWeb系技術記事はなぜかMacのものが多いですが、本記事はWindows対応です。
- OS...Windows 10
- Python...3.7.0
- Django...2.2.0
仮想環境構築
なにはともあれ仮想環境を構築します。本記事ではAnacondaを使っていますが、pipenvでもなんでもよいです。最悪ローカルにあるPython環境をそのまま使ってもいいのですが、後でpip freezeする時にrequirements.txtがすごいことになるのであまりオススメしません。デプロイ時にコケる可能性も高いです。
C:\Users\hoge>conda create -n django-heroku python==3.7
C:\Users\hoge>conda activate django-heroku
(django-heroku) C:\Users\hoge\testproject>conda install django==2.2
pythonのバージョンはそこまでシビアでないので何でもいいと思いますが、なんとなく3.7を指定しています。サポートしているバージョンについてはこちらをどうぞ。
Djangoプロジェクト作成
(django-heroku) C:\Users\hoge\testproject>django-admin startproject testproject .
(django-heroku) C:\Users\hoge\testproject>python manage.py startapp testapp
C:\Users\hoge\testproject\testproject\settings.pyのINSTALLED_APPSという部分を以下のように編集します。
INSTALLED_APPS = [
    'django.contrib.admin',
    'django.contrib.auth',
    'django.contrib.contenttypes',
    'django.contrib.sessions',
    'django.contrib.messages',
    'django.contrib.staticfiles',
    'testapp',#追加
]
この段階ですでにローカルサーバーでは表示ができるはずです。
(django-heroku) C:\Users\hoge\testproject>python manage.py runserver
http://127.0.0.1:8000/ に接続すると以下のようになります。
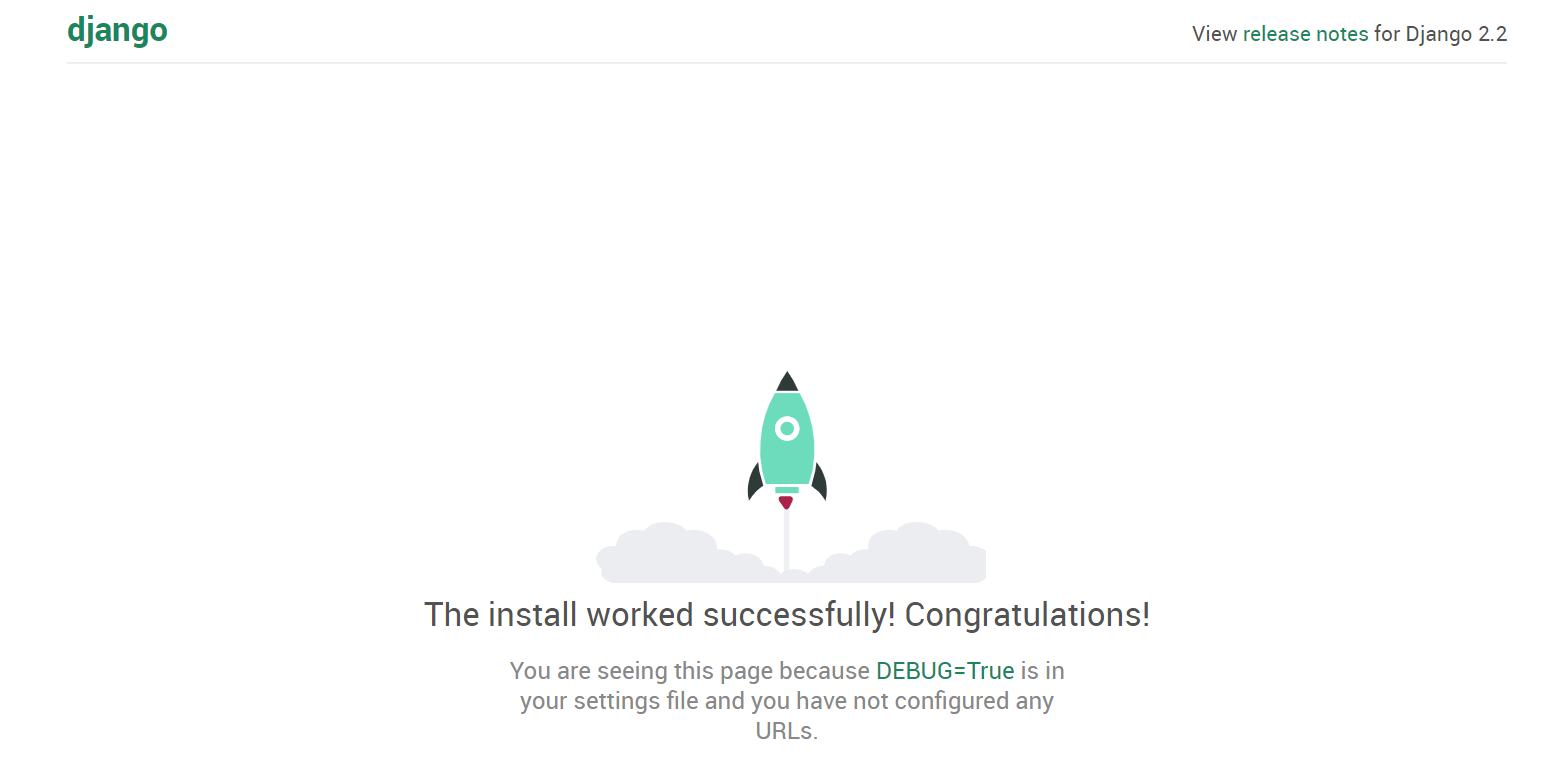
文字だけ表示
これに文字を表示させていきます。
C:\Users\hoge\testproject\testproject\urls.pyを以下のように編集します。
from django.contrib import admin
from django.urls import path

from django.urls import include #追加

urlpatterns = [
    path('admin/', admin.site.urls),
    path('',include("testapp.testappurls")) #追加
]
C:\Users\hoge\testproject\testappの下にtestappurls.pyというファイルを作成します(これだけはデフォルトでは存在しないんですね)。そのファイルを以下のように編集します。
from django.urls import path
from . import views

app_name = 'testapp'

urlpatterns = [
    path('', views.index, name='index'),
]
C:\Users\hoge\testproject\testapp\views.pyを以下のように編集します。
from django.shortcuts import render

# Create your views here.

from django.http import HttpResponse #追加


def index(request):#追加
    return HttpResponse('はろわ')#追加
http://127.0.0.1:8000/ の表示は以下のようになるはずです。
デプロイ
これをデプロイします。いくつかの設定ファイルを作成していきます。
(django-heroku) C:\Users\hoge\testproject>echo web: gunicorn testproject.wsgi --log-file - > Procfile
(django-heroku) C:\Users\hoge\testproject>echo python-3.7.0 > runtime.txt
(django-heroku) C:\Users\hoge\testproject>pip install django-heroku
(django-heroku) C:\Users\hoge\testproject>pip install gunicorn
(django-heroku) C:\Users\hoge\testproject>pip freeze > requirements.txt
※Anaconda環境下でのpipは推奨されませんが、モジュールによってはcondaでインストールできないのでやむなく使っています。
現在はローカルのデバッグ環境になっているので、本番環境にします。C:\Users\hoge\testproject\testproject\settings.pyのDEBUGとALLOWED_HOSTSの部分を以下のように編集します。
# SECURITY WARNING: don't run with debug turned on in production!
DEBUG = False

ALLOWED_HOSTS = ['*']
gitリポジトリを作ってHerokuにプッシュしていきます。gitやHerokuのCLI(コマンドラインインスターフェース)のインストールは済んでいるものと仮定します。
(django-heroku) C:\Users\hoge\testproject>git init
(django-heroku) C:\Users\hoge\testproject>git add .
(django-heroku) C:\Users\hoge\testproject>git commit -m "first commit"
(django-heroku) C:\Users\hoge\testproject>heroku login
(django-heroku) C:\Users\hoge\testproject>heroku create hibit-webpage-test
(django-heroku) C:\Users\hoge\testproject>heroku config:set DISABLE_COLLECTSTATIC=1
(django-heroku) C:\Users\hoge\testproject>git push heroku master
これで公開できました!
https://hibit-webpage-test.herokuapp.com/ にアクセスすると以下のようになるはずです。
注意点
とりあえずWebコンテンツ(文字だけ)をURLで公開するということだけを目指したので、データベースのmigrationとか、セキュリティとか何も考えていません。そこら変はおいおい対応して続編を書いていこうと思います。
お世話になったページ
https://qiita.com/noraricl/items/08937a508a2abecc7179
https://qiita.com/frosty/items/66f5dff8fc723387108c