概要
Spring BootとHerokuを使ってメール送信をします。
やり方
HerokuのSendGridというaddonを利用してメールを送信します。
事前準備
- heroku CLIのインストール済
- Spring BootのアプリケーションをHerokuにデプロイする
- Herokuのアカウントにクレジットカードを登録する(ここから登録)(addonが利用できるようになります)
手順
※herokuのアプリケーション名は、gosshys-testprojectにしています。
SendGridのaddonを追加
以下のコマンドでSendGridのaddonを登録します。コマンドは、デプロイ済のSpring Bootのアプリケーションのgitリポジトリで実行してください。
heroku addons:create sendgrid:starter
実行結果
$ heroku addons:create sendgrid:starter
Creating sendgrid:starter on ⬢ gosshys-testproject... free
Created sendgrid-convex-82110 as SENDGRID_PASSWORD, SENDGRID_USERNAME
Use heroku addons:docs sendgrid to view documentation
成功したら以下のコマンドで、SendGridの環境変数がセットされていることを確認します。自動的にSendGridのユーザー(メールアドレス)とパスワードがセットされます。
$ heroku config:get SENDGRID_USERNAME
app99999999@heroku.com
$ heroku config:get SENDGRID_PASSWORD
xxxpasswdxxx
アカウントのクレジットカード情報を登録していないとが追加できません
Please verify your account to install this add-on planのエラーがでています。
$ heroku addons:create sendgrid:starter
Creating sendgrid:starter on ⬢ gosshys-testproject... !
 ▸    Please verify your account to install this add-on plan (please enter a credit card) For more information, see https://devcenter.heroku.com/categories/billing Verify now at https://heroku.com/verify
SendGridのAPIキーを取得する
SendGridのドキュメントのObtaining an API keyを参考にSendGridのAPIキーを取得します。

Go hereのhere部分をクリックするとSendGridのAPIキーの取得の画面に遷移します。
最初のアクセス時は、ログイン画面がでてきますが、ここに先程heroku config:getで取得したSendGridのユーザーとパスワードを入力します。
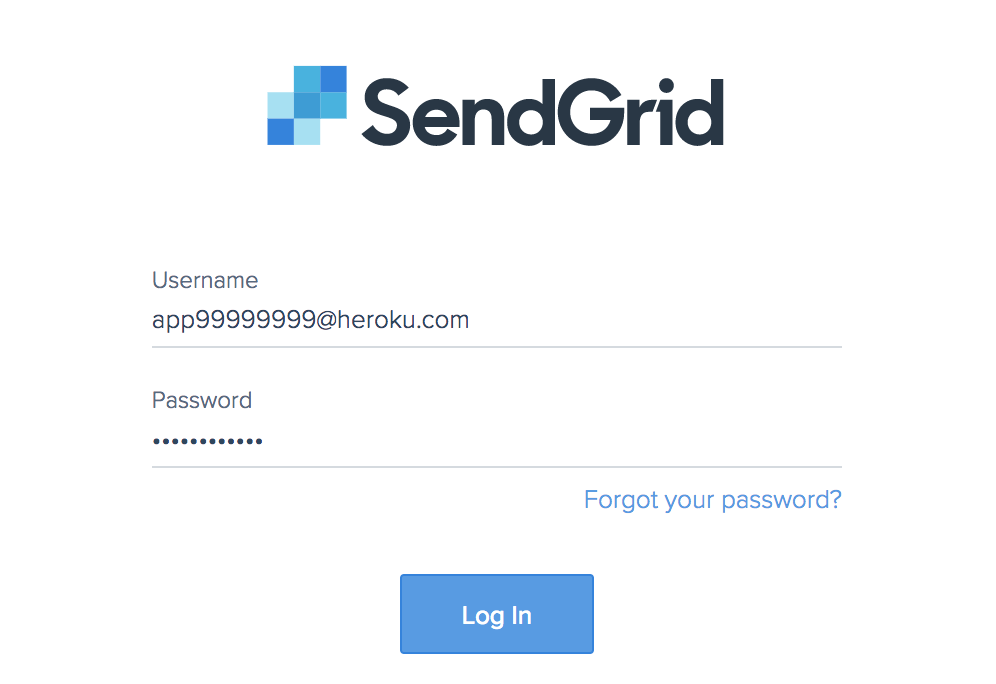
ログインするとこんな画面がでてきます。
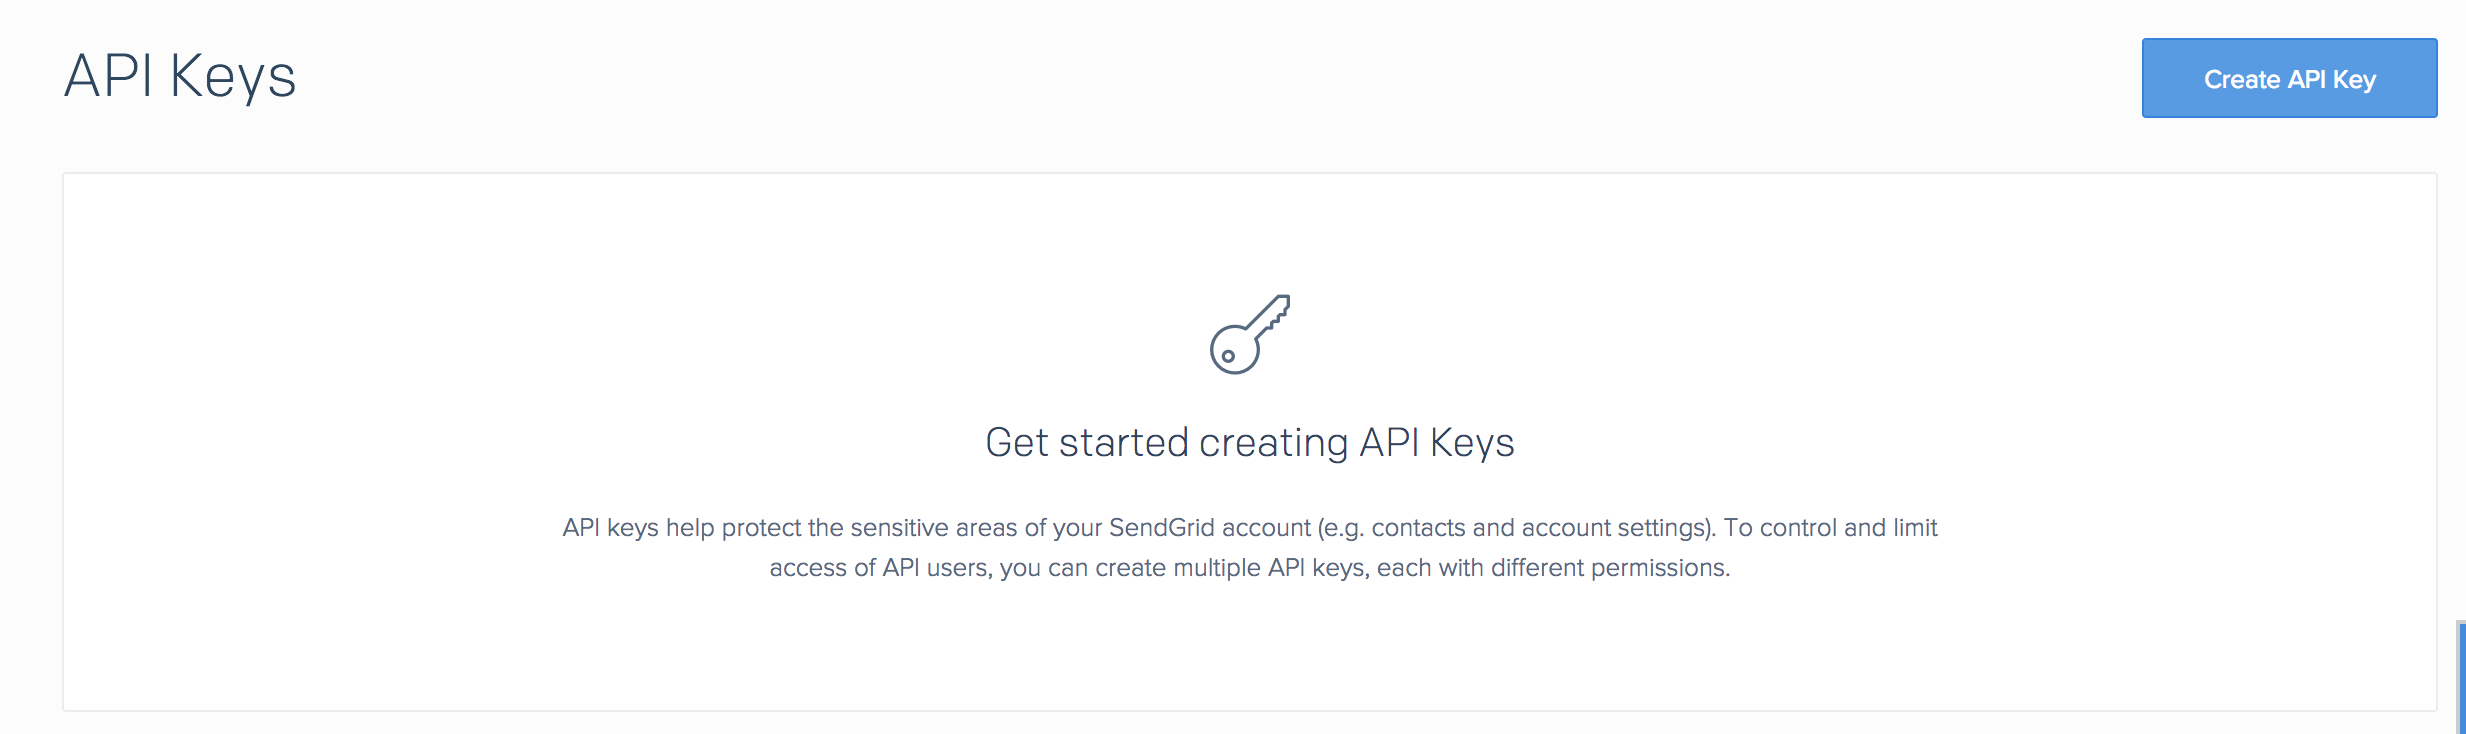
画面右上の「Create API Key」ボタンをクリックすると、APIキー生成の画面が現れます。
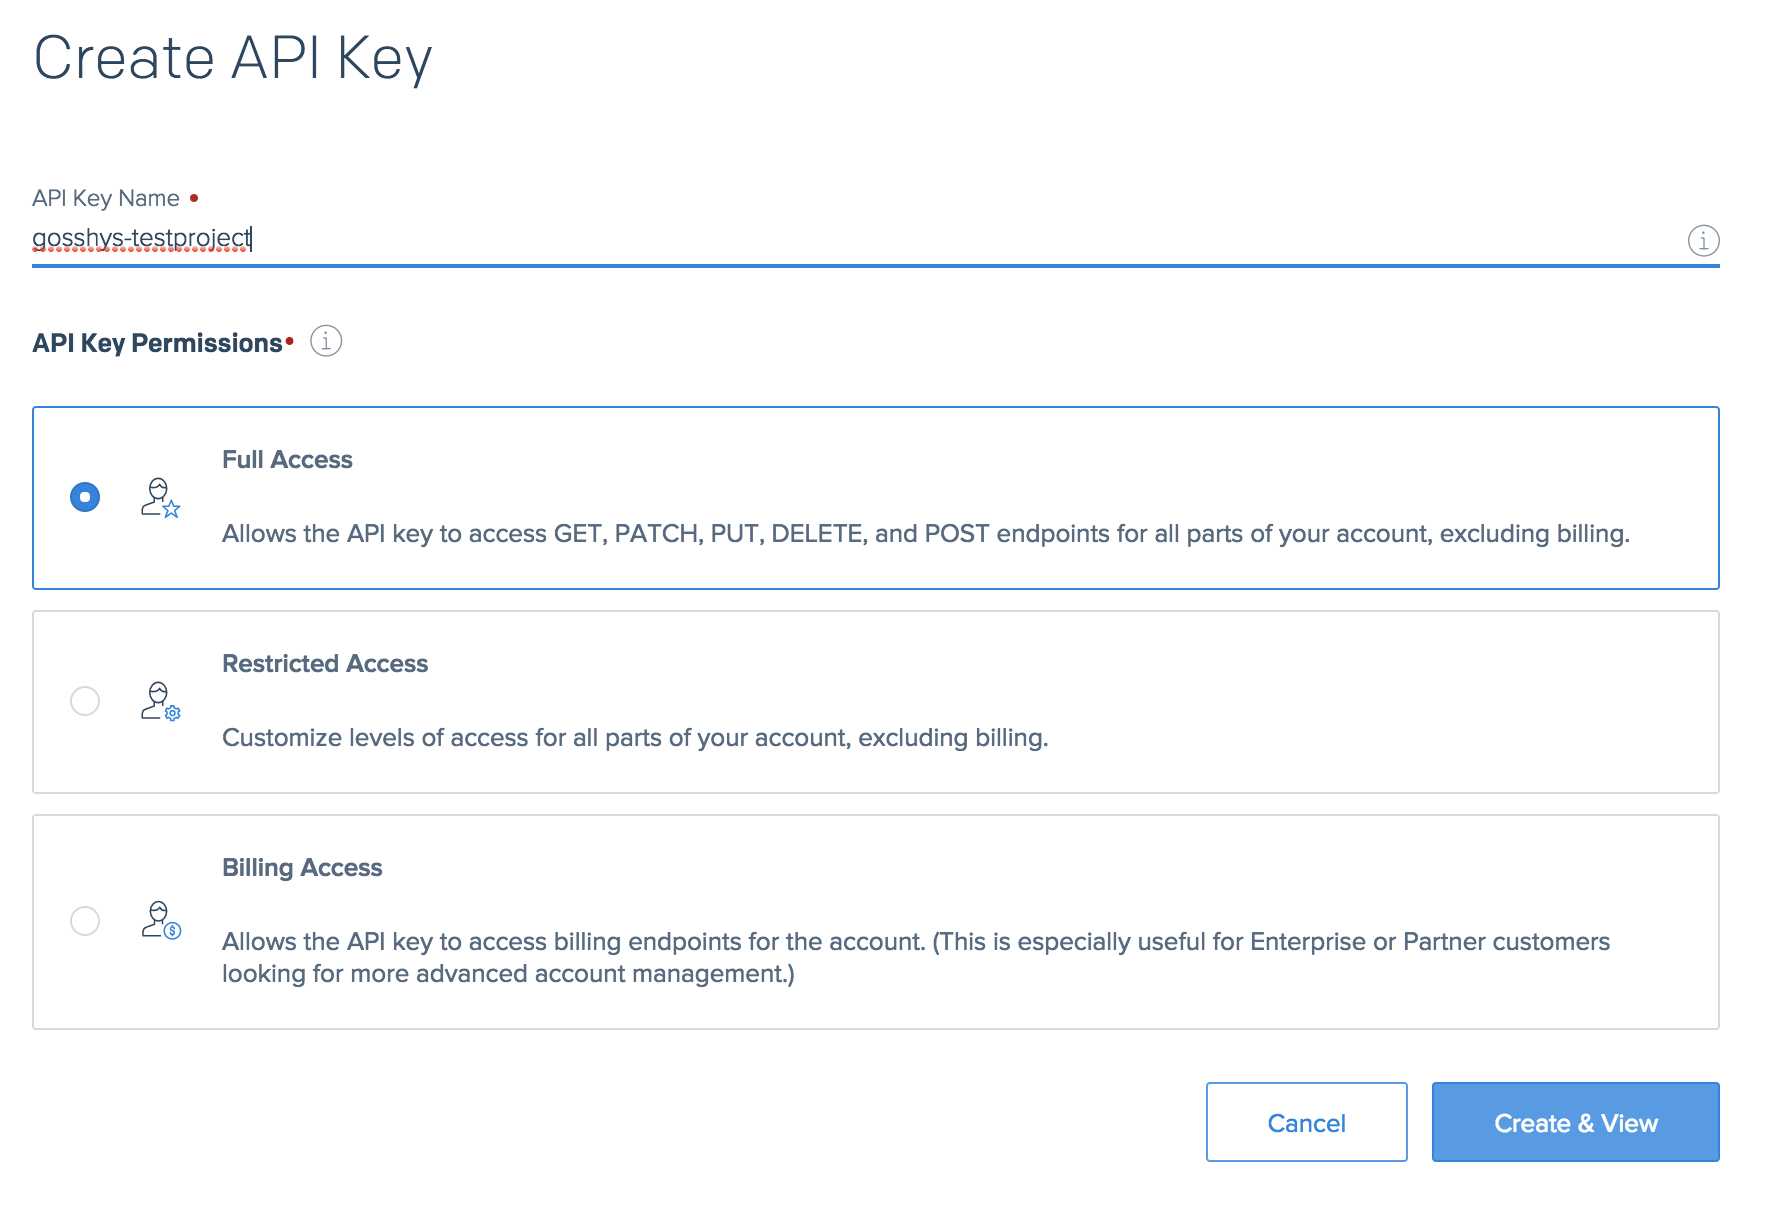
- 「API Key Name」にAPIキーの説明を入れます。ここは単純にHerokuのアプリケーション名を入れました。
- 「API Key Permissions」は、「Full Access」と「Restricted Access」のどちらかを選択します。「Billing Access」は、主にエンタープライズ向けのようなので選択しません。また「Restricted Access」は細かくメールの機能を制限できますが、今はどの機能を制限すべきか定かでないので「Full Access」を選択します。
「Create & View」ボタンを押してAPIキーを生成します。
APIキー生成
「Create & View」ボタンをクリックすると以下の画面が現れます。セキュリティの観点からこの画面は1度しか表示されないので、赤字の下にでてくる英数字の羅列をコピーしてどこかにメモしておきます。

APIキーをコピーしてメモしたら「Done」ボタンを押します。するとAPIキーの一覧画面に遷移するので、そこで「API Key ID」と*でマスク化された「API KEY」が参照されます。

Herokuの環境変数にSendGridのAPIキーIDとAPIキーを設定する
ドキュメントのSetup API key environment variableの手順に従ってHerokuの環境変数にSendGridのAPIキーIDとAPIキーを設定します。
$ heroku config:set SENDGRID_API_KEY=(SendGridのページでメモしたAPIキー、APIキーIDではないので注意)
Setting SENDGRID_API_KEY and restarting ⬢ gosshys-testproject... done, v7
SENDGRID_API_KEY: (SendGridのページでメモしたAPIキーが表示されます)
Spring Bootのアプリケーションでメールを送る
ドキュメントのjavaを参考に、Spring Bootにメール送信のプログラムを追加します。
pomにSendGridのライブラリを追加
mavenのpom.xmlのdependenciesに以下を追加します。現時点で4.1.2が最新のようなのでそれを追加しました。Gradleの方はドキュメントに例があります。
        <dependency>
            <groupId>com.sendgrid</groupId>
            <artifactId>sendgrid-java</artifactId>
            <version>4.1.2</version>
        </dependency>
Spring Bootのコントローラーにメール送信機能を追加
Spring BootのRestControllerにドキュメント内のサンプルをベタ貼りします。Kotlinで書いていてしまっていますが、Javaで大丈夫です。
package com.koiwaimilk.tsukigaoka.core.controller

import com.sendgrid.*
import org.springframework.web.bind.annotation.RequestMapping
import org.springframework.web.bind.annotation.RequestParam
import org.springframework.web.bind.annotation.RestController
import java.io.IOException


@RestController
@RequestMapping(value = "/mail")
class MailSendController {
    @RequestMapping(value = "/send")
    fun send(@RequestParam(value = "contents", defaultValue = "Hello, Email!") contents: String): String {
        val from = Email("test@example.com")
        val subject = "Hello World from the SendGrid Java Library!"
        val to = Email("(ここに送信先のメールアドレスを設定します)")
        val content = Content("text/plain", "Hello, Email!")
        val mail = Mail(from, subject, to, content)

        val sg = SendGrid(System.getenv("SENDGRID_API_KEY"))
        val request = Request()
        try {
            request.method = Method.POST
            request.endpoint = "mail/send"
            request.body = mail.build()
            val response = sg.api(request)
            System.out.println(response.statusCode)
            System.out.println(response.body)
            System.out.println(response.headers)
        } catch (ex: IOException) {
            throw ex
        }

        return "OK"
    }
}
ローカル環境の環境変数の設定
ローカルで動作させる場合は、SENDGRID_API_KEYの設定が必要になるのでIDEのアプリケーション起動時の環境変数にSENDGRID_API_KEYを設定します。例はIntelliJです。
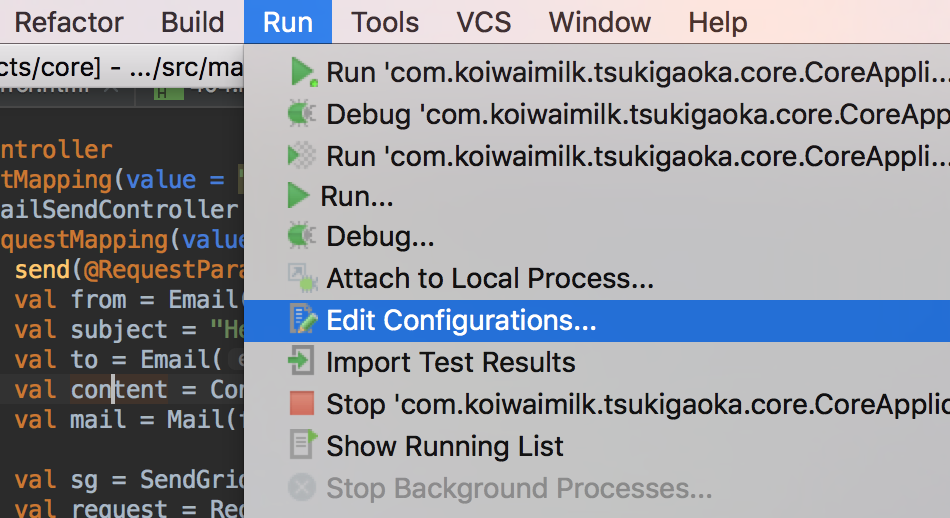
「メニュー」ー「Run」ー「Edit Configurations」
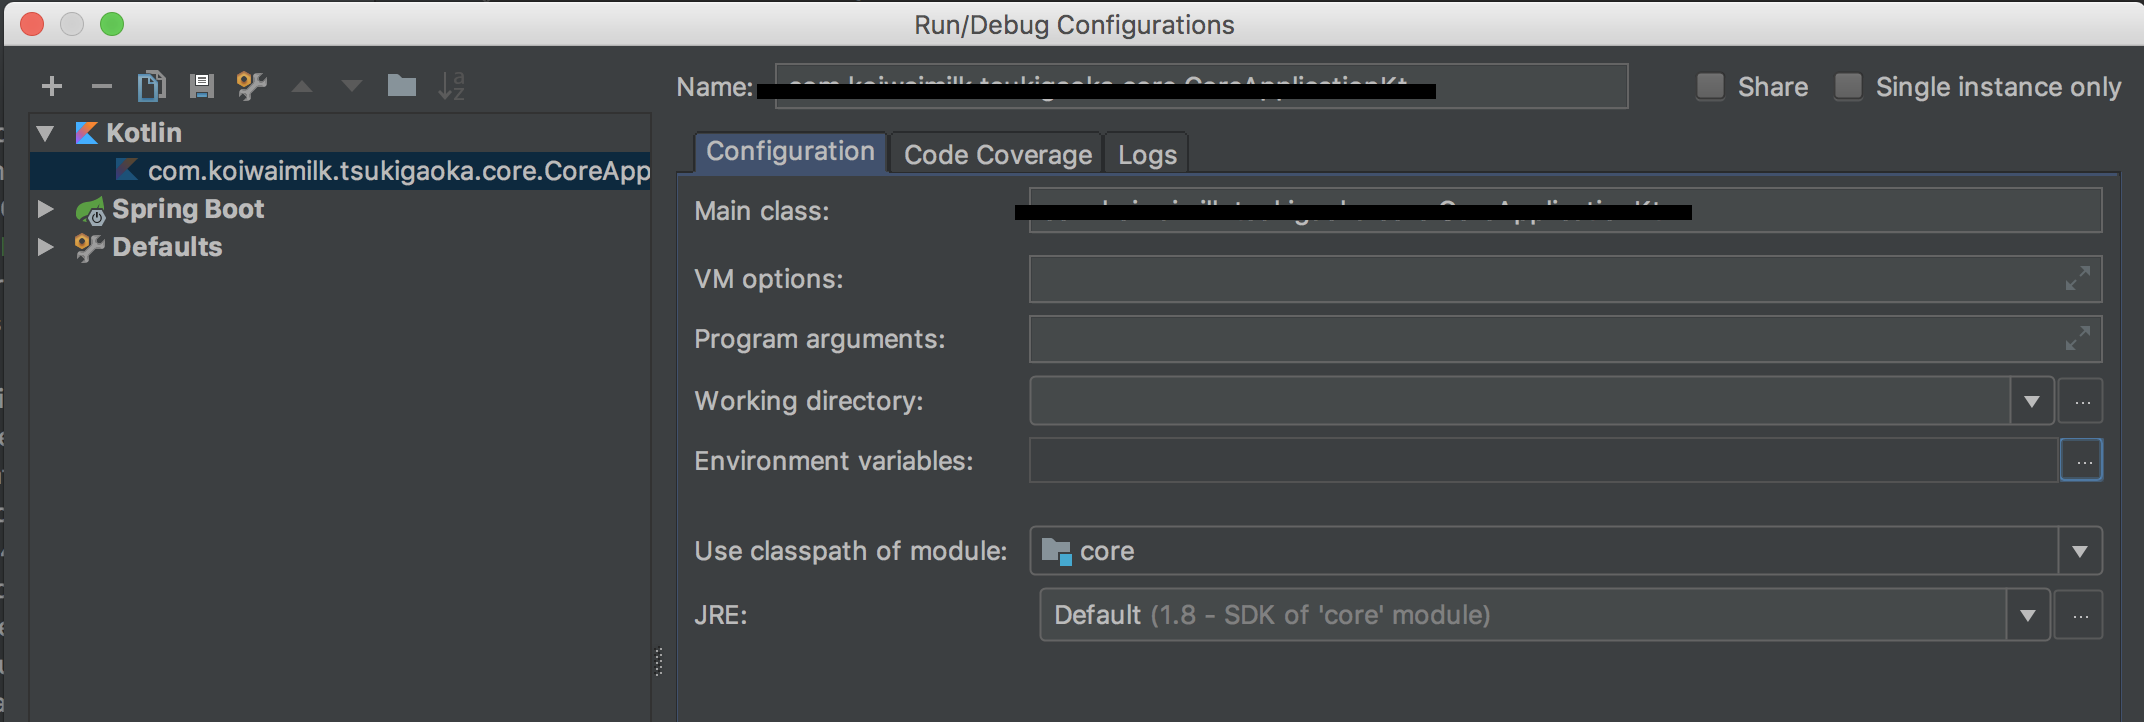
「Enviroment variables」の「...」マークをクリック
「+」ボタンをクリックして、SendGridの環境変数のキー「SENDGRID_API_KEY」とAPIキー(APIキーIDではない)を入力して「OK」ボタンをクリック
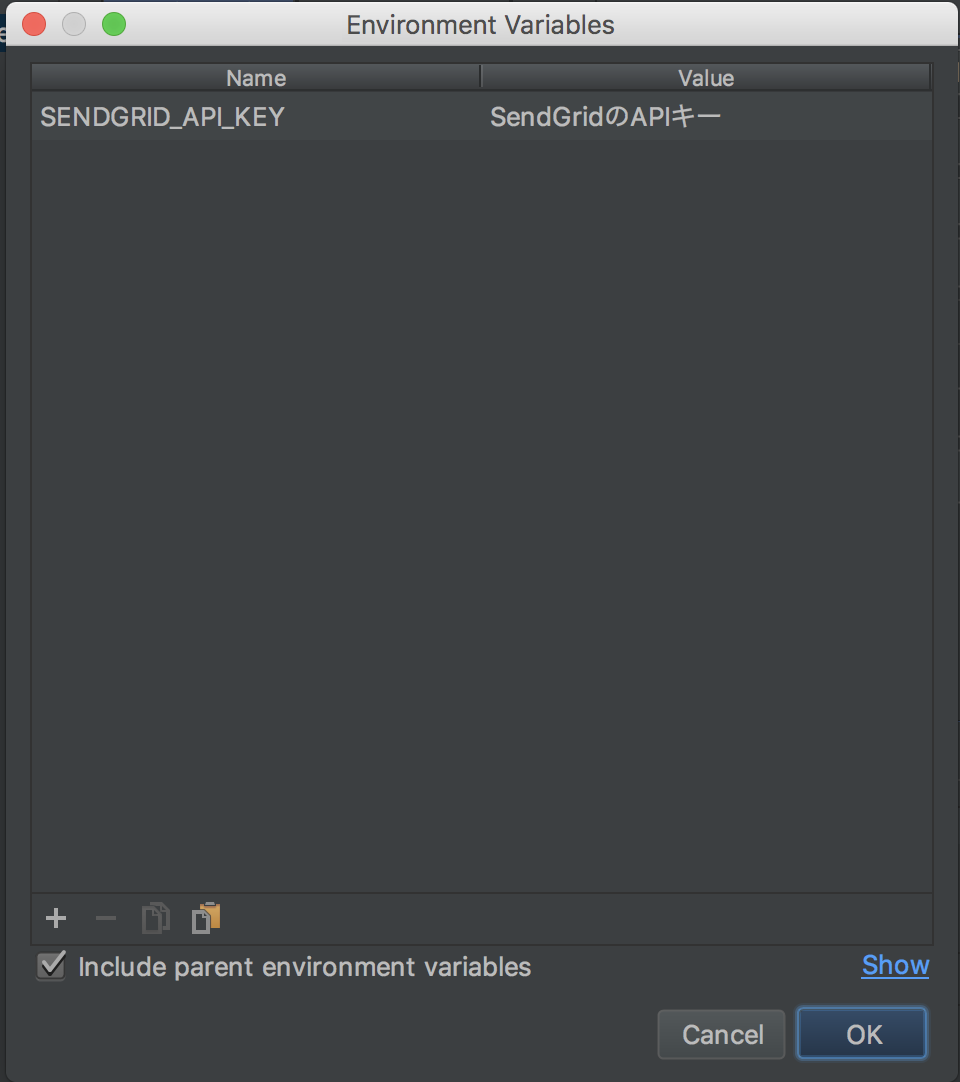
「Enviroment variables」に入力したAPIキーが設定されていることを確認して、「OK」ボタンをクリックして設定を完了します。

Spring Bootの起動とメール送信
Spring Bootを起動します。
curlを利用して、メール送信コントローラーをコールします。
$ curl localhost:8080/mail/send
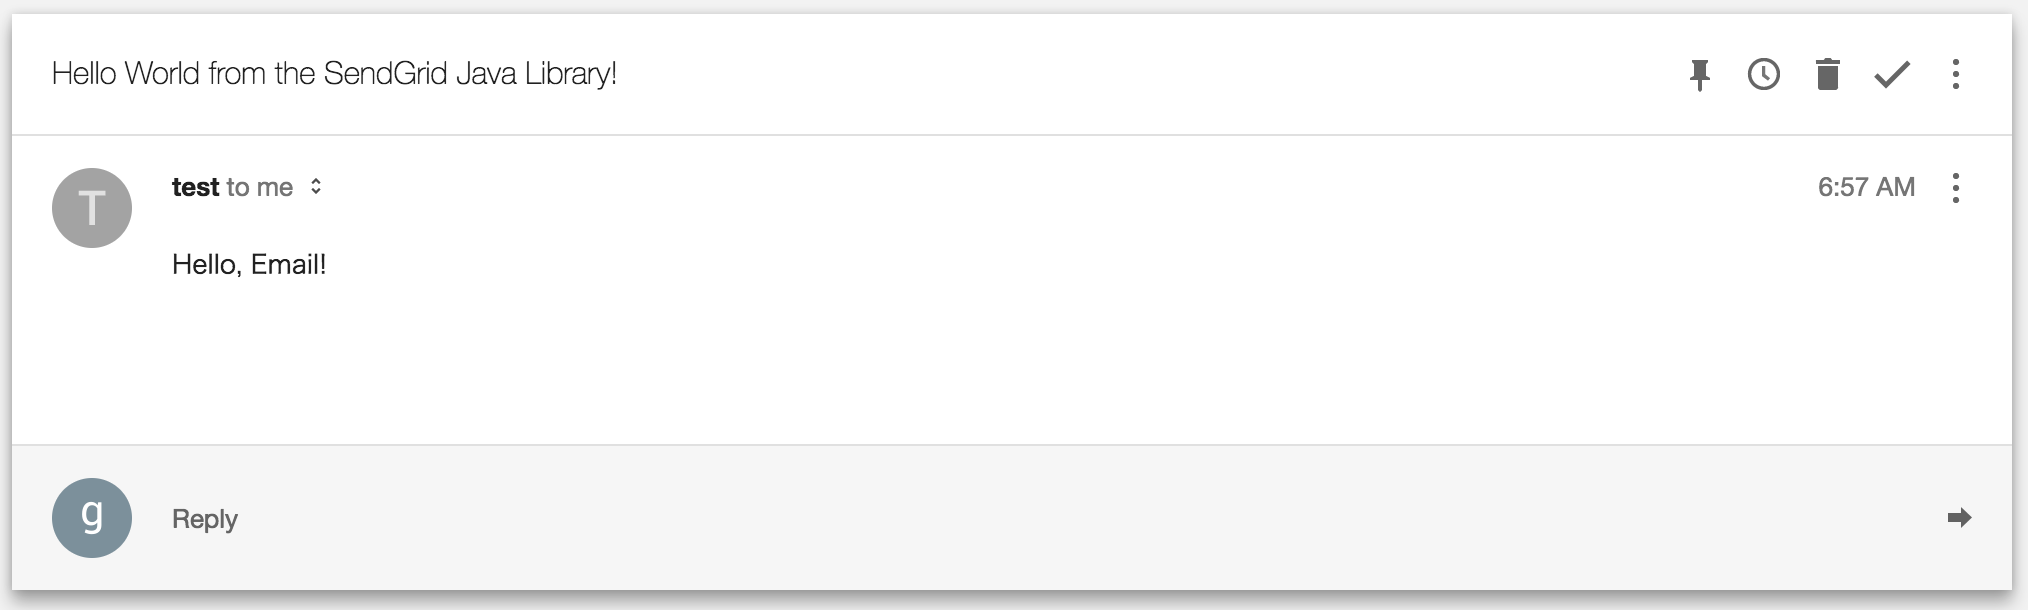
数分後
メールボックを確認するとメールが届いています。