前提
Storybookが入ったGitHubリポジトリを用意してください。私は https://github.com/chromaui/intro-storybook-react-template をクローンしました。
ログ
Chromatic に GitHubリポジトリ を登録する
- https://www.chromatic.com/ にアクセスする
- "Get started for free" をクリックする

- "Choose from GitHub" をクリックする

- 登録するリポジトリを選択する
- "Storybook" を選択する

- プロジェクトが作成された

リポジトリをセットアップする
package.jsonを置いたディレクトリで、先ほどの画面に書いてあるコマンドを実行する。
% npx chromatic --project-token=chpt_******************13
Chromatic CLI v13.1.4
https://www.chromatic.com/docs/cli
✔ Authenticated with Chromatic
→ Using project token '******************13'
✔ Retrieved git information
→ Commit '********' on branch 'main'; no ancestor found
✔ Collected Storybook metadata
→ ; using the @storybook/react-vite builder (9.1.5); no supported addons found
✔ Initialized build
→ Build 5 initialized
✔ Storybook built in 5 seconds
→ View build log at /path/to/project/build-storybook.log
✔ Preparation complete
→ Storybook files validated and prepared for upload
✔ Publish complete in 5 seconds
→ Uploaded 55 files (7.17 MB)
✔ Started build 5
→ Continue setup at https://www.chromatic.com/setup?appId/****************
✔ Build 5 completed
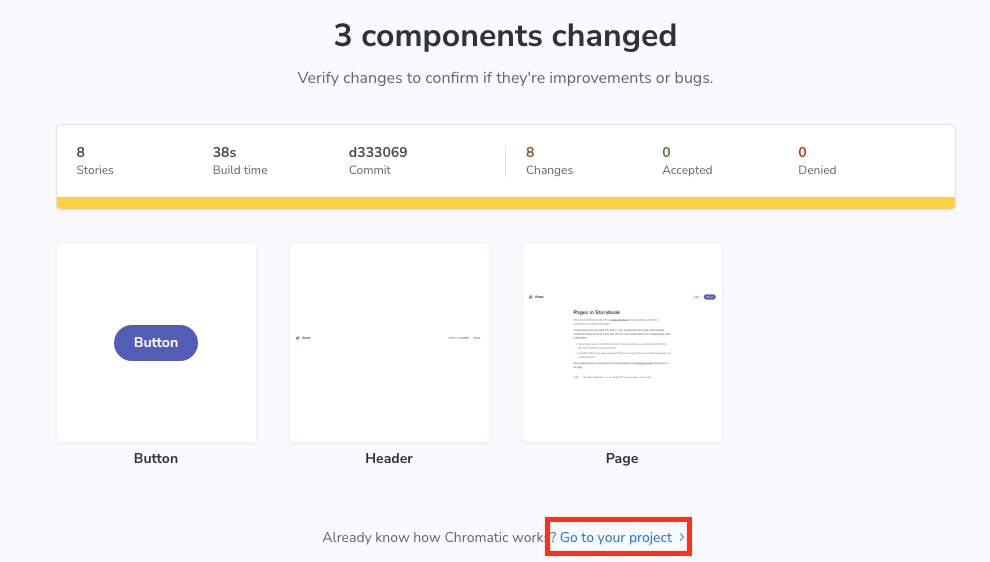
→ Tested 8 stories across 3 components; captured 8 snapshots in 31 seconds
✔ Storybook published
すると、先ほどの画面の Next ボタンが押せるようになり、下記のページに遷移する。Go to your project から作成した作成したプロジェクトを見ることができる。
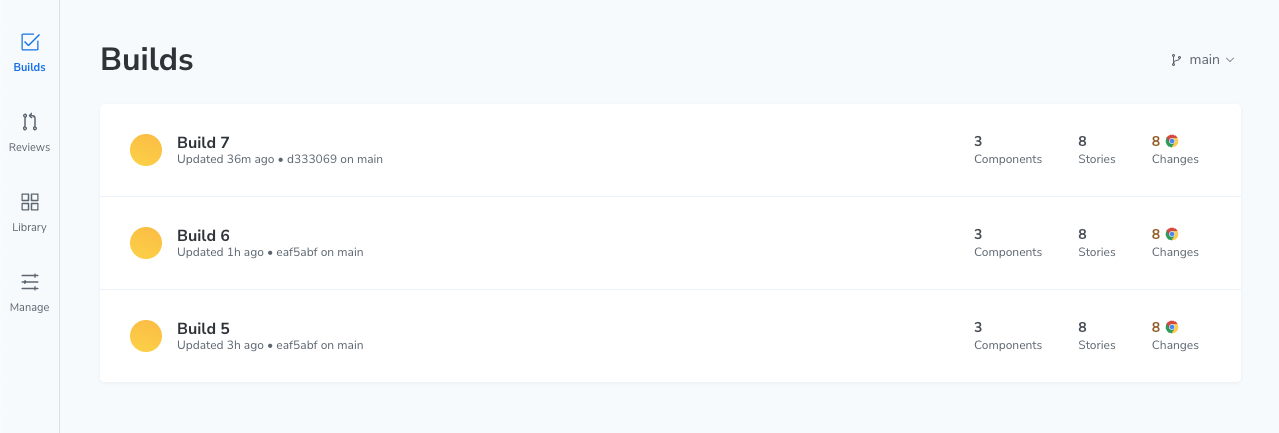
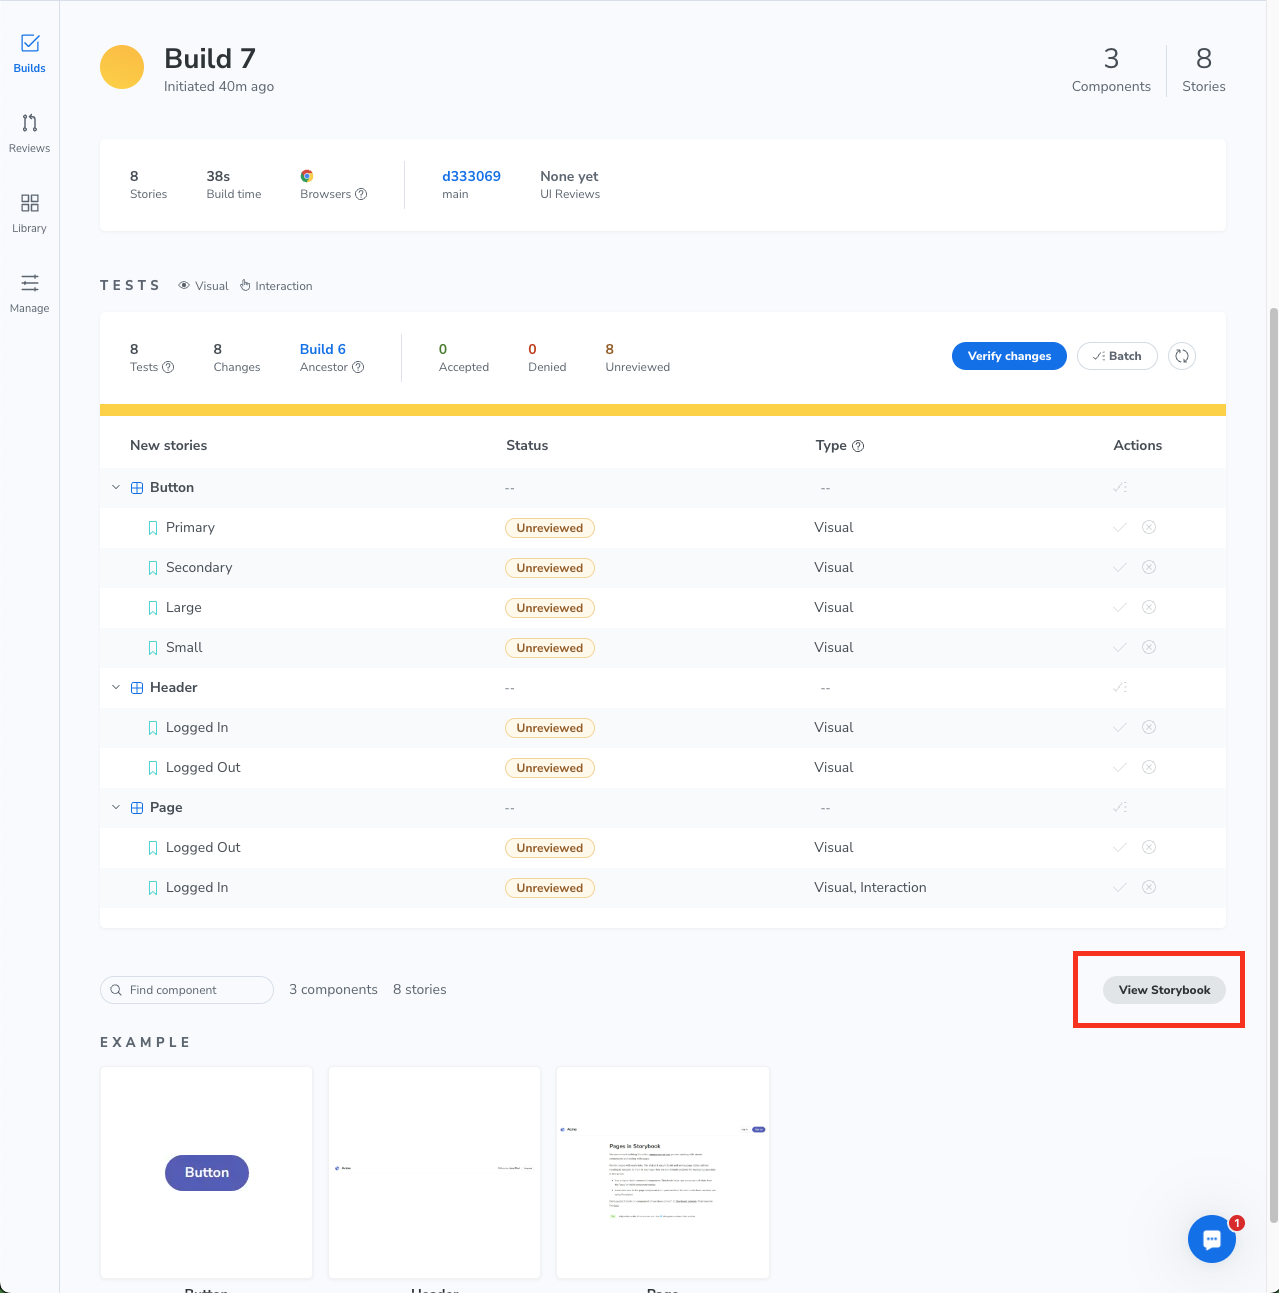
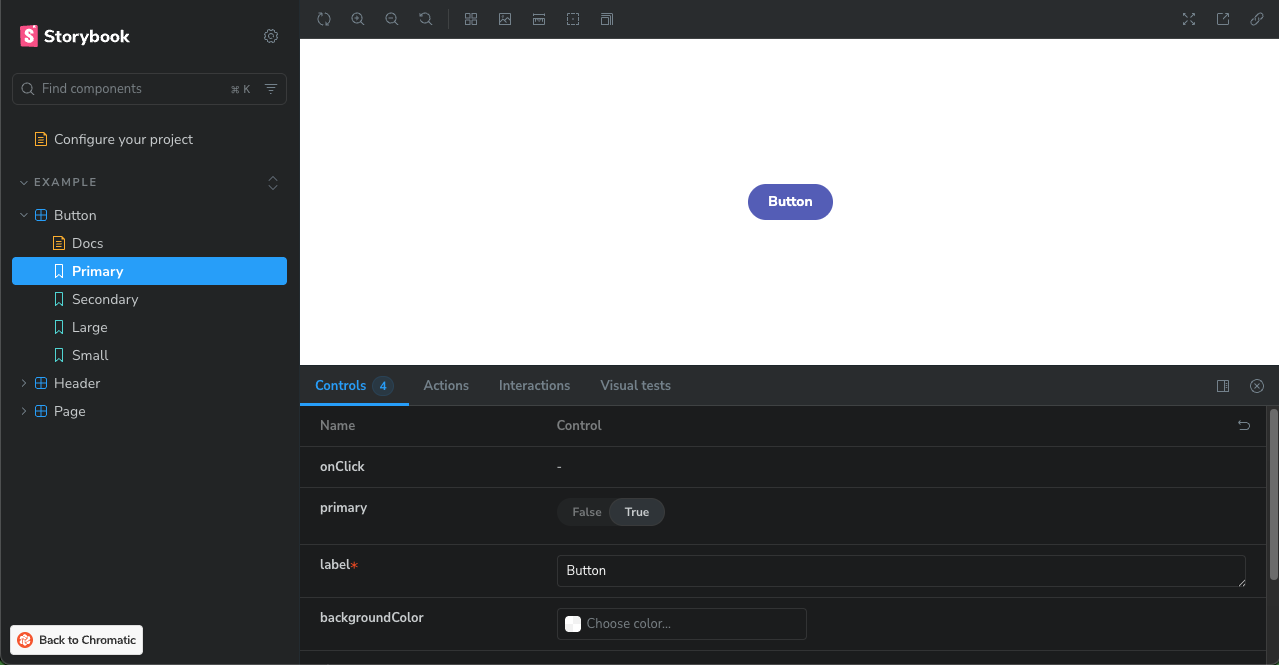
アップロードされた Storybook を見る
見たいバージョンの Build を選択し、ページ下方の View Storybook を押すとアップロードされたStorybookを見ることができる。
パイプライン整備
1. chromatic.yml の作成
下記のサイトを参考に chromatic.yml を作成する。
https://storybook.js.org/docs/sharing/publish-storybook#setup-ci-to-publish-automatically
2. 環境変数の設定
-
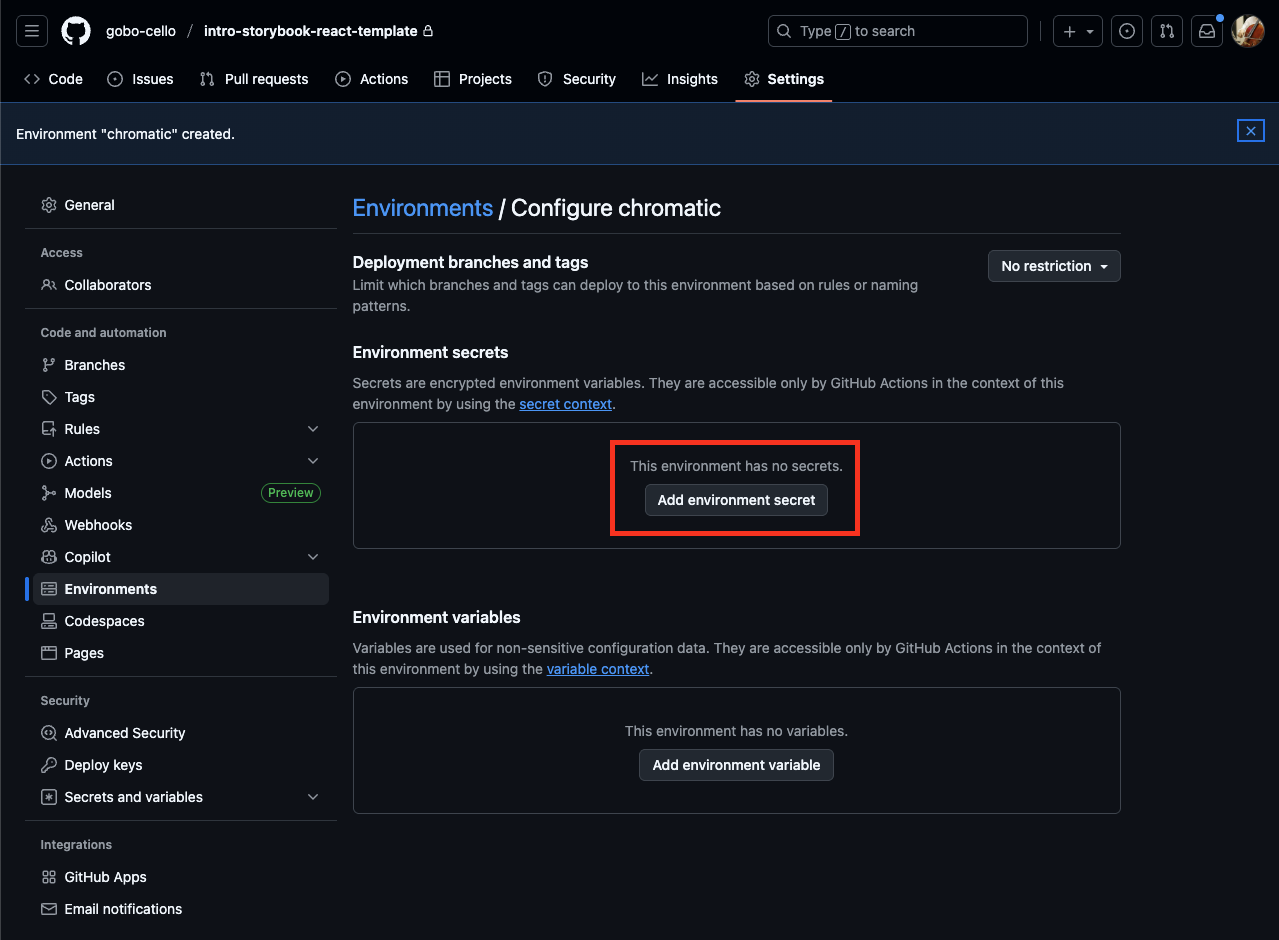
GitHubリポジトリの
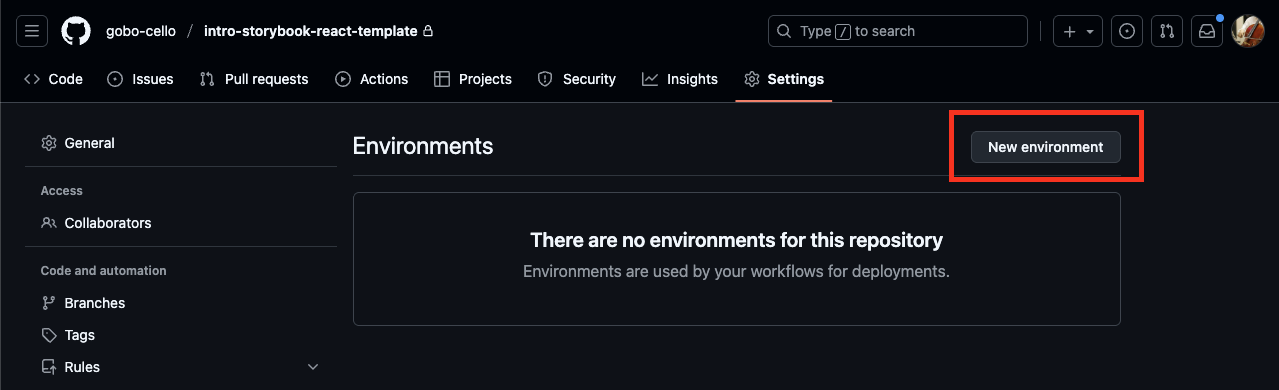
Settings > Secrets and variables > ActionsからEnvironmentを作成する


-
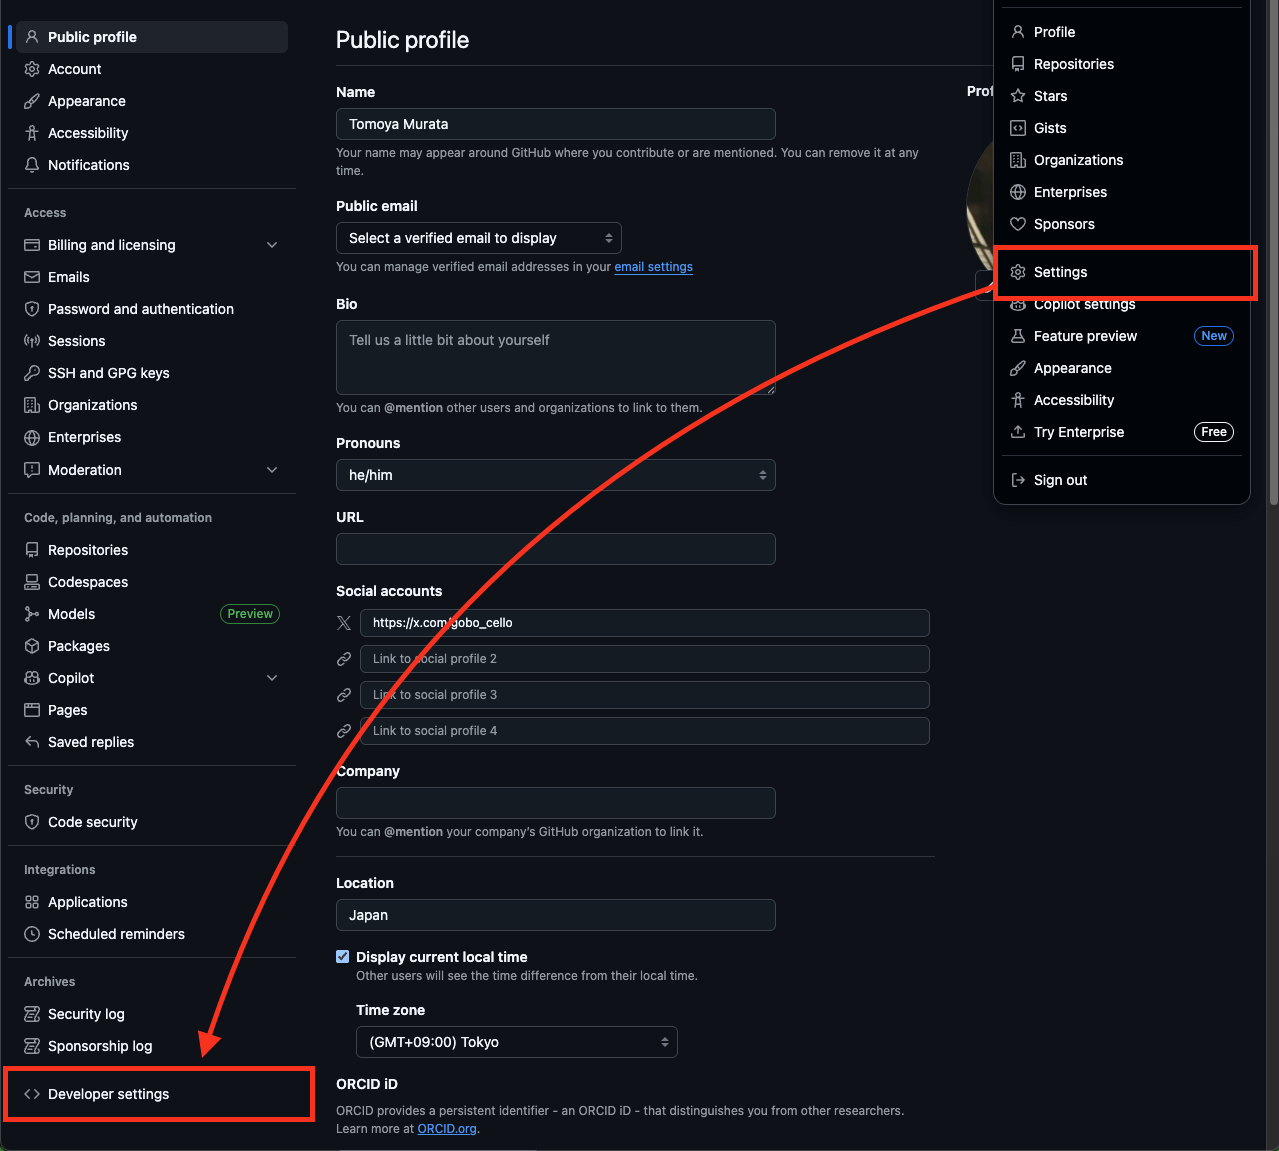
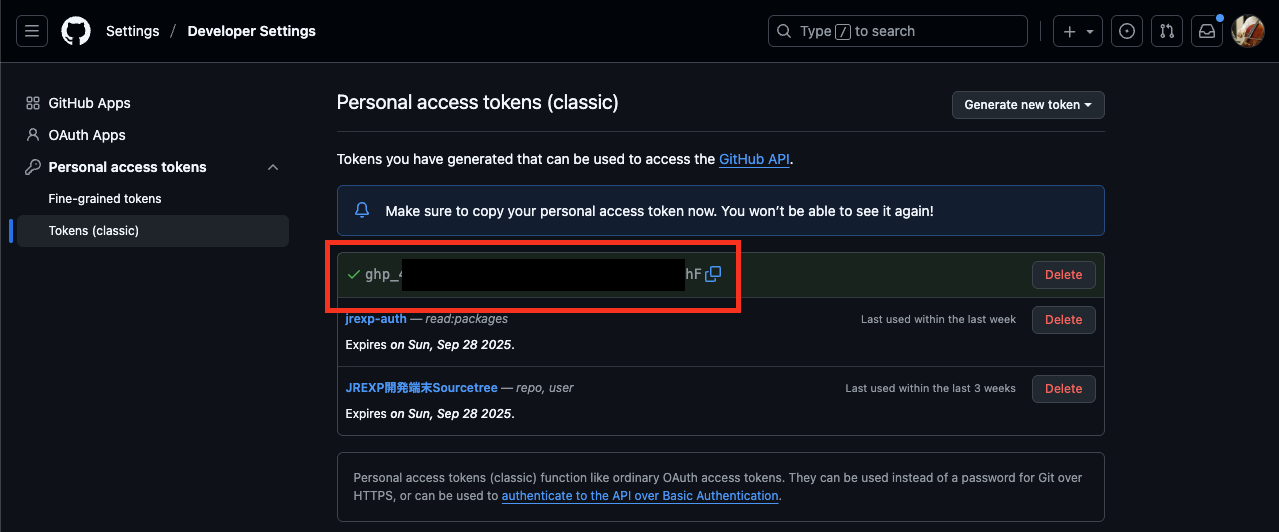
個人の
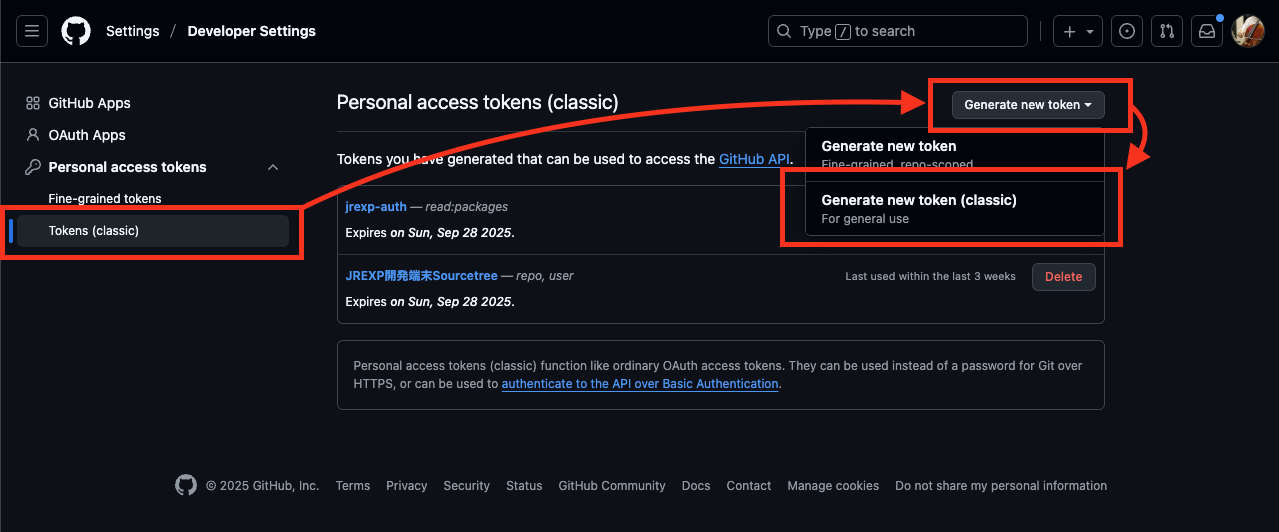
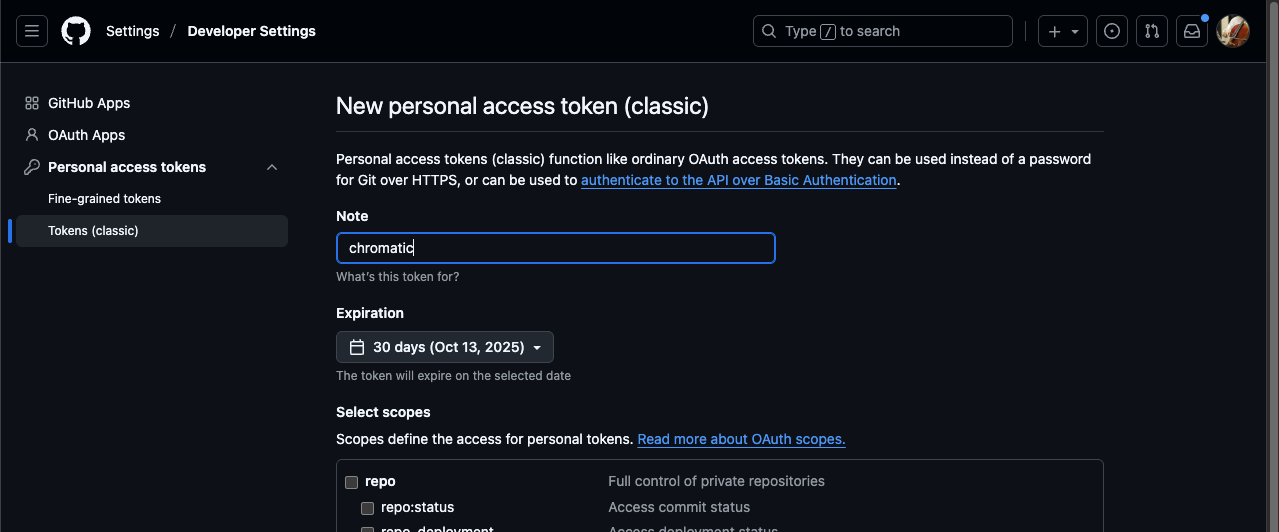
Settings > Developper settingsを開き、Personal access token (classic)を作成する(scopeは不要)
-
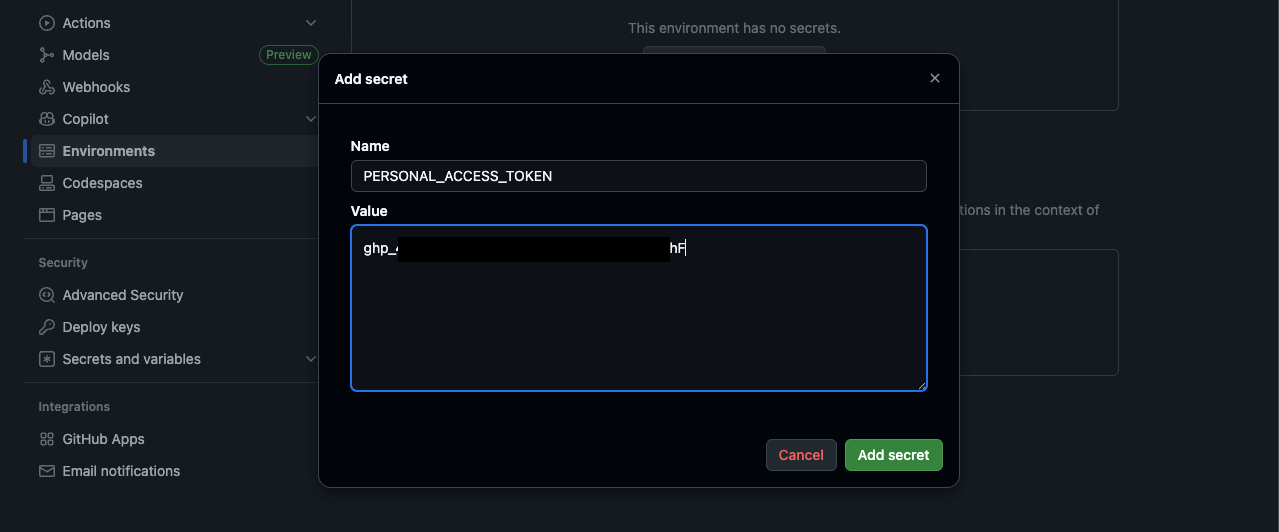
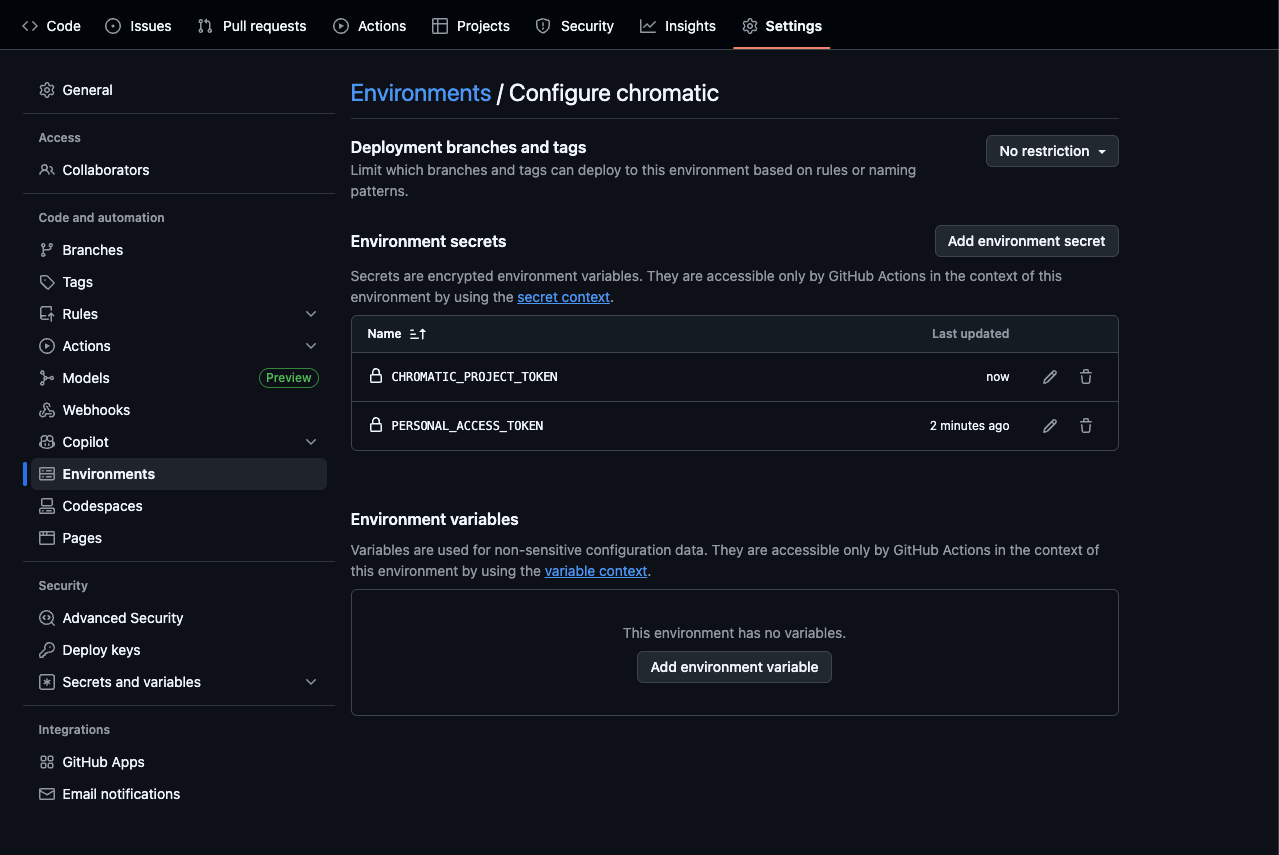
Enviroment secretsに先ほど作成したPATとCHROMATIC_PROJECT_TOKENを保存する(GITHUB_で始まる名前が使えないため別の名前で保存する)
3. chromatic.yml の修正
- job に
environment: chromaticを指定する(作成したEnvironmentの名前と揃える) -
secrets.GITHUB_TOKENを先ほど登録した名前に変更する
chromatic.yml
name: "Chromatic Publish"

on:
  push:
    branches:
      - main

jobs:
  test:
    runs-on: ubuntu-latest
    environment: chromatic
    steps:
      - uses: actions/checkout@v4
        with:
          fetch-depth: 0
      - uses: actions/setup-node@v4
        with:
          node-version: 20
          cache: "yarn"
      - run: yarn
      - uses: chromaui/action@latest
        with:
          projectToken: ${{ secrets.CHROMATIC_PROJECT_TOKEN }}
          token: ${{ secrets.PERSONAL_ACCESS_TOKEN }}
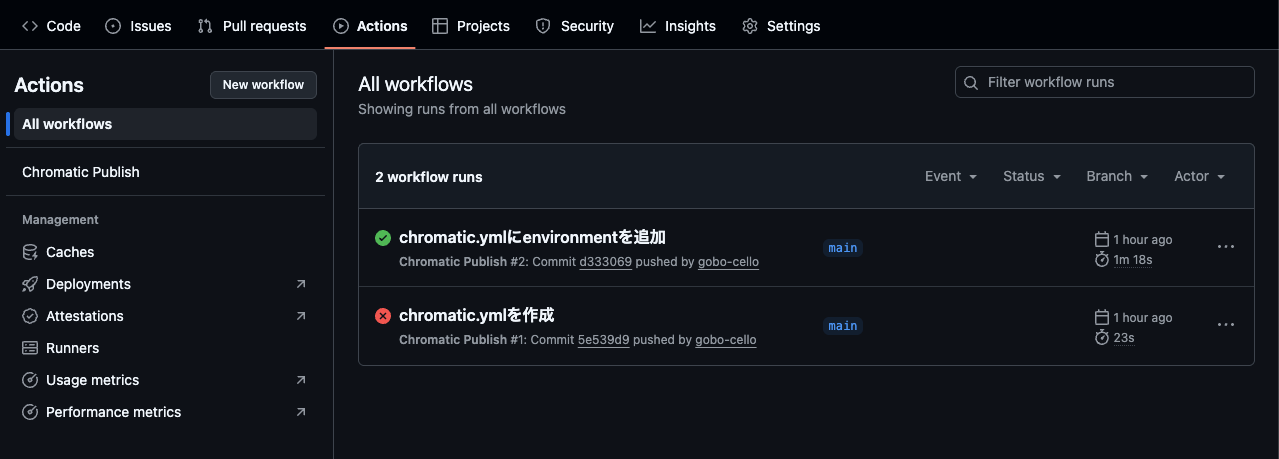
4. パイプラインを起動させる
pushすると chromatic.yml が起動する
トラブルシューティング
1. npx chromatic (yarn コマンド) が実行できない