本記事の内容
ASP.NET Coreを使って Twitter認証を実装できるようになること
環境
- .NET Core 2.1
- Website URL
注意点
ローカル環境でTwitterAuthのデバックが8月ごろよりできなくなっています。
試す場合はAzureであれば適当にwebAppsやDockerを立ててテストすることをお勧めします。
https://twittercommunity.com/t/localhost-callback-url-for-oauth1-is-invalid-website-url/110621
実装
まずは確認できるようにする
新規プロジェクトから.NET Core2.1で Webアプリケーション(モデルビューコントローラー)を作成します。 認証の設定は「なし」にしておいてください
_Layout.cshtmlをに以下のように変更します。
<div class="container body-content">
@if (User.Identity.IsAuthenticated)
{
<h1>@User.Identity.Name</h1>
}
else
{
<h1>You are not logged in</h1>
}
@RenderBody()
<hr />
<footer>
<p>© 2018 - AuthTestApp2</p>
</footer>
</div>
これによってログインが行われた場合表示が変わるようになります。
ついでにヘッダーメニューの部分も変えましょう
            <div class="navbar-collapse collapse">
                <ul class="nav navbar-nav">
                    <li><a asp-area="" asp-controller="Home" asp-action="Index">Home</a></li>
                    <li><a asp-area="" asp-controller="Home" asp-action="About">About</a></li>
                    <li><a asp-area="" asp-controller="Home" asp-action="Contact">Contact</a></li>
                    @if (User.Identity.IsAuthenticated)
                    {
                        <li><a asp-area="" asp-controller="Auth" asp-action="SignOut">Sign out</a></li>
                    }
                    else
                    {
                        <li><a asp-area="" asp-controller="Auth" asp-action="Login">Login</a></li>
                    }
                </ul>
            </div>
ログイン時とログアウト時でメニューが変わるようになります。
コントローラーを作成する
AuthControllerを作成します。
今はとりあえず空でいいです。
    public class AuthController : Controller
    {
        public IActionResult Login()
        {
            return View();
        }
    }
ついでにLogin viewも作りましょう
こちらもとりあえず空でいいです。
@{
    ViewData["Title"] = "Login";
}
ここまでで一旦デバックを行いましょう。
ページ遷移できましたか?
Startup.csを変更する
ここからが今回の本題です。
serviceに対してAuthenticationを登録します。
        public void ConfigureServices(IServiceCollection services)
        {
            services.Configure<CookiePolicyOptions>(options =>
            {
                // This lambda determines whether user consent for non-essential cookies is needed for a given request.
                options.CheckConsentNeeded = context => true;
                options.MinimumSameSitePolicy = SameSiteMode.None;
            });
            // ここから----追加----
            services.AddAuthentication(options =>
            {
                options.DefaultChallengeScheme = CookieAuthenticationDefaults.AuthenticationScheme;
                options.DefaultSignInScheme = CookieAuthenticationDefaults.AuthenticationScheme;
                options.DefaultAuthenticateScheme = CookieAuthenticationDefaults.AuthenticationScheme;
            })
            .AddTwitter(twitterOptions =>{
                twitterOptions.ConsumerKey = "your_apikey";
                twitterOptions.ConsumerSecret = "your_sercret_key";
            }).AddCookie();
            // ----ここまで----


            services.AddMvc().SetCompatibilityVersion(CompatibilityVersion.Version_2_1);
        }

        public void Configure(IApplicationBuilder app, IHostingEnvironment env)
        {
            if (env.IsDevelopment())
            {
                app.UseDeveloperExceptionPage();
            }
            else
            {
                app.UseExceptionHandler("/Home/Error");
                app.UseHsts();
            }


            app.UseAuthentication(); // 追加
            app.UseHttpsRedirection();
            app.UseStaticFiles();
            app.UseCookiePolicy();

            app.UseMvc(routes =>
            {
                routes.MapRoute(
                    name: "default",
                    template: "{controller=Home}/{action=Index}/{id?}");
            });
        }
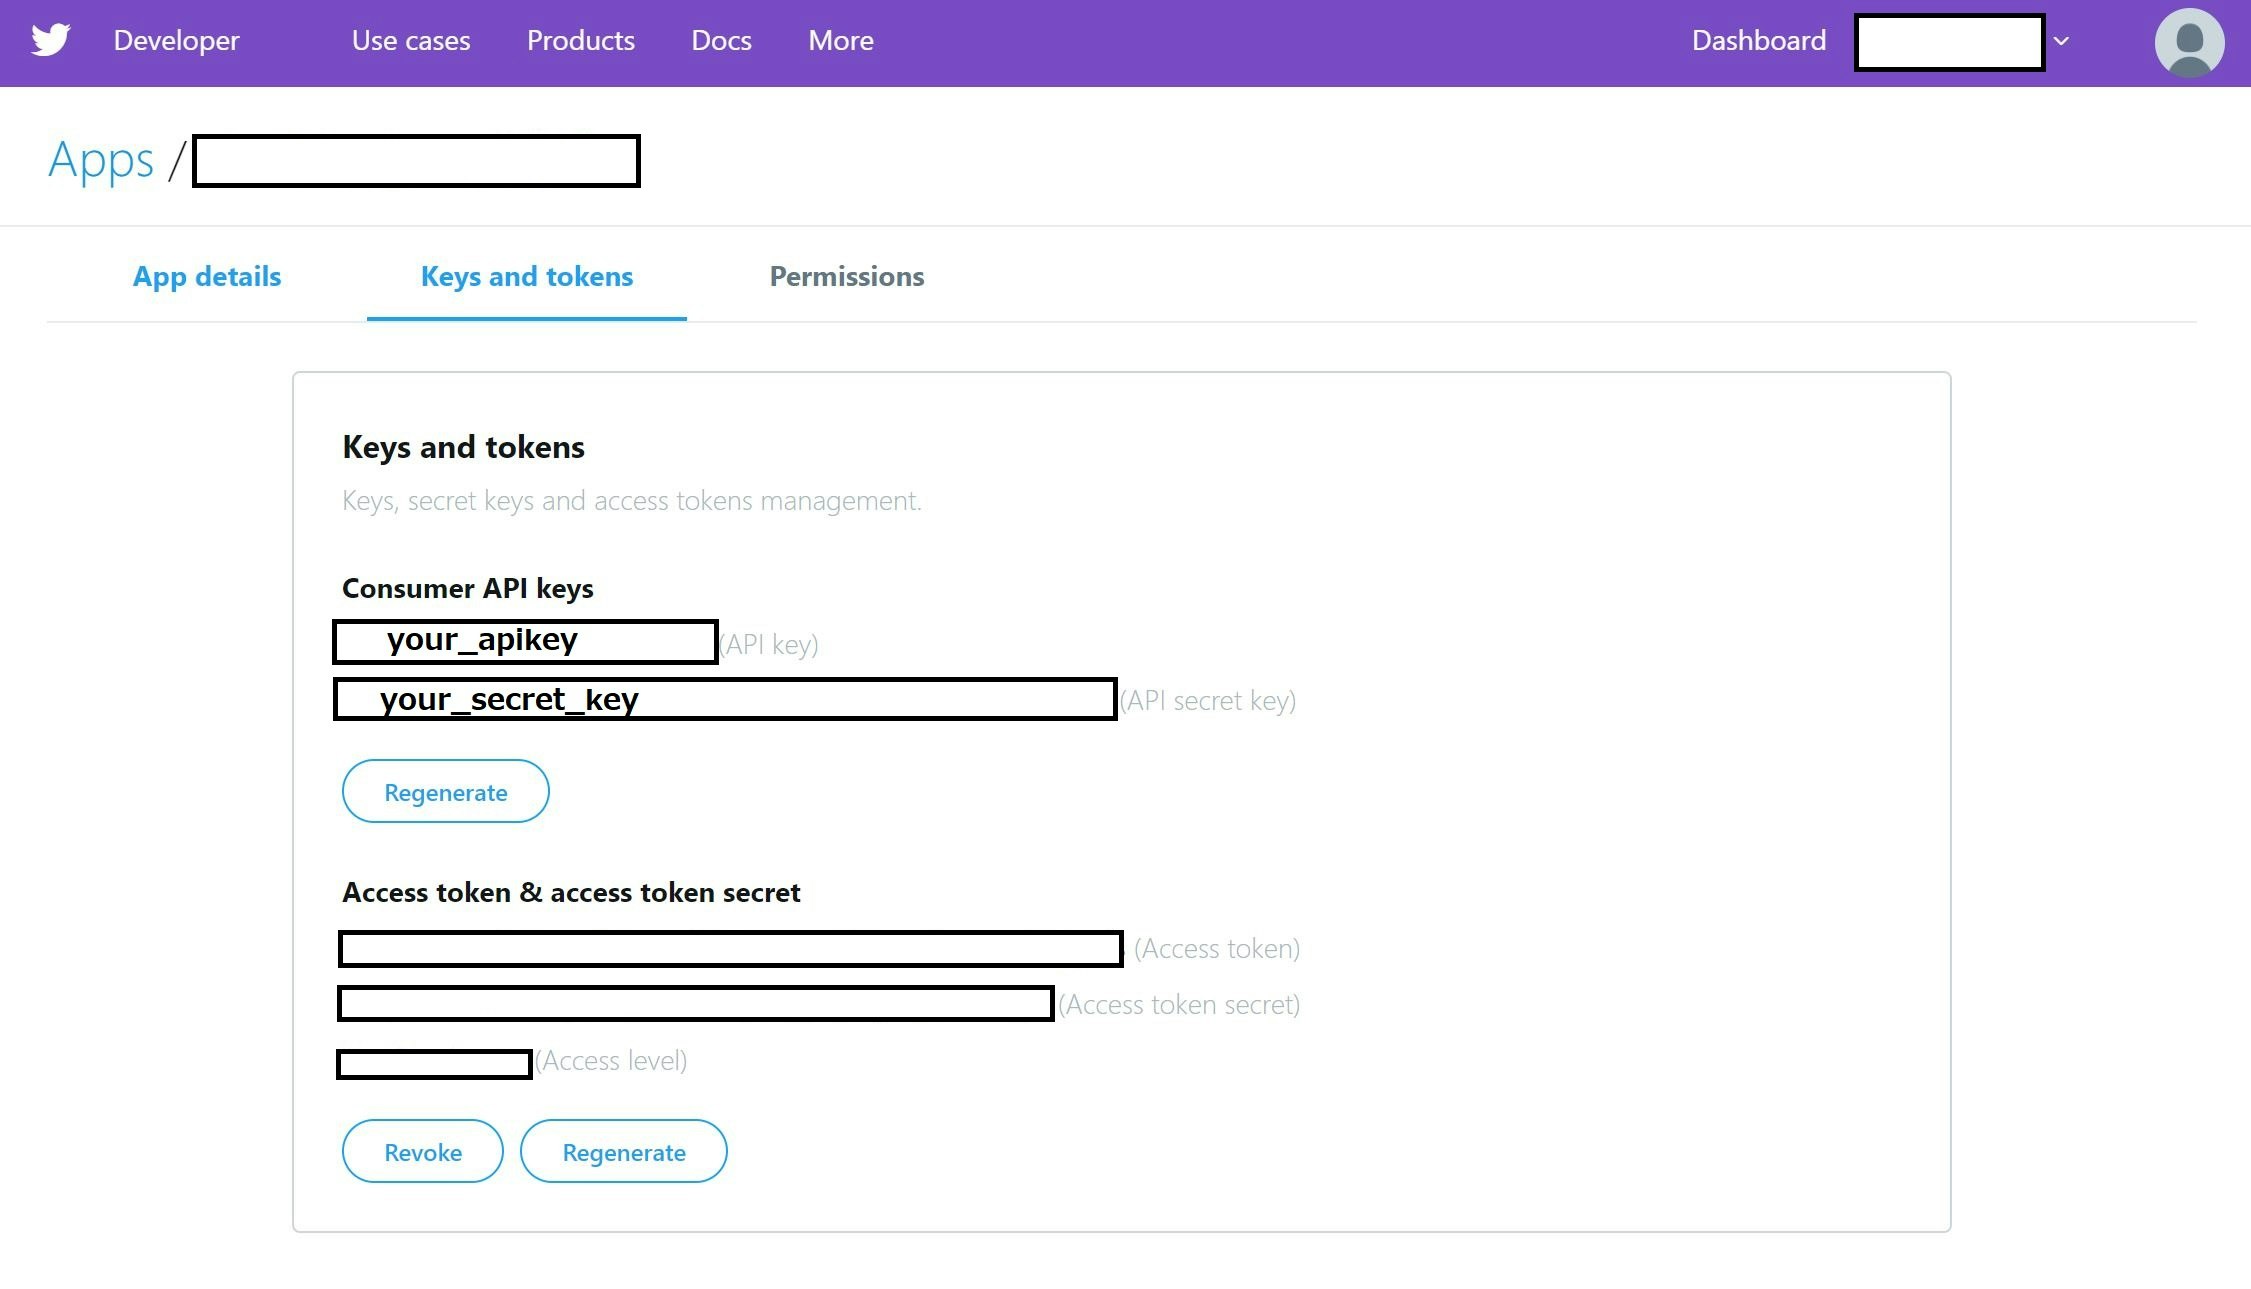
your_apikeyとyour_sercret_keyにはtwitterデベロッパーで取得できるconsumerキーを入れてください。
AuthControllerの編集
認証部分の実装をしていきます。
    public class AuthController : Controller
    {
        private readonly IAuthenticationSchemeProvider authenticationSchemeProvider;

        public AuthController(IAuthenticationSchemeProvider authenticationSchemeProvider)
        {
            this.authenticationSchemeProvider = authenticationSchemeProvider;
        }


        public async Task<IActionResult> Login()
        {
            var allSchemeProvider = (await authenticationSchemeProvider.GetAllSchemesAsync()).Select(n => n.DisplayName).Where(n => !string.IsNullOrEmpty(n));
            return View(allSchemeProvider);
        }
    }
Login.cshtmlに設定したプロバイダの数だけボタンが出るように変更します。
@model IEnumerable<String>

@{
    ViewData["Title"] = "Login";
}

@foreach(var item in Model)
{
    <a class="btn btn-primary login-button" asp-action="SignIn" asp-route-provider ="@item">@item</a>
}
Loginができたので今度はSignInAction,SignOutActionを追加します。
    public class AuthController : Controller
    {
        private readonly IAuthenticationSchemeProvider authenticationSchemeProvider;

        public AuthController(IAuthenticationSchemeProvider authenticationSchemeProvider)
        {
            this.authenticationSchemeProvider = authenticationSchemeProvider;
        }


        public async Task<IActionResult> Login()
        {
            var allSchemeProvider = (await authenticationSchemeProvider.GetAllSchemesAsync()).Select(n => n.DisplayName).Where(n => !string.IsNullOrEmpty(n));
            return View(allSchemeProvider);
        }
        // 追加
        public IActionResult SignIn(string provider)
        {
            return Challenge(new AuthenticationProperties { RedirectUri = "/" }, provider);
        }

        public async Task<IActionResult> SignOut()
        {
            await HttpContext.SignOutAsync(CookieAuthenticationDefaults.AuthenticationScheme);
            return RedirectToAction("Index","Home");
        }
    }
以上で実装は終了です。
実際に動きを確認してみましょう
認証ページを作成する
適当にAboutを認証しないと閲覧できないページにしましょう。
認証されていないユーザーはリダイレクトして、ログインページに飛ばす設定を行います。
[Authorize]を追加します。
using の追加を忘れずに。
using Microsoft.AspNetCore.Authorization;
// ----割愛--------

        [Authorize]
        public IActionResult About()
        {
            ViewData["Message"] = "Your application description page.";

            return View();
        }
このままだとリダイレクトページがデフォルトの Acount/Loginになってしまっていて404を返してしまうので、Startup.csを少し編集します。
.AddCookie(options =>
            {
                options.LoginPath = "/Auth/Login";
            });
以上で完了です。