Swift+Metalで発光エフェクト
Swift+Metalで発光エフェクト(Unityで言う所のBloom)をお手軽に表現する手法。
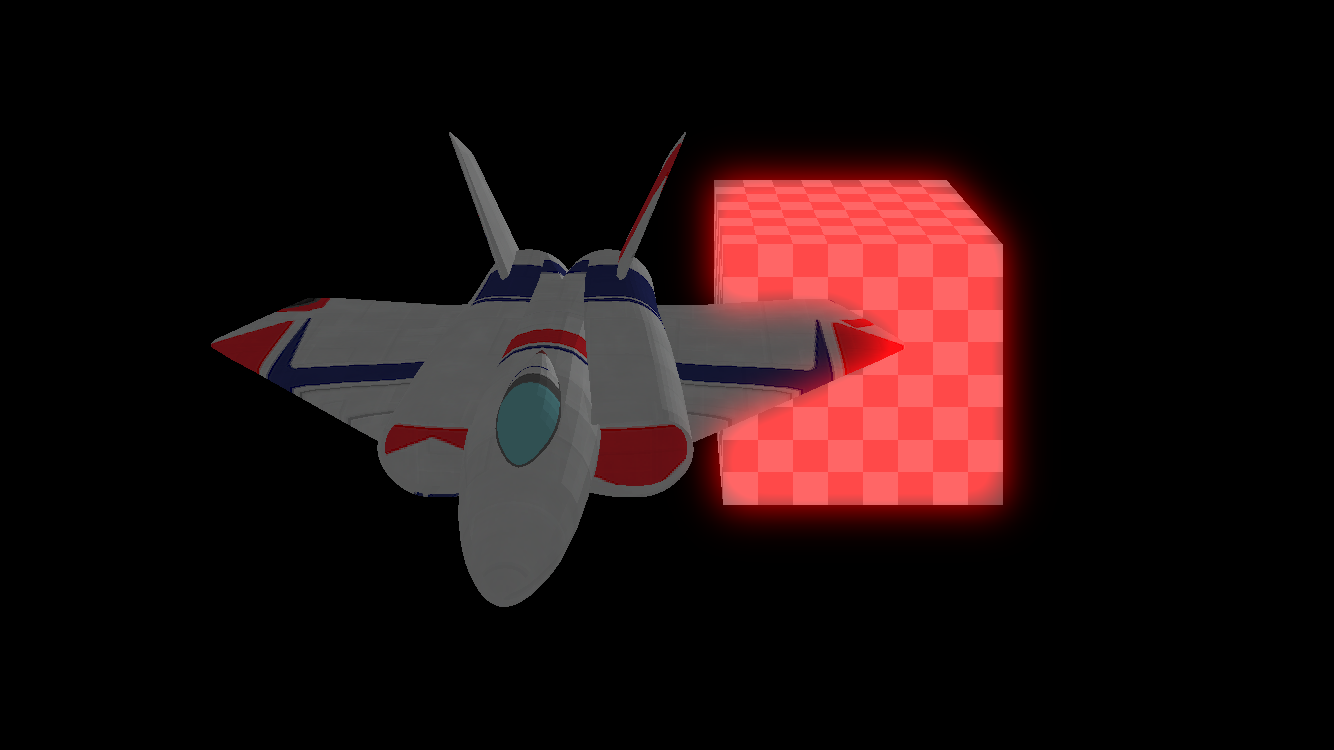
完成形↓

発光エフェクトをする手順
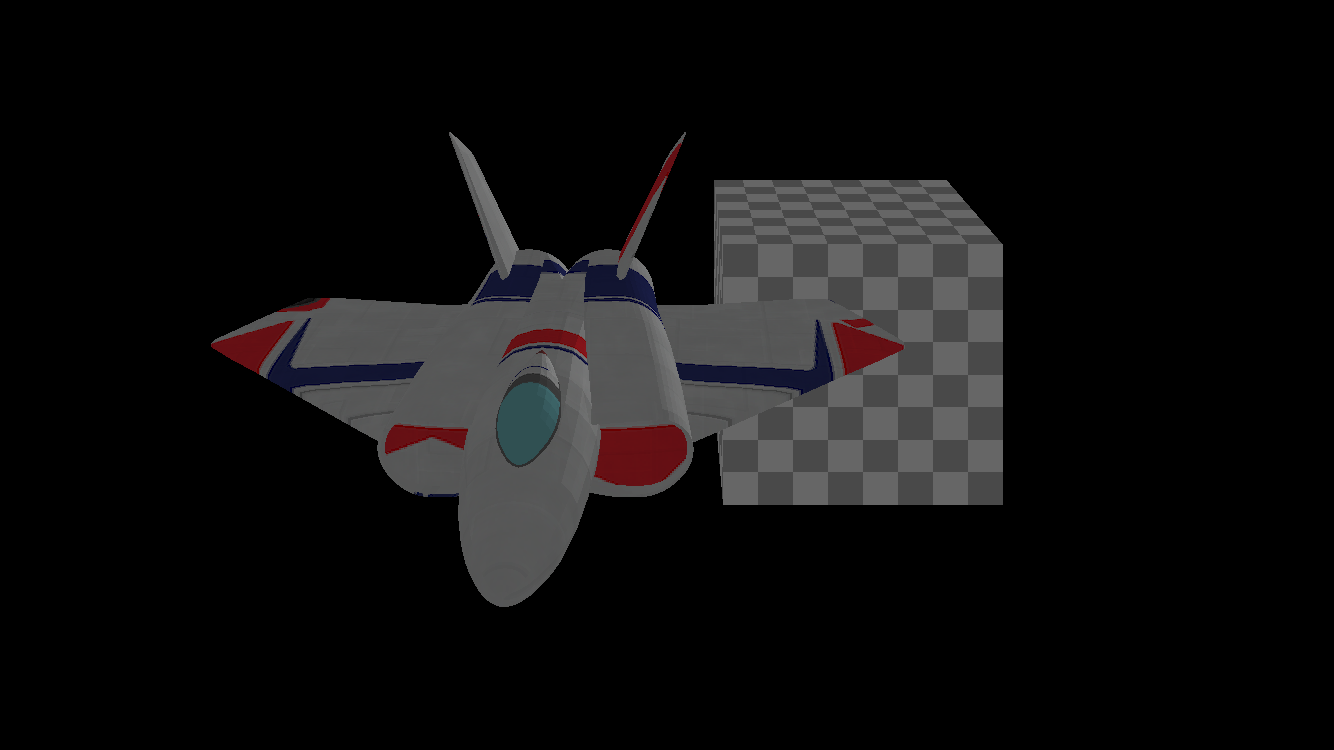
1.通常のレンダリングをする。
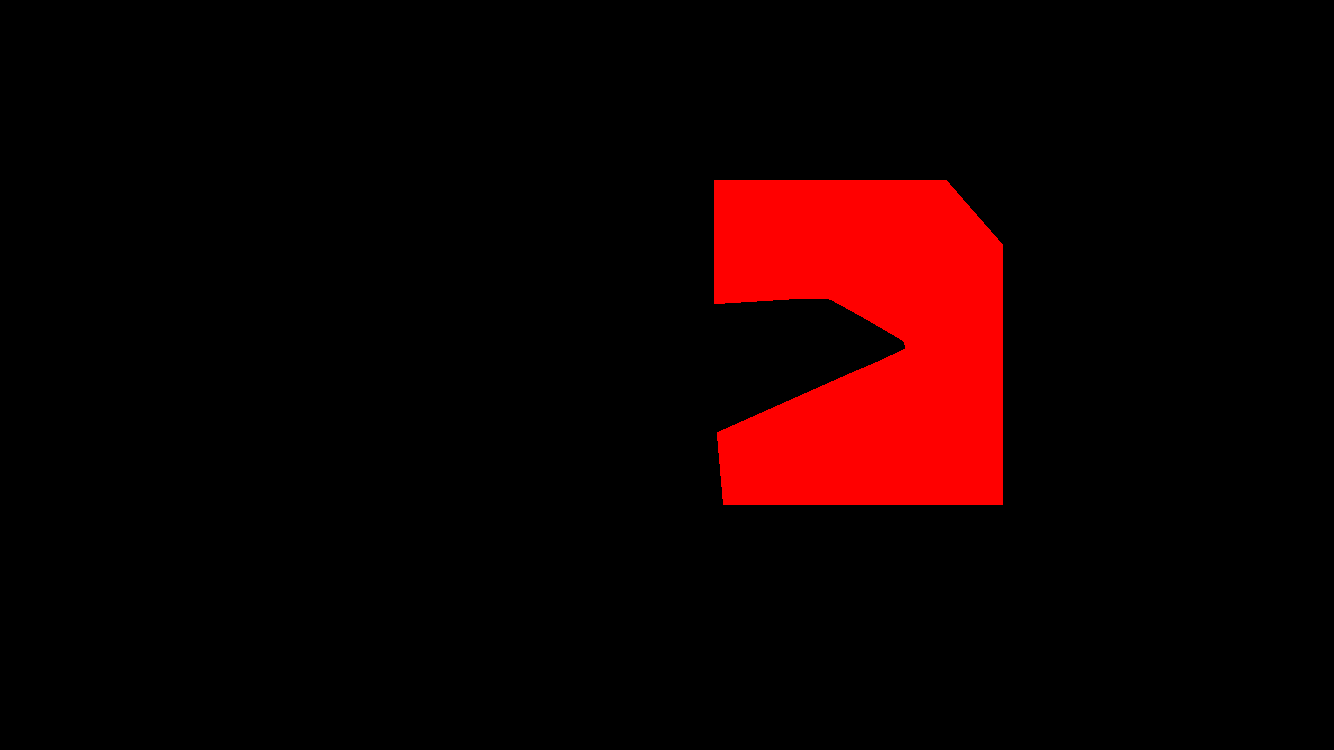
2.発光させたい部分と色のマスクを作る。
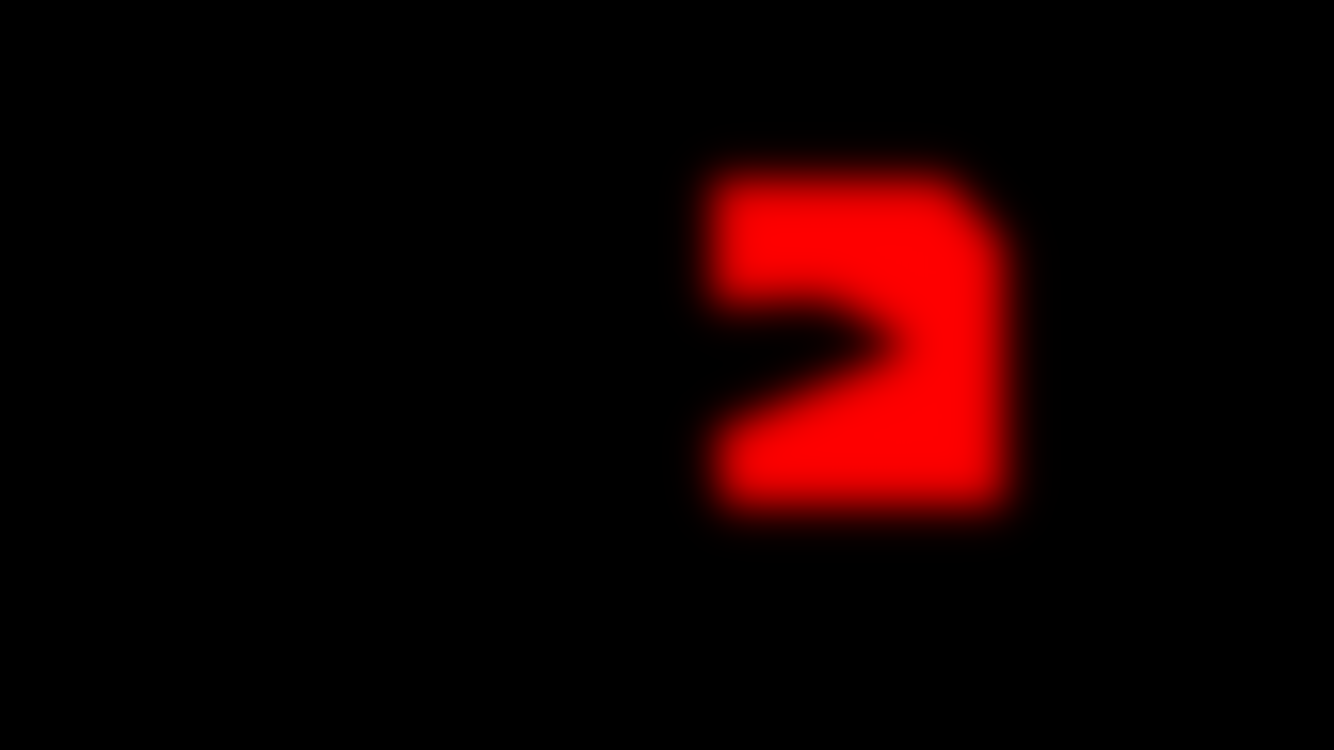
3.マスクにガウスボカシをかける。
4.通常のレンダリングにボカした画像を足し合わせる。
発光エフェクトを表現するプログラム
全てのプログラムはココ↓
https://github.com/fuziki/metalBloom
・手順1&2
レンダリングテクスチャを2枚用意する。
(通常のレンダリングとマスク用)
MetalEz.swift
func makeRenderTexture() -> MTLTexture {
        let texDesc = MTLTextureDescriptor()
        texDesc.width =  (mtkView.currentDrawable?.texture.width)!
        texDesc.height =  (mtkView.currentDrawable?.texture.height)!
        texDesc.depth = 1
        texDesc.textureType = MTLTextureType.type2D

        texDesc.usage = [MTLTextureUsage.renderTarget, MTLTextureUsage.shaderRead]
        texDesc.storageMode = .private
        texDesc.pixelFormat = .bgra8Unorm

        texDesc.usage = .unknown

        return device.makeTexture(descriptor: texDesc)!
}
MetalEz.swift
        viewRenderTexture = makeRenderTexture()
        bloomRenderTexture = makeRenderTexture()
フラグメントシェーダーで2つのテクスチャにそれぞれ、レンダリングとマスクを書き込む。
Shaders.metal
struct FragmentOut {
    half4 color0 [[ color(0) ]];
    half4 color1 [[ color(1) ]];
};
fragment FragmentOut fragmentShader(VertexOut in [[stage_in]],
                                    texture2d<half>  diffuseTexture [[ texture(0) ]],
                                    texture2d<half>  bloomTexture [[ texture(1) ]])
{
    constexpr sampler defaultSampler;
    FragmentOut out;
    float lt = saturate(dot(in.normal, lightDirection));
    if (lt < 0.5) lt = 0.5;
    half4 color =  half4(diffuseTexture.sample(defaultSampler, float2(in.texcoord))*lt);
    out.color0 = color;
    if (is_null_texture(bloomTexture)) {
        out.color1 = half4(0,0,0,0);
    } else {
        out.color1 = bloomTexture.sample(defaultSampler, float2(in.texcoord));
    }
    return out;
}
・手順3
マスクにガウスボカシをする。MetalPerformanceShaderを使ってボカす。
書き込み元のテクスチャと書き込み先のテクスチャは同一
MetalEz.swift
            var myTexture: MTLTexture? = bloomRenderTexture
            let kernel = MPSImageGaussianBlur(device: device, sigma: 20.0)
            kernel.encode(commandBuffer: commandBuffer!,
                          inPlaceTexture: &myTexture!, fallbackCopyAllocator: nil)
・手順4
通常のレンダリングとエフェクトを加算合成する。
手順3と同じく、MetalPerformanceShaderを使う。
計算結果は'view.currentDrawable?.texture)!'に書き込む。
(MTLTextureは=演算子を使って渡せないので注意)
MetalEz.swift
            let addKernel = MPSImageAdd(device: device)
            addKernel.encode(commandBuffer: commandBuffer!,
                             primaryTexture: viewRenderTexture,
                             secondaryTexture: bloomRenderTexture,
                             destinationTexture: (view.currentDrawable?.texture)!)
おわりに
MTLTextureまわりが割とTipsがあるので、需要があれば、そのうちまとめます(多分)