はじめに
今回、Firebaseを使ってiOS版簡易SNSを作成する記事になっています。
この記事ではタイムライン上でFirestoreに対して書き込みと読み込みを行うまでの部分を行なっています。
また、前回の続きという扱いで進めていきます。
Firestoreを有効にする
- Firebaseコンソールからプロジェクトを選択し、左のサイドメニューからDatabaseを選択。
- データベースの作成を選択。

- テストモードで開始します。
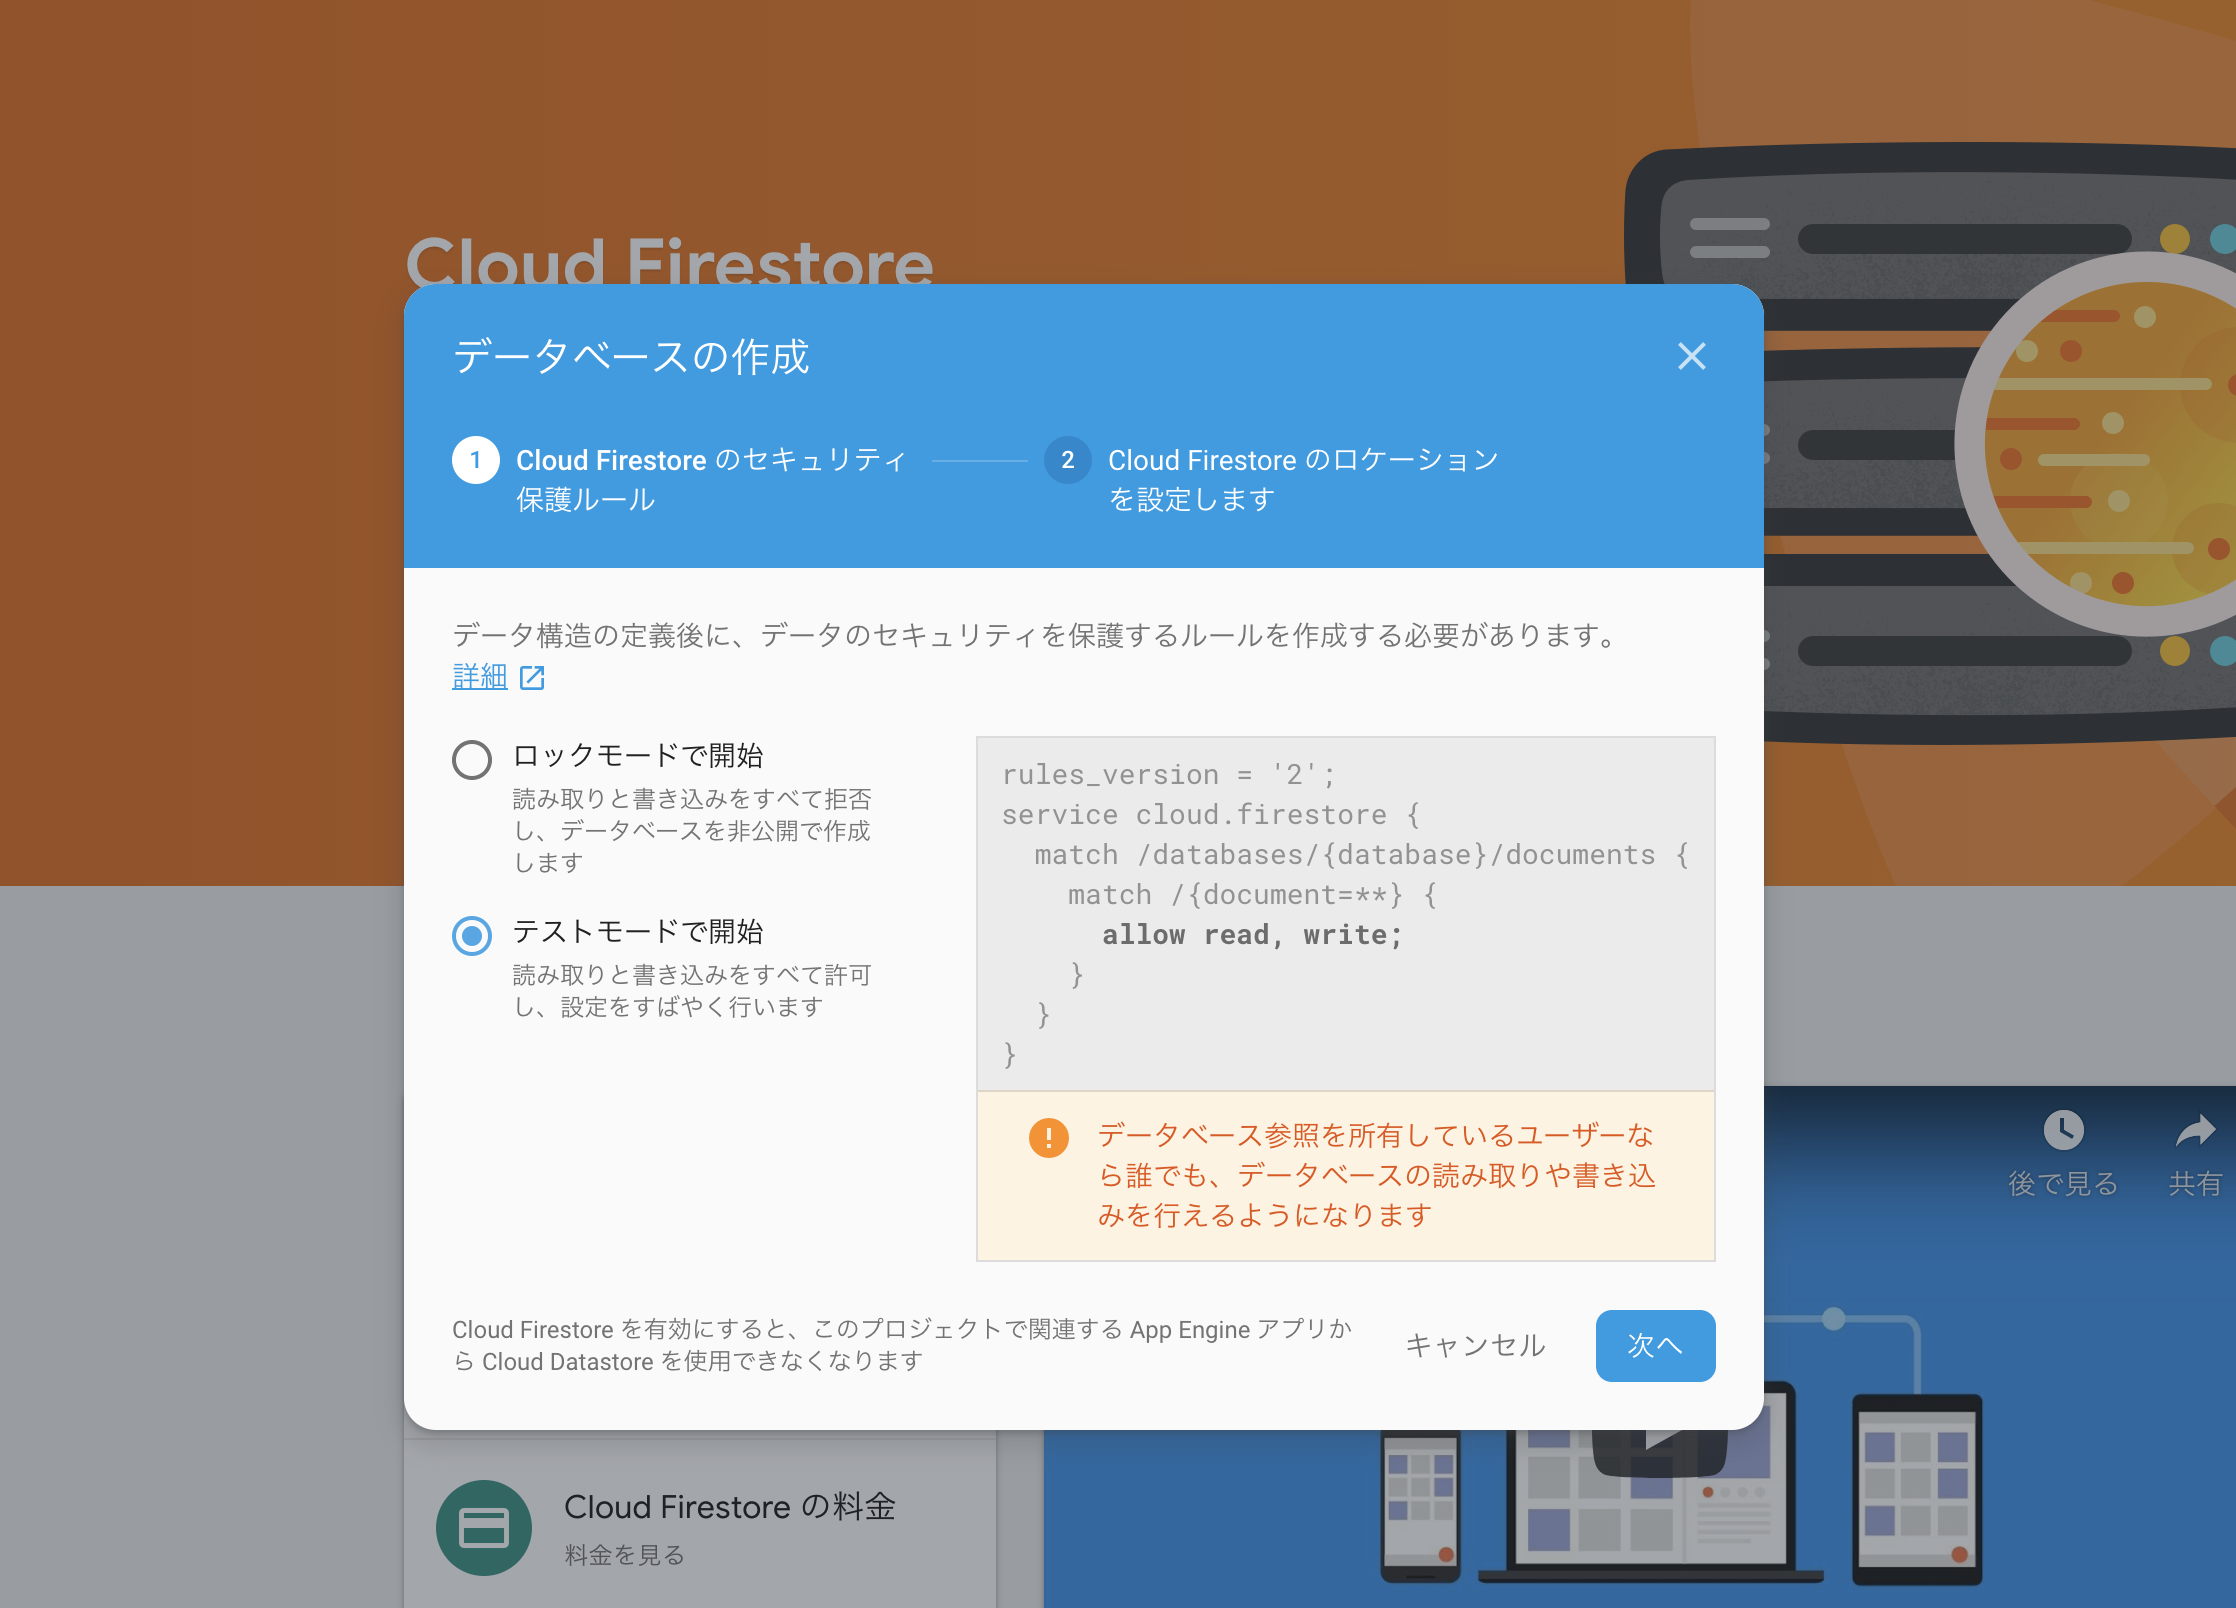
- ロケーションは
asia-northeast1を選択します。
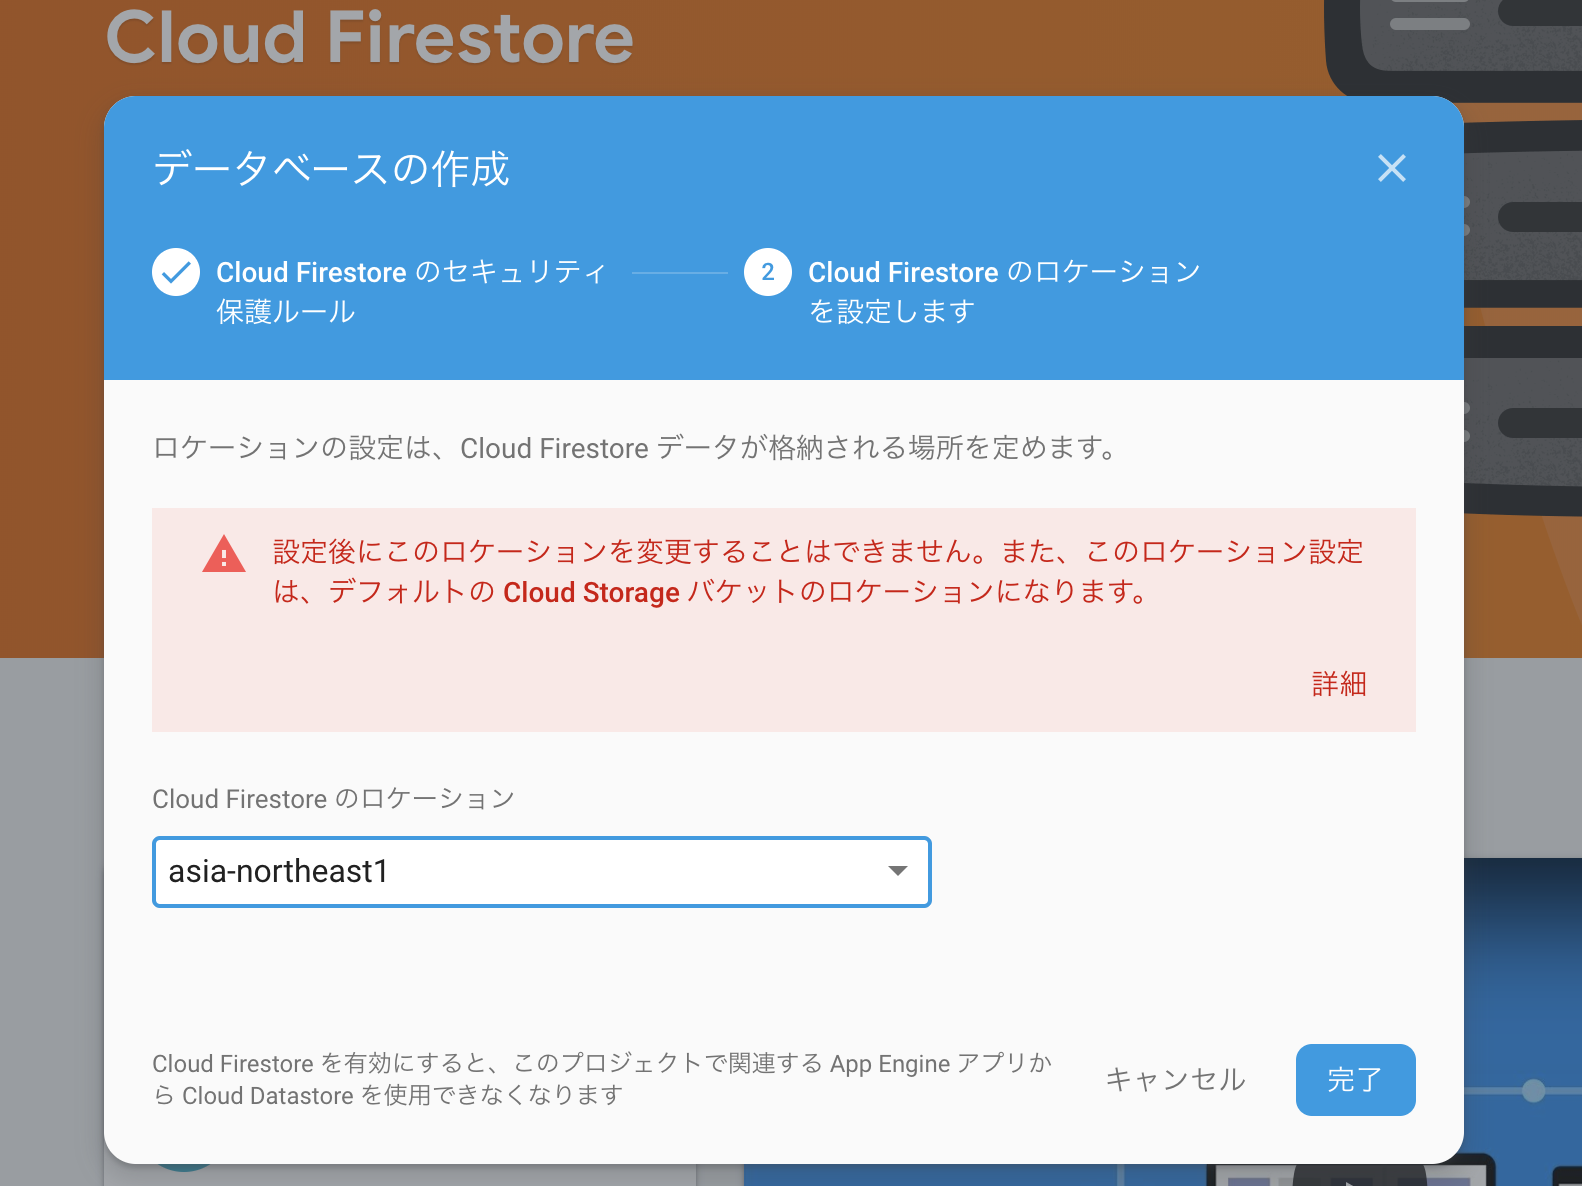
- これで、Firestoreの設定は完了です。
Main.storyboardを編集
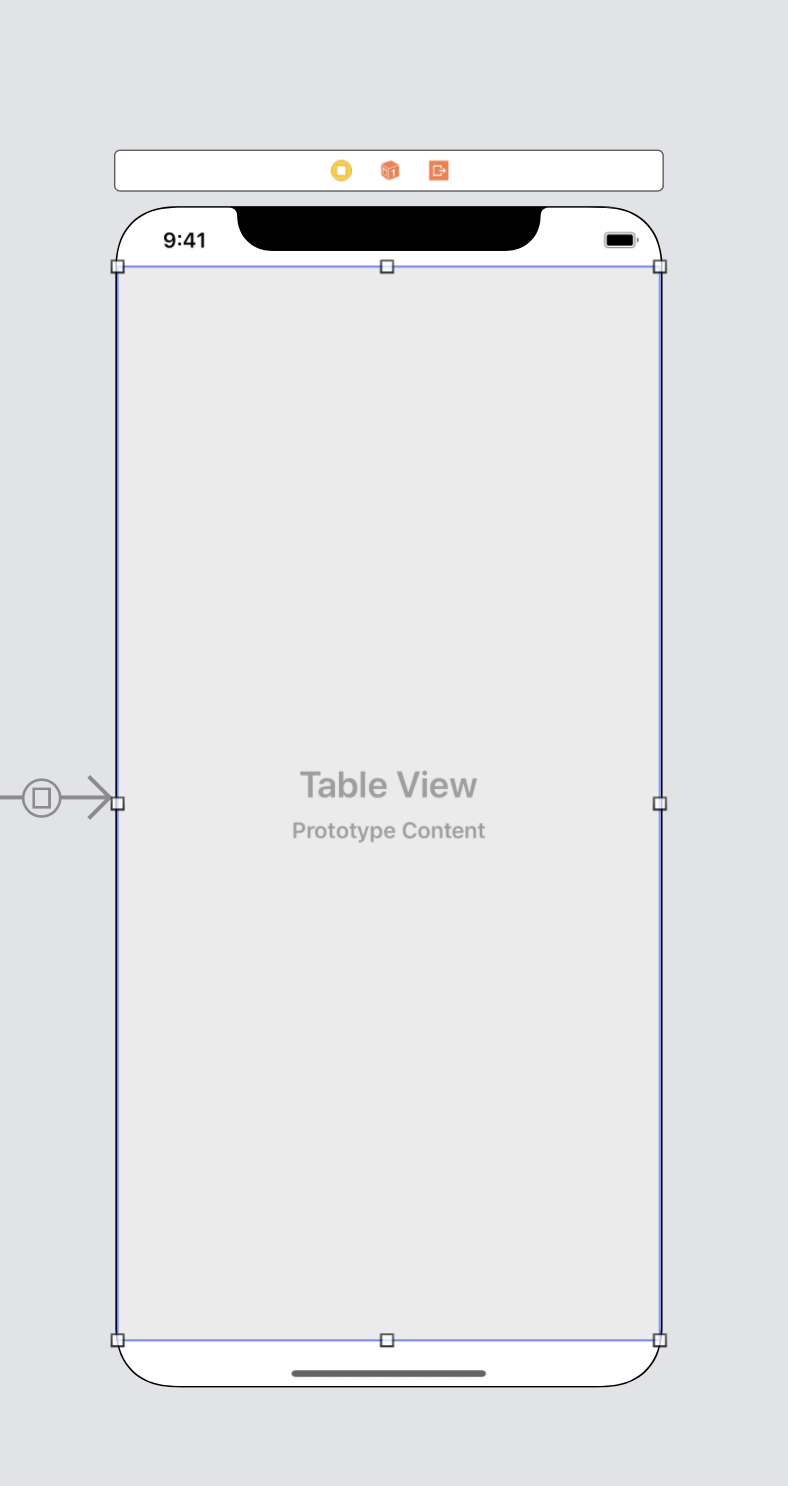
- 以下のようにテーブルビューを
TimelineViewControllerに配置します。
- 投稿を行うためのボタンも配置します。
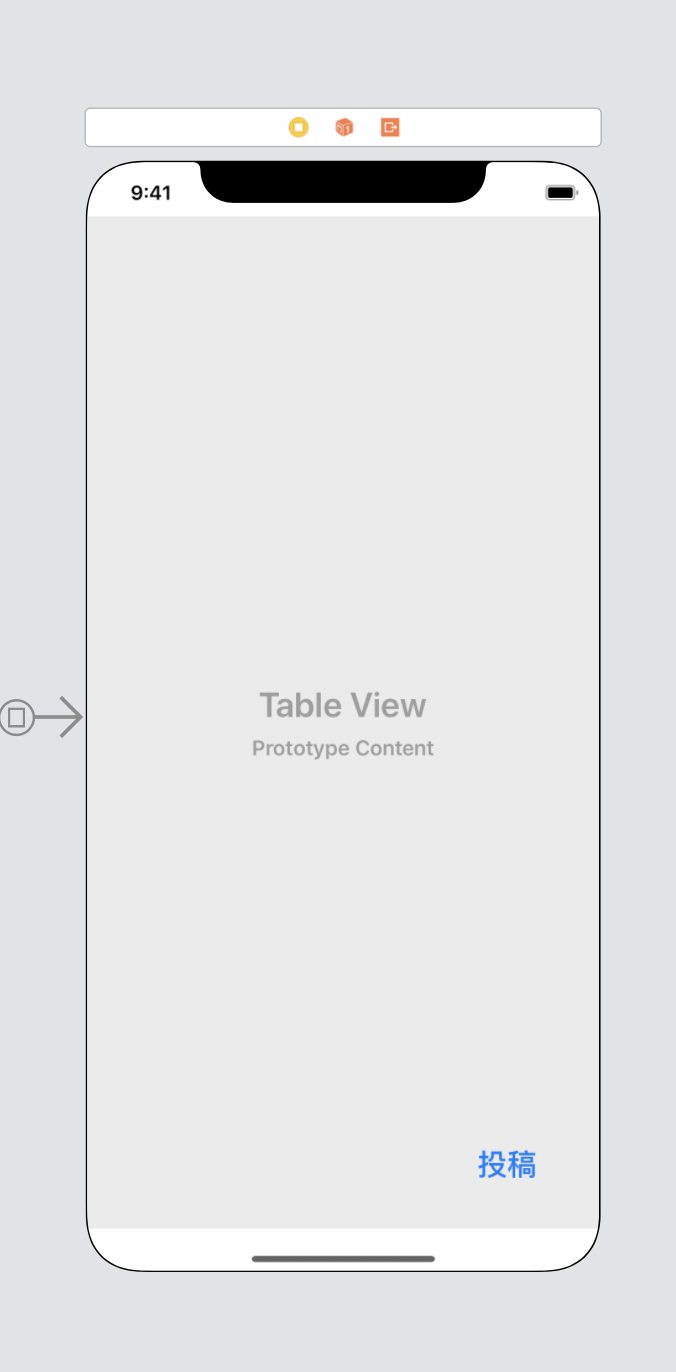
-
AddViewControllerを作成し、Segueで接続する。
- 上で繋いだSegueのIdentifierを
Addにする。

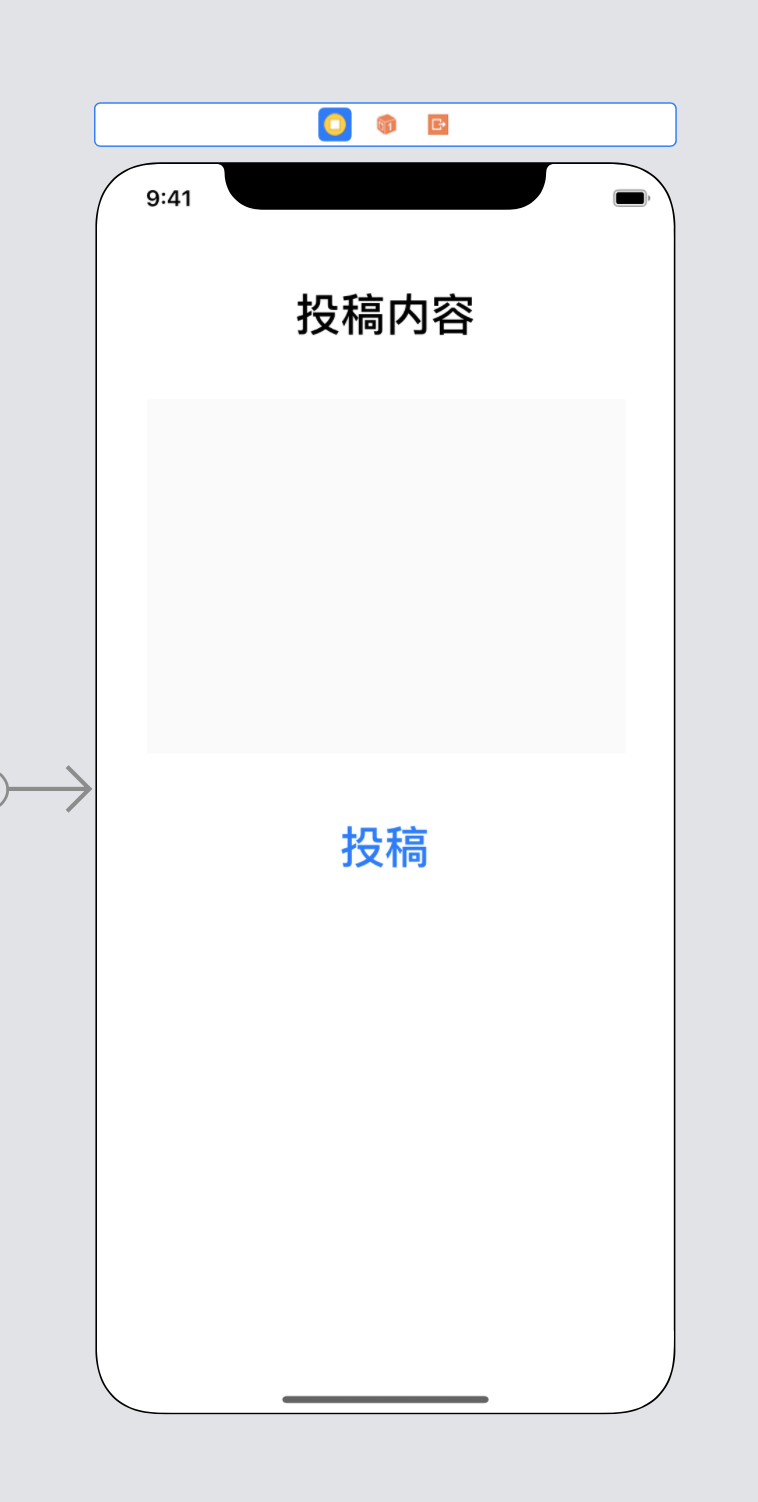
-
AddViewControllerにUITextViewとUIButtonを配置する。(今回はキーボードと重ならないように上の方に配置しておく。)
TimelineViewController.swiftを編集
- データベースの宣言を行います。
TimelineViewController.swift
import UIKit
import Firebase

class TimelineViewController: UIViewController {

    var me: AppUser!
    var database: Firestore! // 宣言

    override func viewDidLoad() {
        super.viewDidLoad()
        database = Firestore.firestore() // 初期値代入
    }

    // 投稿追加画面に遷移するボタンを押したときの動作を記述。
    @IBAction func toAddViewController() {
    }
}
-
AddViewControllerへ画面遷移を行うコードの記述。
TimelineViewController.swift
@IBAction func toAddViewController() {
    performSegue(withIdentifier: "Add", sender: me)
}
- 画面遷移時に値を渡すために
prepareメソッドを記述。
TimelineViewController.swift
override func prepare(for segue: UIStoryboardSegue, sender: Any?) {
    let destination = segue.destination as! AddViewController // segue.destinationで遷移先のViewControllerが取得可能。
    destination.me = sender as! AppUser
}
AddViewControllerを作成、編集。
AddViewController.swift
import UIKit
import Firebase

class AddViewController: UIViewController {

    var me: AppUser!

    override func viewDidLoad() {
        super.viewDidLoad()
    }
}
-
@IBOUtlet@IBAction関連を記述します。今回は、UITextViewが@IBOutletで、UIButtonが@IBActionになります。
import UIKit
import Firebase

class AddViewController: UIViewController {

    @IBOutlet var contentTextView: UITextView! // 追加

    var me: AppUser!

    override func viewDidLoad() {
        super.viewDidLoad()
    }

    // 追加
    @IBAction func postContent() {
    }
}
-
UITextViewをカスタマイズ
UITextViewは複数行入力することができるため、returnキーで入力の終了ができません。
なので、キーボードを閉じる処理として別にボタンを用意します。
キーボードを閉じる一連の処理のコード.swift
func setupTextView() {
    let toolBar = UIToolbar() // キーボードの上に置くツールバーの生成
    let flexibleSpaceBarButton = UIBarButtonItem(barButtonSystemItem: .flexibleSpace, target: nil, action: nil) // 今回は、右端にDoneボタンを置きたいので、左に空白を入れる
    let doneButton = UIBarButtonItem(barButtonSystemItem: .done, target: self, action: #selector(dismissKeyboard)) // Doneボタン
    toolBar.items = [flexibleSpaceBarButton, doneButton] // ツールバーにボタンを配置
    toolBar.sizeToFit()
    contentTextView.inputAccessoryView = toolBar // テキストビューにツールバーをセット
}

// キーボードを閉じる処理。
@objc func dismissKeyboard() {
    contentTextView.resignFirstResponder()
}
投稿ボタン (データベースへの書き込み)
投稿ボタンを押したときの処理を記述していきます。
今回は、postsコレクションの中に、投稿を保存していきます。(Firestoreの説明に関してはこちらをご覧ください。)
投稿ボタンを押したときの処理.swift
@IBAction func postContent() {
    let content = contentTextView.text!
    let saveDocument = Firestore.firestore().collection("posts").document()
    saveDocument.setData([
        "content": content,
        "postID": saveDocument.documentID,
        "senderID": user.uid,
        "createdAt": FieldValue.serverTimestamp(),
        "updatedAt": FieldValue.serverTimestamp()
    ]) { error in
        if error == nil {
            self.dismiss(animated: true, completion: nil)
        }
    }
}
Main.storyboardで関連付け
- クラスを
AddViewControllerに設定する。
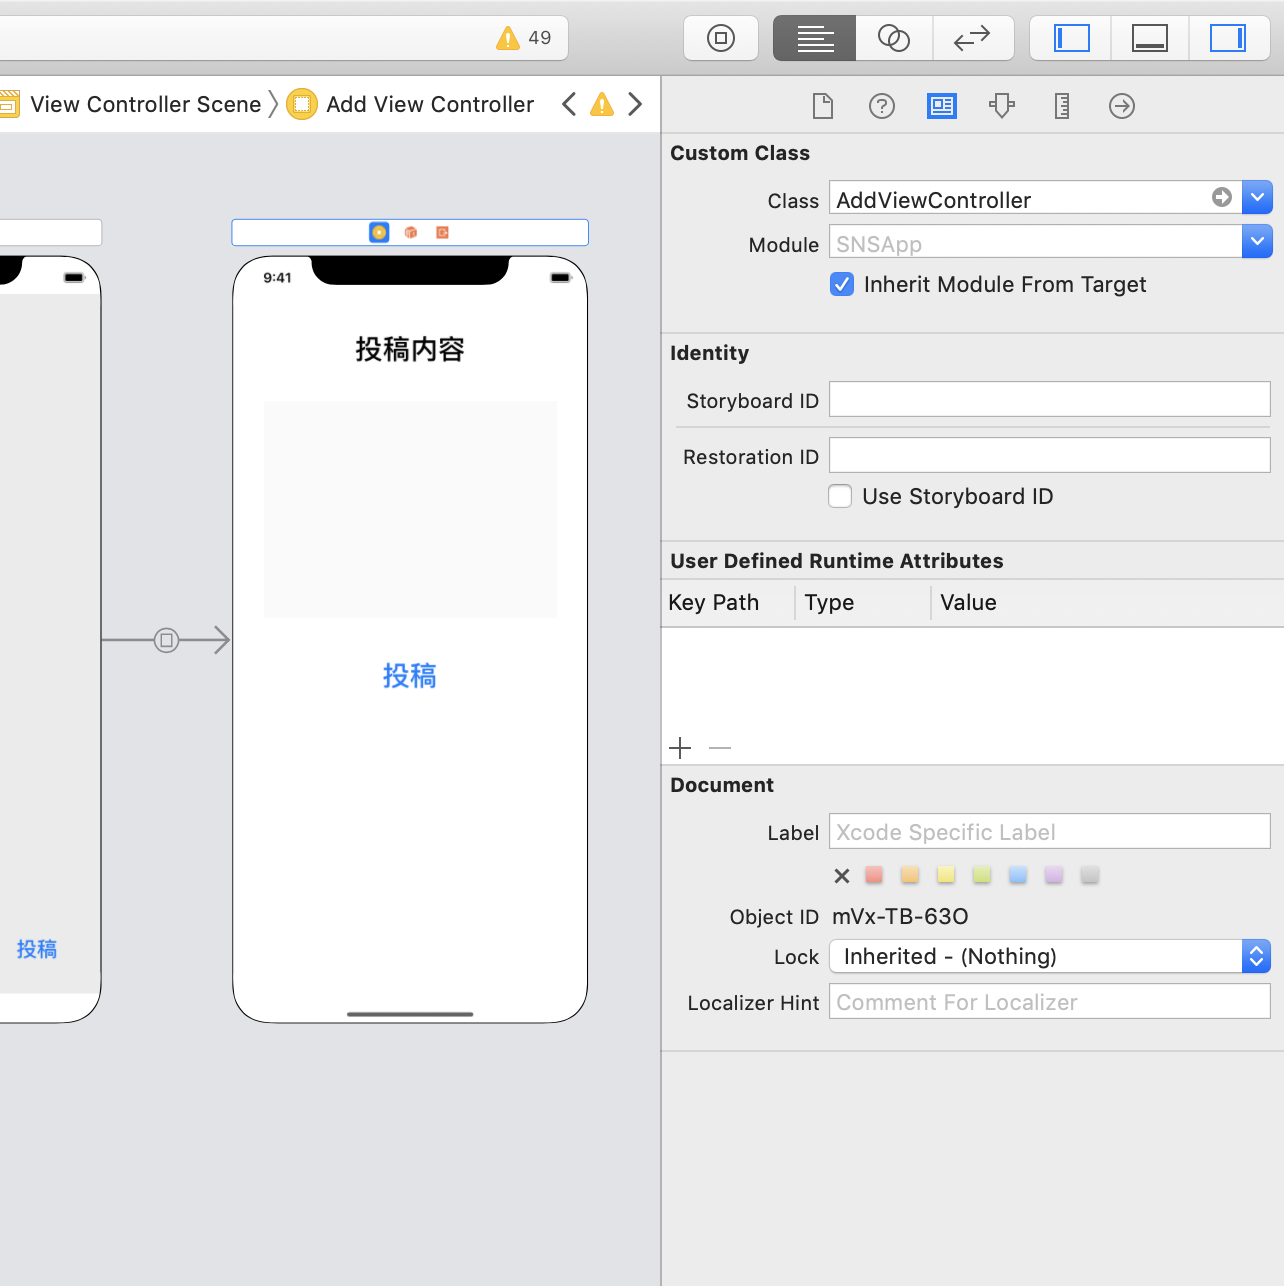
関連付けを行い、実行する。
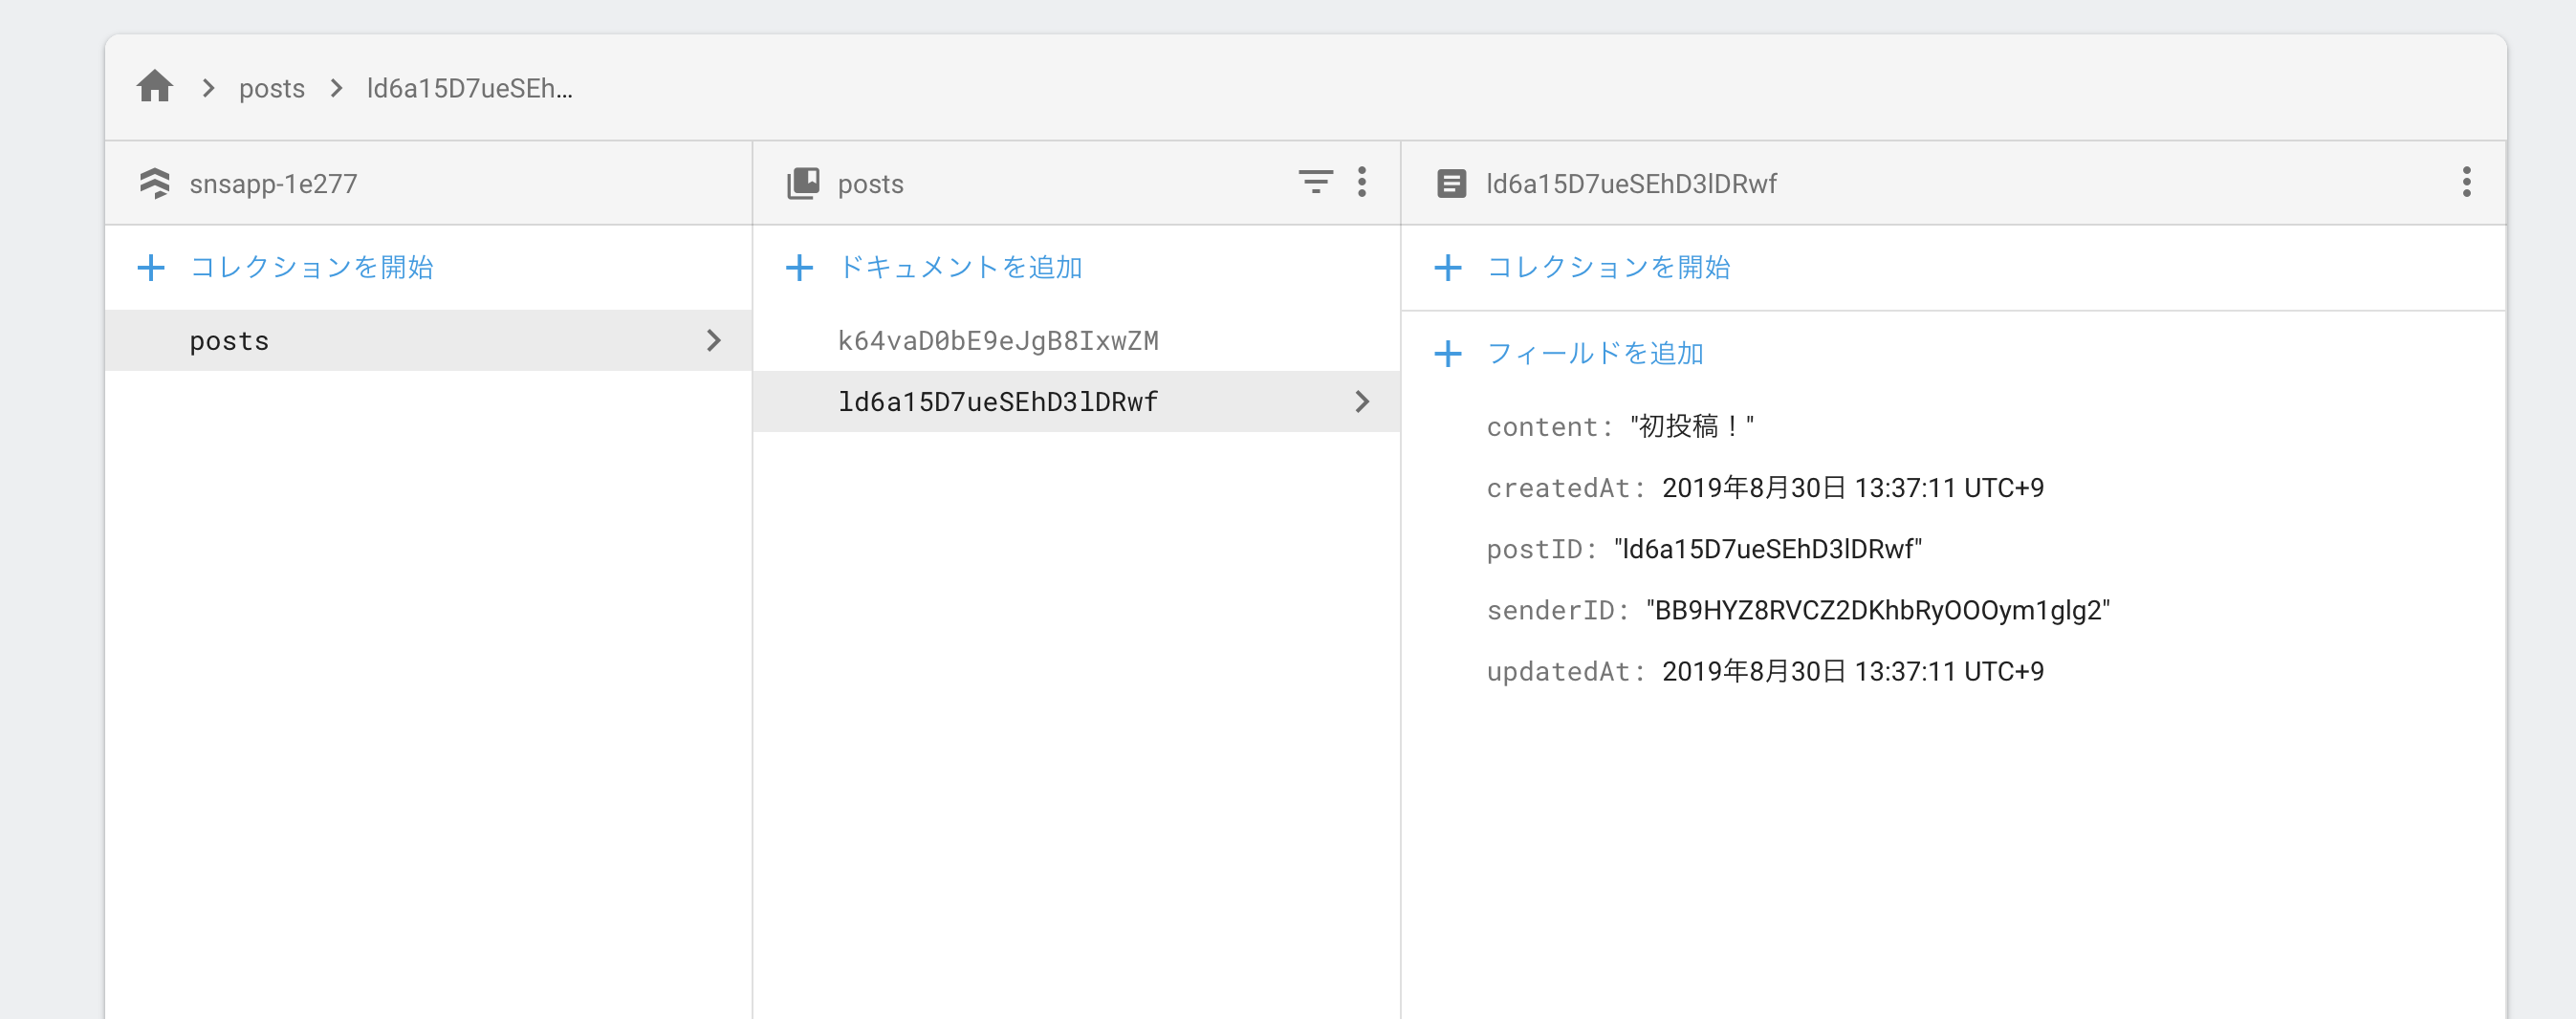
現在のデモ
- データベース (2回投稿しました。)
TimelineViewControllerで投稿を読み込む
投稿を保存する配列の変数の宣言
viewWillAppearメソッドの中でデータベースから投稿を読み込む処理を記述していきます。
TimelineViewController.swift
override func viewWillAppear(_ animated: Bool) {
super.viewWillAppear(animated)
database.collection("posts").getDocuments { (snapshot, error) in
if error == nil, let snapshot = snapshot {
self.postArray = []
for document in snapshot.documents {
let data = document.data()
let post = Post(data: data)
self.postArray.append(post)
}
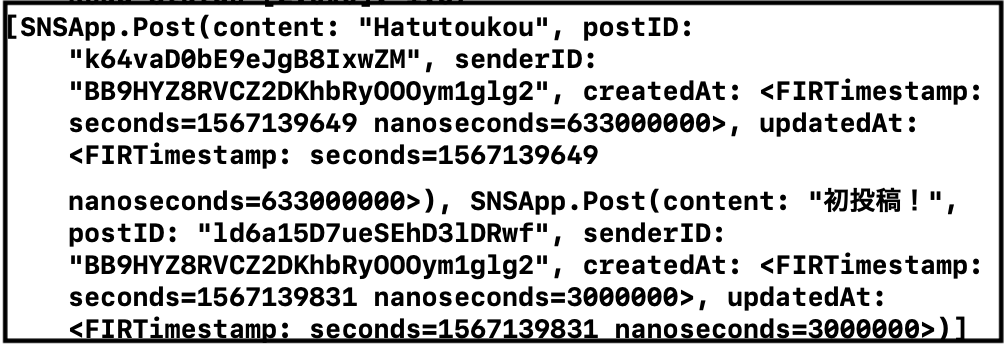
print(self.postArray)
}
}
}
- 出力結果
TimelineViewControllerで投稿をテーブルビューに表示する。
- UIの宣言
// デリゲート・データソースを記述。
class TimelineViewController: UIViewController, UITableViewDataSource, UITableViewDelegate {
    @IBOutlet var tableView: UITableView! // 追加

    override func viewDidLoad() {
        super.viewDidLoad()
        database = Firestore.firestore()
        tableView.delegate = self  // 追加
        tableView.dataSource = self // 追加
    }
}
- データソースメソッドを追加
class TimelineViewController: UIViewController, UITableViewDataSource, UITableViewDelegate {

    (省略)

    func tableView(_ tableView: UITableView, numberOfRowsInSection section: Int) -> Int {
        return postArray.count
    }

    func tableView(_ tableView: UITableView, cellForRowAt indexPath: IndexPath) -> UITableViewCell {
        let cell = tableView.dequeueReusableCell(withIdentifier: "Cell")!
        cell.textLabel?.text = postArray[indexPath.row].content
        return cell
    }
}
- データベースからの取得が完了したらテーブルビューを更新する
override func viewWillAppear(_ animated: Bool) {
    super.viewWillAppear(animated)
    database.collection("posts").getDocuments { (snapshot, error) in
        if error == nil, let snapshot = snapshot {
            self.postArray = []
            for document in snapshot.documents {
                let data = document.data()
                let post = Post(data: data)
                self.postArray.append(post)
            }
            self.tableView.reloadData() // 先ほど書いたprint文をこちらに変更
        }
    }
}
Prototype Cellsを1に変更

StoryboardでセルにIdentifierを
Cellに設定
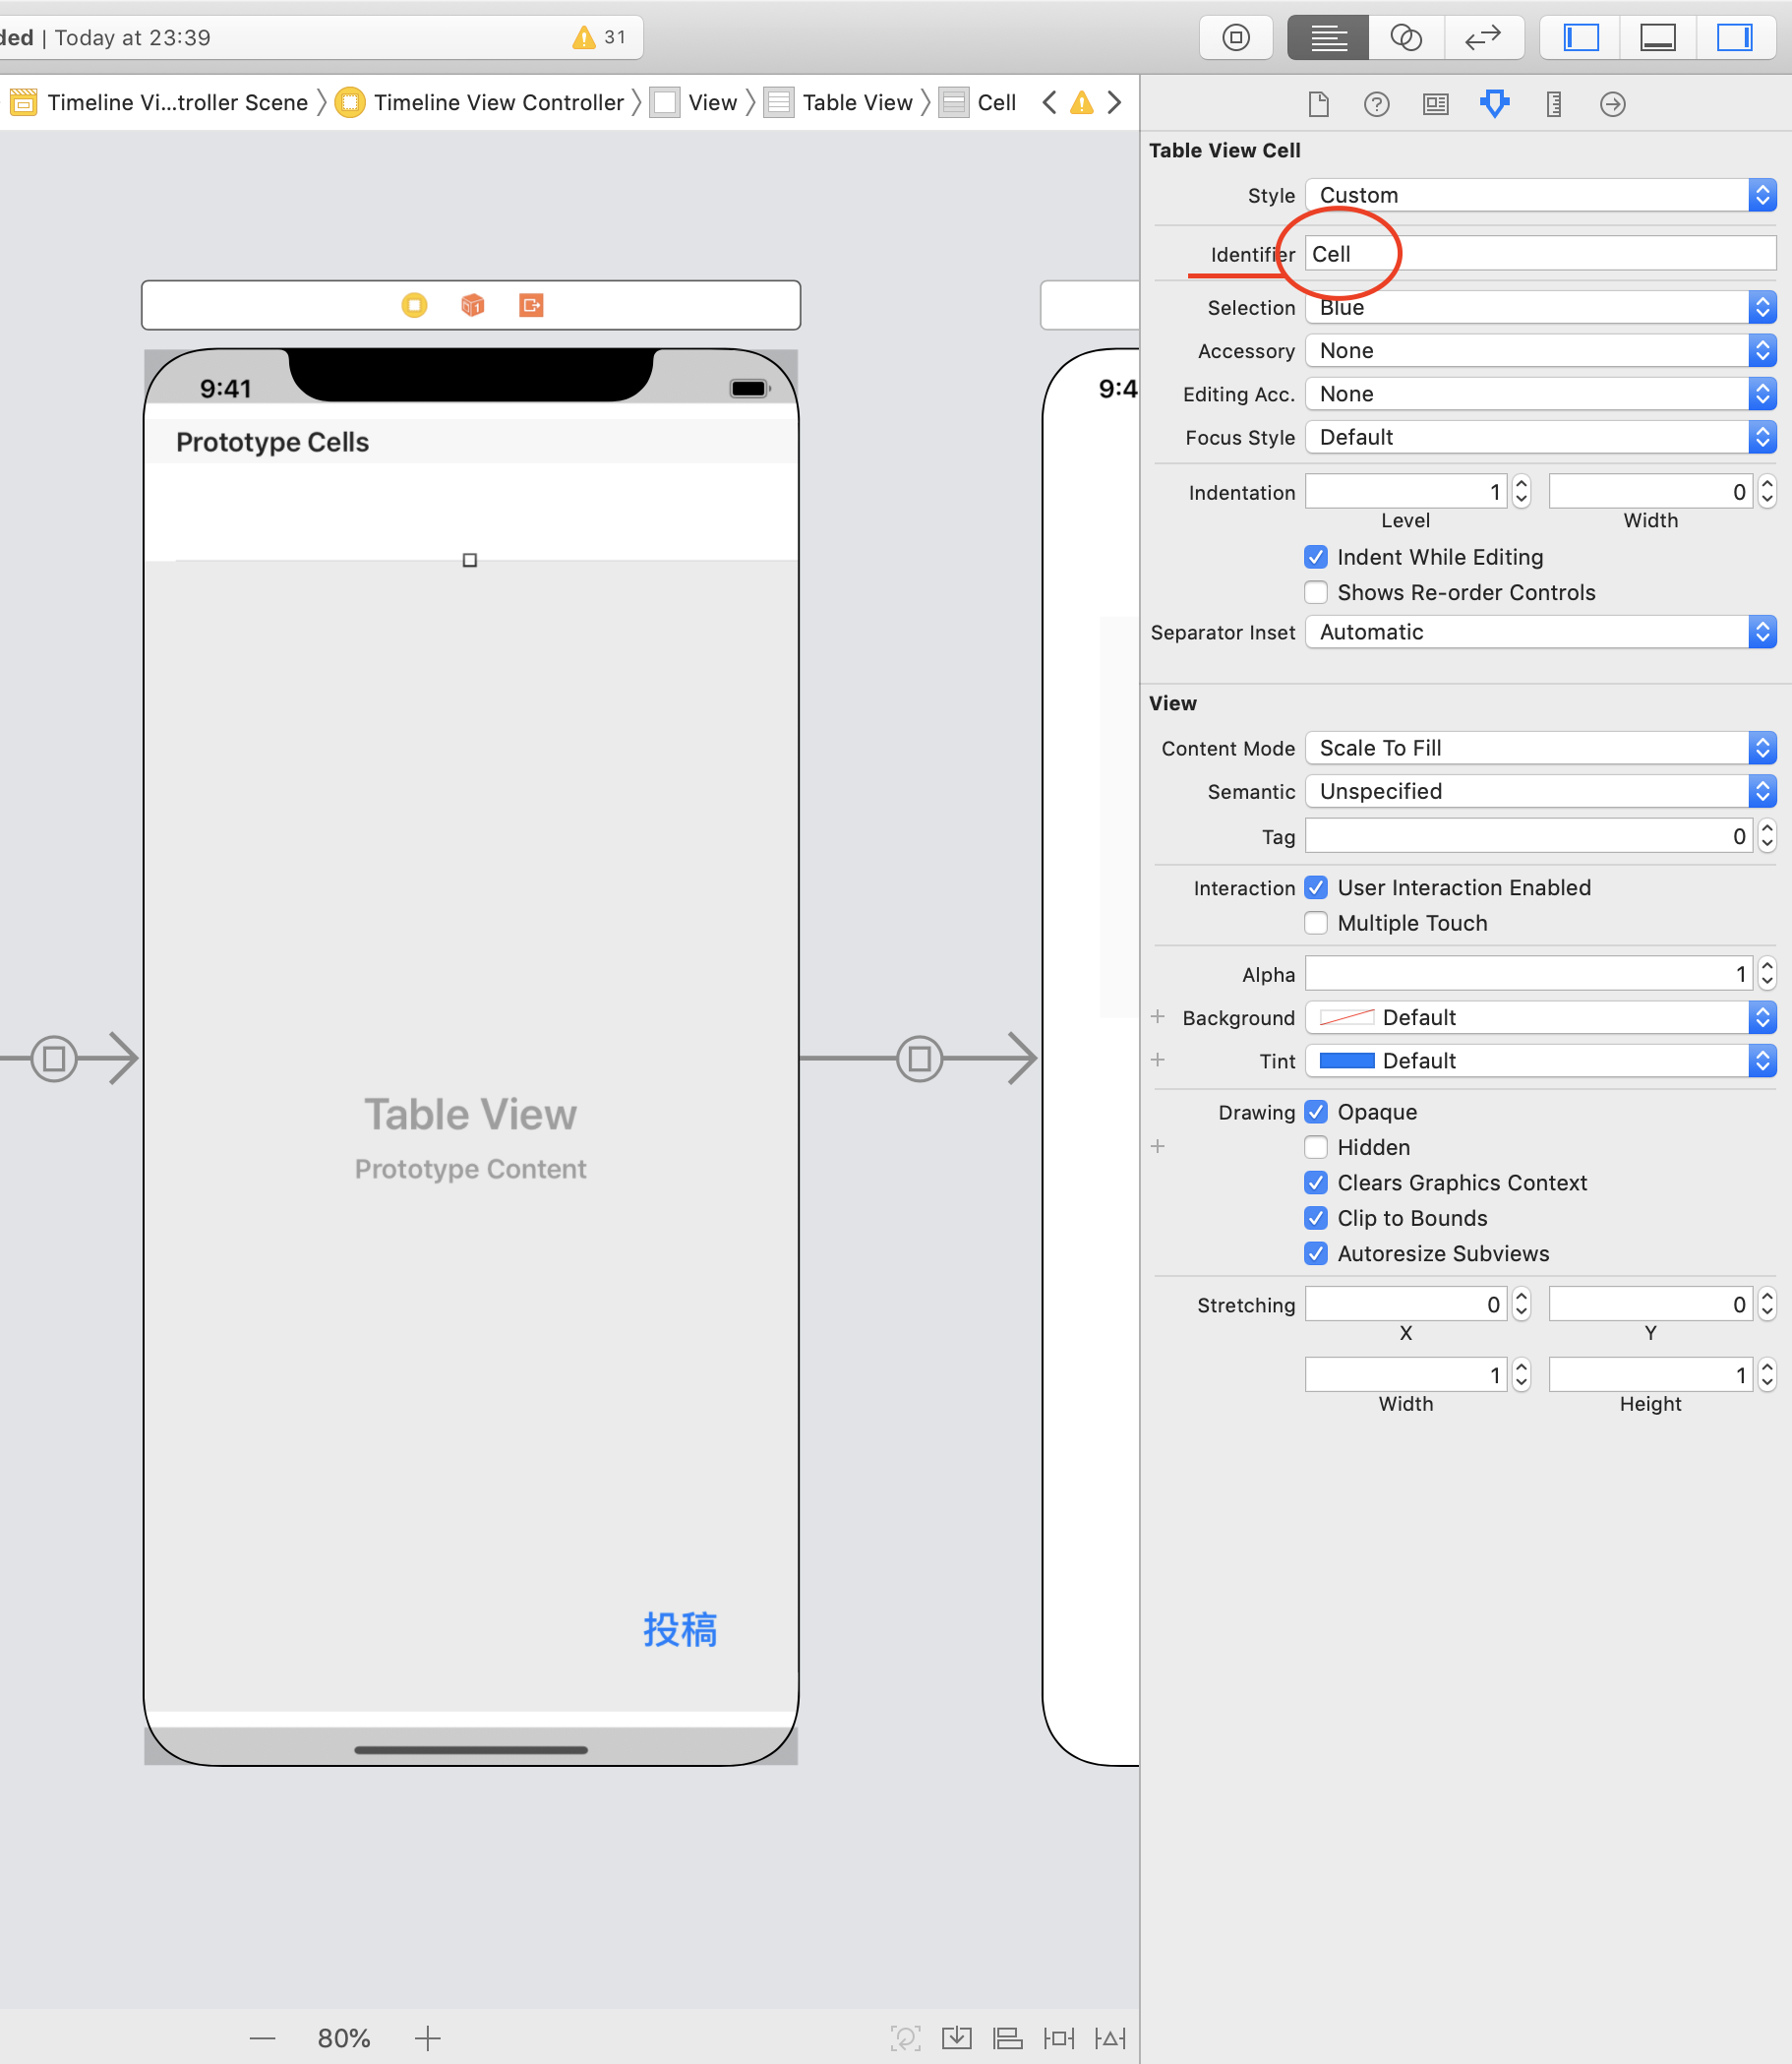
以上で、関連付けをしてから実行してみてください!
- デモ
この辺で、タイムライン編の前編を終えて、次回は後編として進めて行きたいと思います。
投稿して、前の画面に戻ると投稿が反映されている。