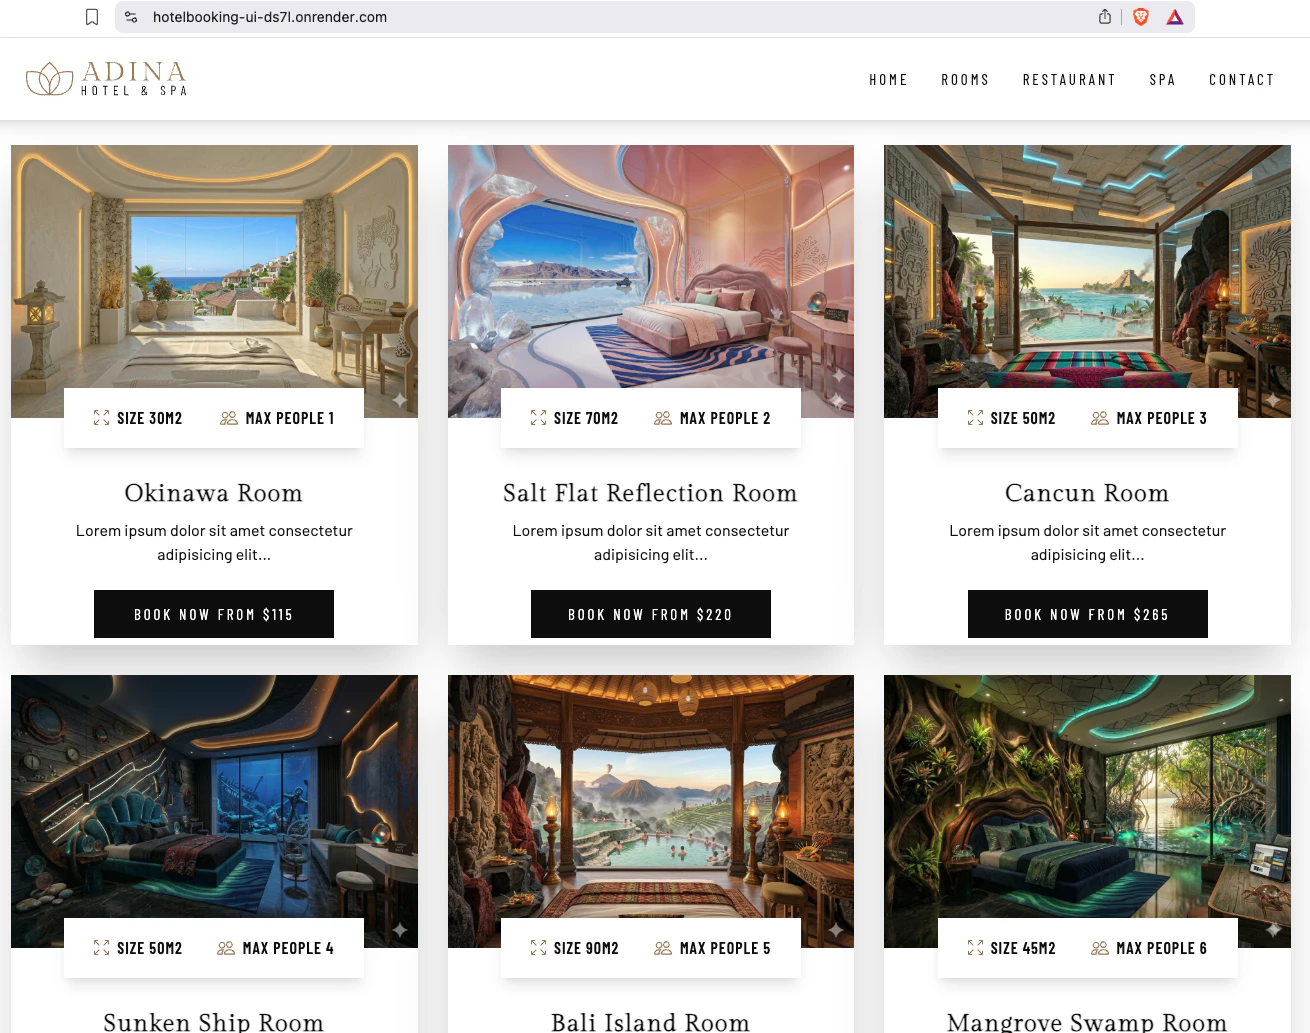
LIVE DEMO: https://hotelbooking-ui-ds7l.onrender.com/
🛠 Tech Stack
- Frontend: React, Tailwind CSS
- Backend: Java, Spring Boot
- Database: PostgreSQL (H2)
- Deployment: Render
- Monitoring: UptimeRobot
1/9:
I’d been wanting to build my portfolio using Spring Boot but wasn't sure where to start. While looking for a free hosting service, I came across Render and decided to use it to bring my project to life!
At the same time, I realized that building the UI from scratch would be quite a challenge. I figured using a template might be a better approach, so I searched for 'booking application web templates react' and came across this website:
I chose the following website for my base design, but I noticed the navigation bar wasn't working properly. To fix this, I also referred to the site below, as combining them allowed me to create a fully functional and reliable user interface.
To update the visuals, I used the three websites mentioned below along with Nano Banana 2 for image generation.
2/9:
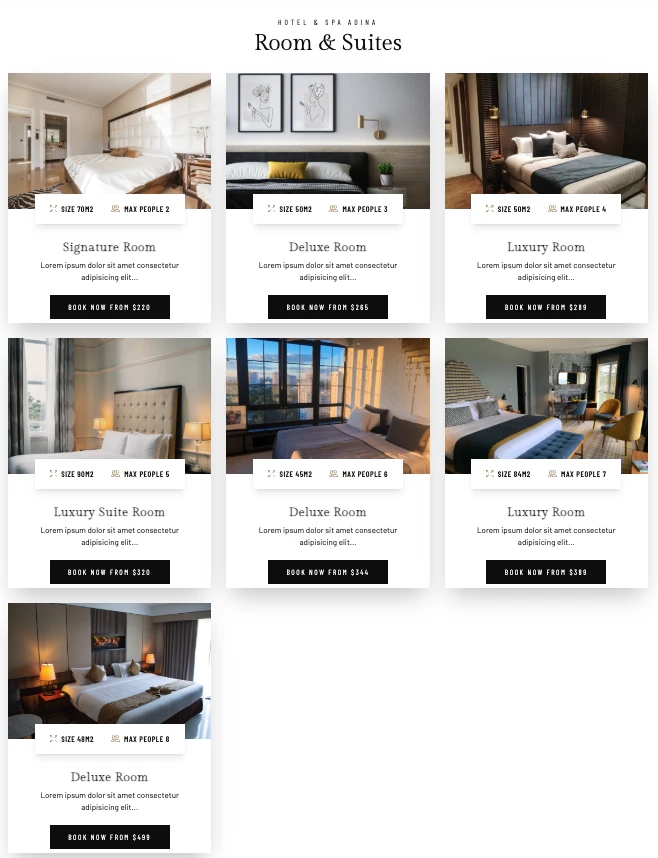
After that, I cloned the repository and set up the project locally. As a first step for the UI updates, I started by replacing the images.
Original UI:
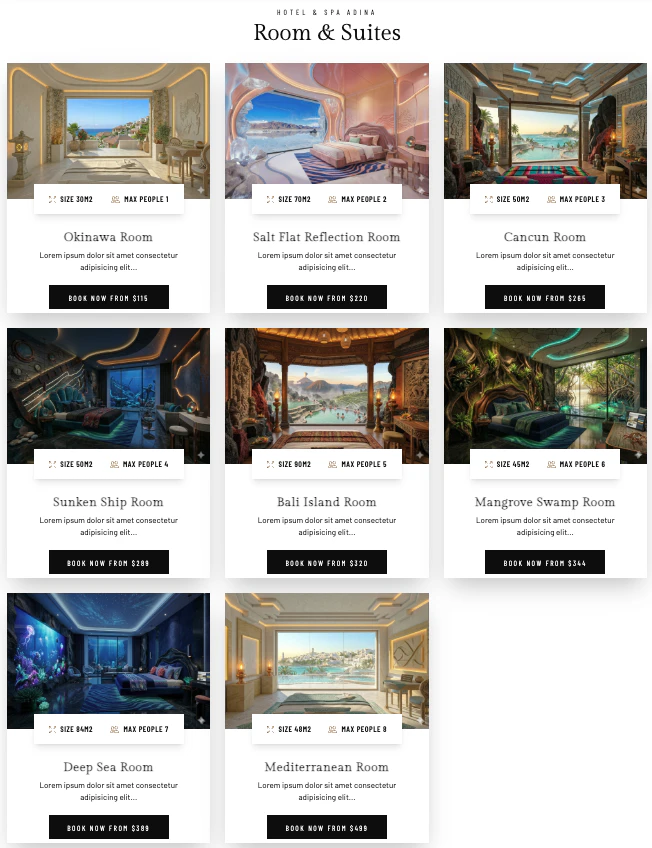
My current UI:
3/9:
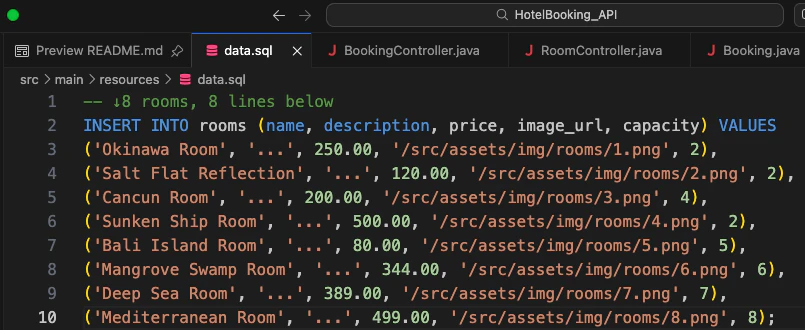
At this stage, I started working on the backend separately from the UI. I chose Spring Boot for the API development. After fine-tuning the integration between the UI and API, I refactored the image handling so that pictures are now managed via the backend database instead of being stored directly in the frontend.
4/9:
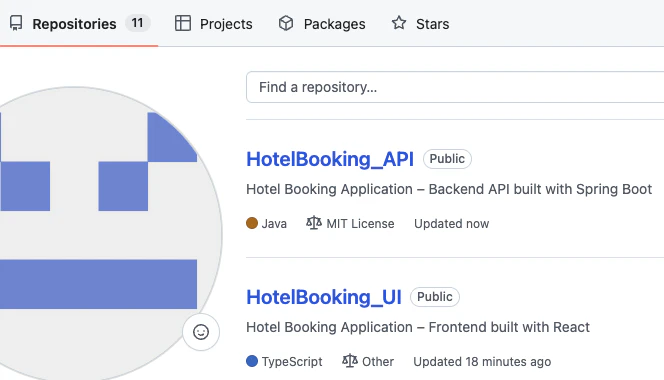
↓After completing the UI and API development and verifying the local server setup, I pushed the code to GitHub.
5/9:
With the code ready, I started setting up my Render account. I referred to the guide below for the setup process. I chose to authenticate with GitHub as it’s much more efficient for linking repositories.
https://qiita.com/tks_00/items/73cf04c225e5f6113cd8
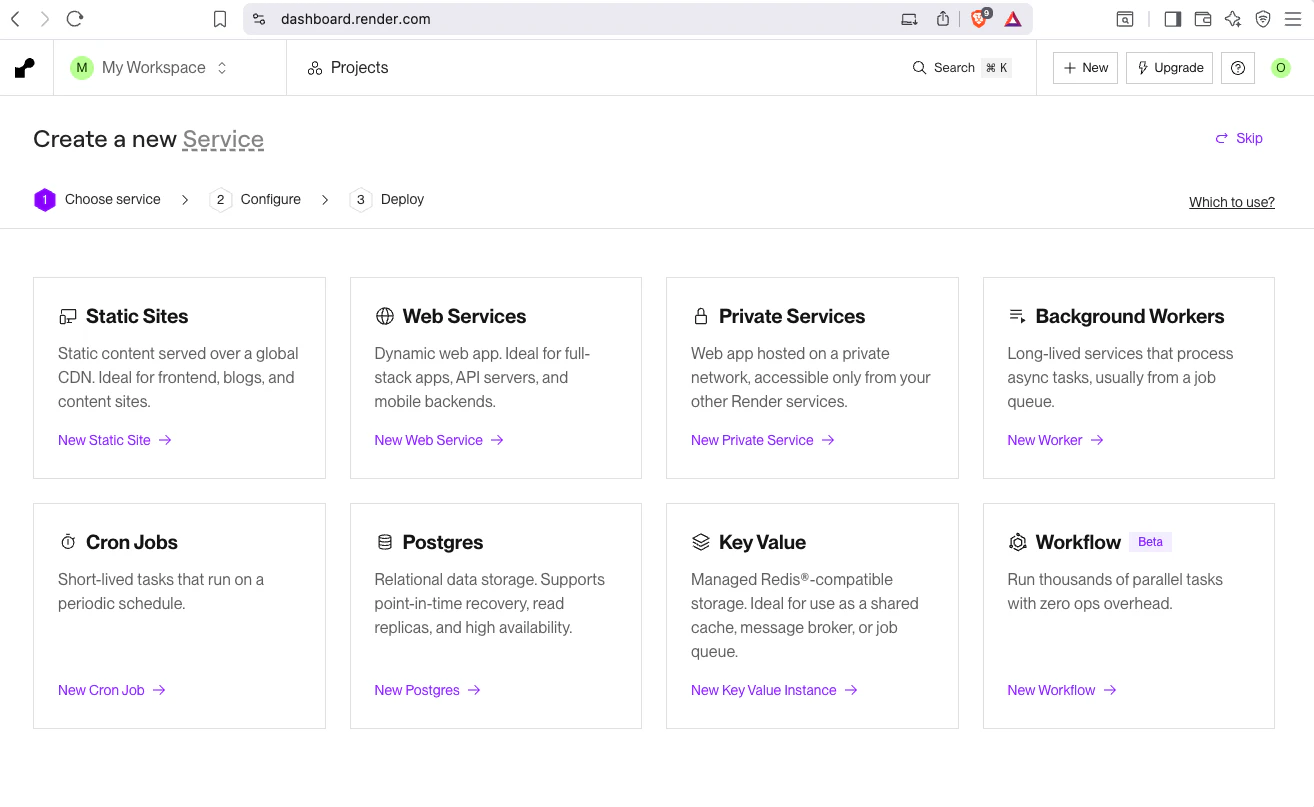
6/9:
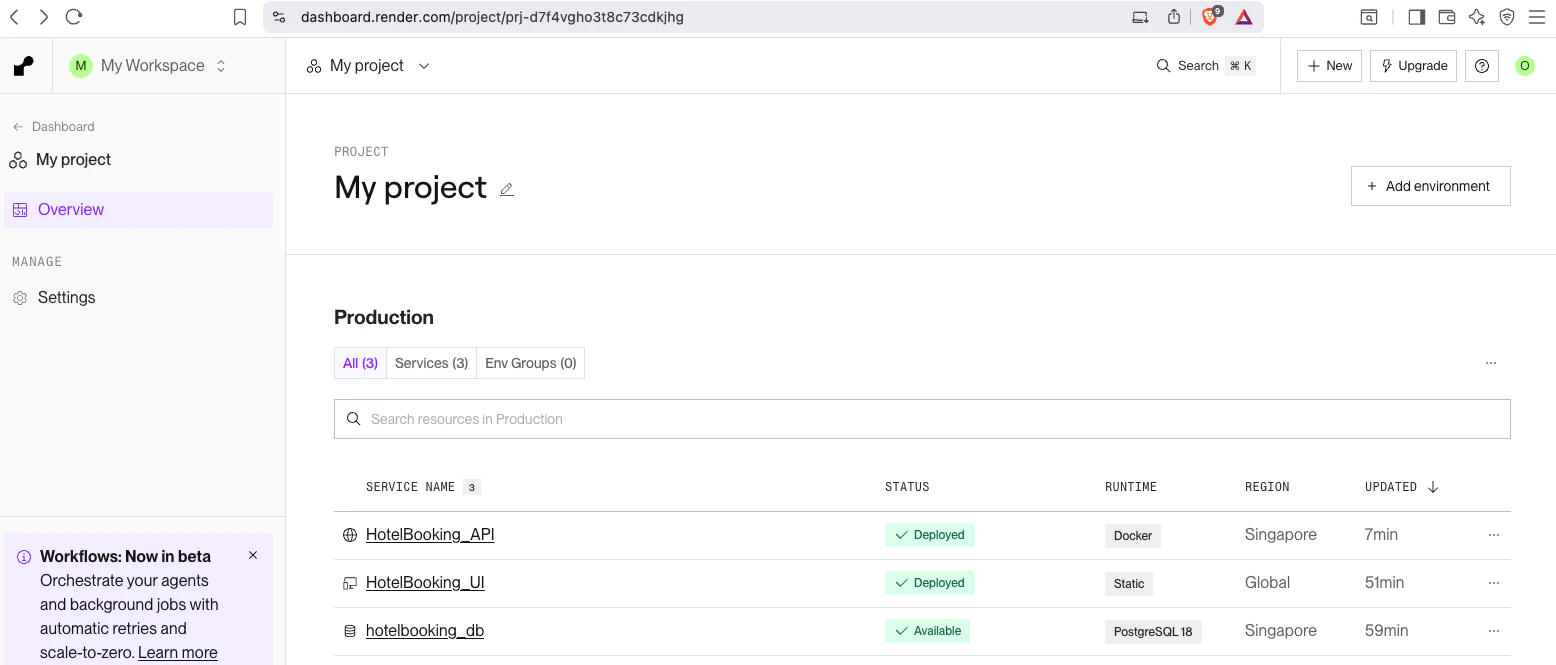
I proceeded by setting up the API as a Web Service and the UI as a Static Site. It wasn't a smooth start—I ran into several deployment errors related to updated paths and database configurations. Some images also failed to load initially. I spent some time troubleshooting these configuration issues and eventually secured a successful deploy.
7/9:
I've finally reached a point where I'm happy with the progress.
8/9:
Optimizing Load Speed
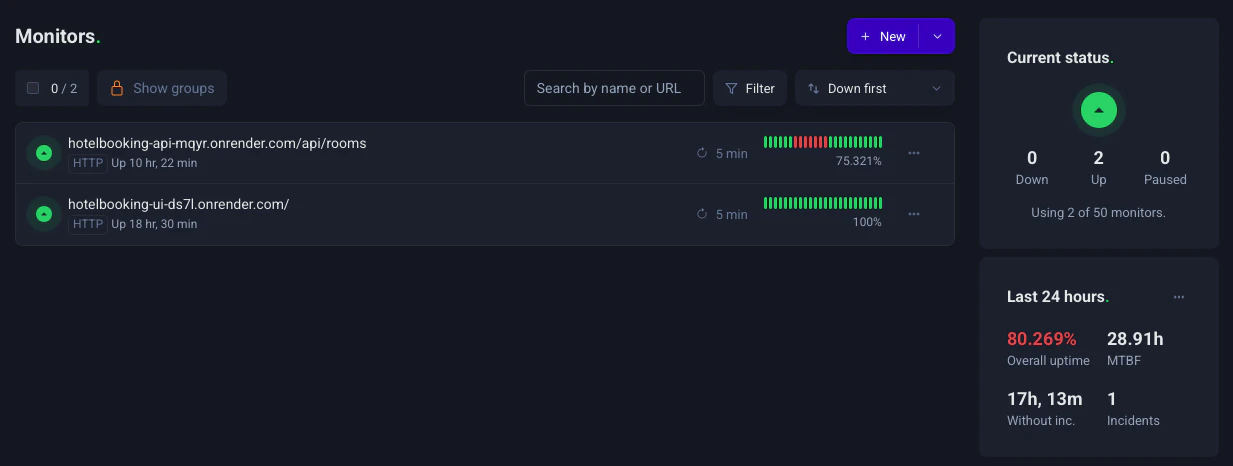
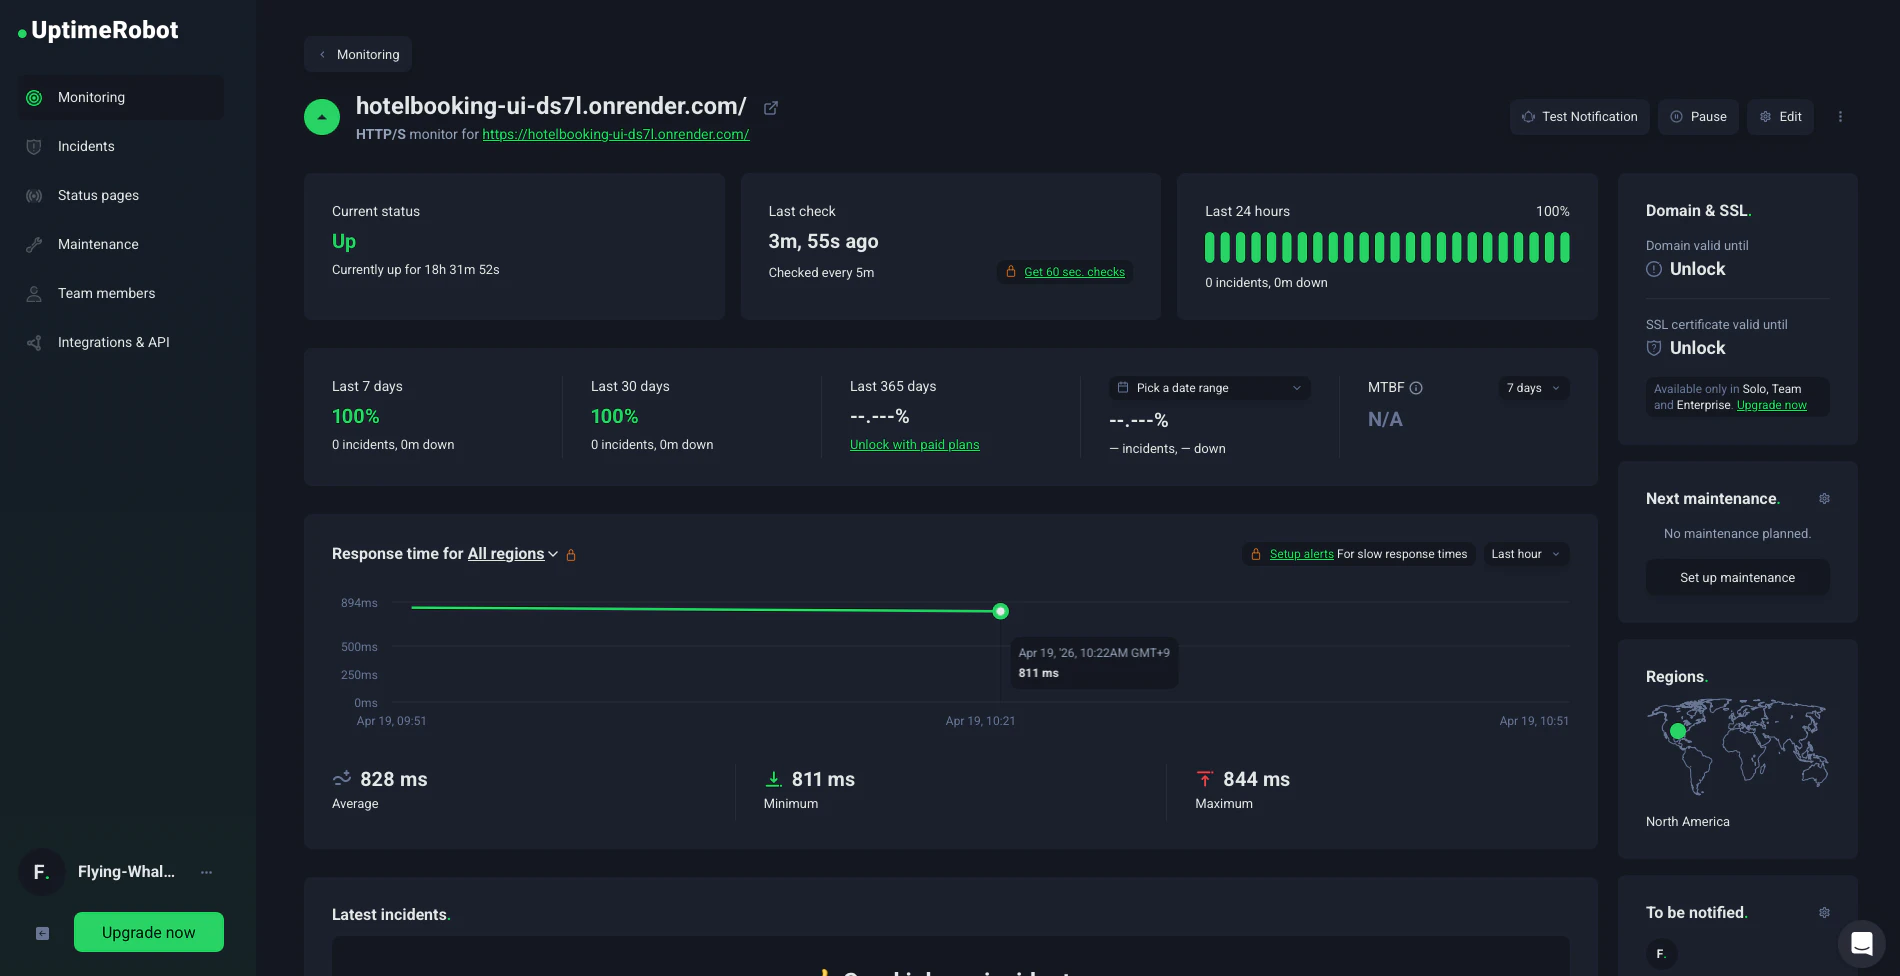
I noticed that Render’s free tier spins down the instance after 15 minutes of inactivity, leading to a long 60-90s wait for the first user. To maintain faster response times, I integrated UptimeRobot to monitor the site and prevent it from sleeping. I referred to this article for the implementation:
https://qiita.com/yuto141592/items/cef9b50ea4557dfe1be7
After accessing the UptimeRobot site, I created an account using GitHub authentication. To start the monitoring, I pasted my website's URL into the 'URL to monitor' section.
https://dashboard.uptimerobot.com/monitors?ref=website-header
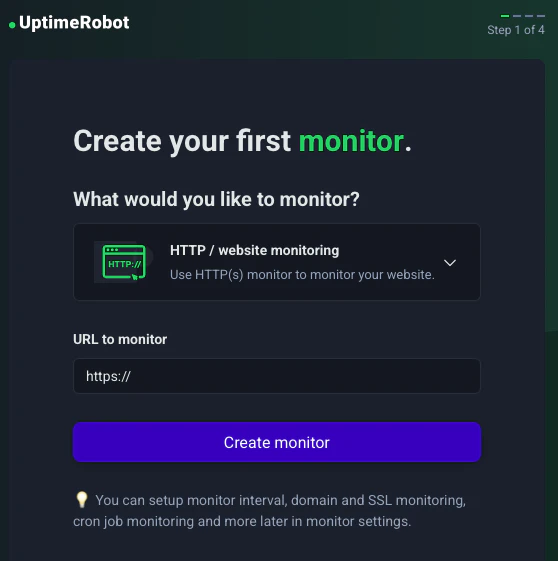
The default monitoring interval is set to every 5 minutes. Since that's enough to keep the server from sleeping, I kept the default settings. With this, the initial loading problem is now solved.

9/9:
Key Takeaways
Through this project, I gained practical experience in integrating React with Spring Boot and learned a lot about server-side communication.
While the current backend is a minimal setup, I plan to build upon it by implementing a booking system. I also aim to add more advanced features such as API fetching and PDF generation to further enhance the backend's functionality.
Links
Live Demo:
https://hotelbooking-ui-ds7l.onrender.com/
Source Code:
https://github.com/Flying-WhaleShark/HotelBooking_UI
https://github.com/Flying-WhaleShark/HotelBooking_API