プログラミングは苦手、というかたへ、PythonでTensorFlowを動かしたりSwiftでiPhoneアプリを作ったりNode-REDでJavaScriptを書いたりする前に、参考になるヒントをいくつかご紹介できればと思います。
1. virtualenvをインストールし仮想環境を用意する
- このチュートリアルは(初心者向け)TensorFlowをインストールするからforkしているためTensorFlowや"tf"を用いていますが、Pythonの練習のためには他の名前でも構いません
- Python 3を使います
- ターミナルを開き
- 次のコマンドでvirtualenvをインストールします
virtualenvのインストール
 sudo easy_install pip
 sudo pip install --upgrade virtualenv
- 次のコマンドで「tf」という名前で仮想環境(virtualenv)を用意します
仮想環境を用意
virtualenv --system-site-packages -p python3 tf
- 作成した仮想環境(virtualenv)へ入るには、上記と同じディレクトリから以下のコマンドを入力します
仮想環境へ入る
source tf/bin/activate
MacBook-Pro:tftest tohru$ source tf/bin/activate
(tf) MacBook-Pro:tftest tohru$
プロンプトに
(tf)が表示され仮想環境に入っていることを示しています。このあとのハンズオンはこの(tf)プロンプトから実行していきます(参考)仮想環境から出るには以下のコマンドを使用します。(まあターミナルを閉じてしまってもかまわないわけですが。)
仮想環境から出る
(tf)$ deactivate
- プロンプトの
(tf)がなくなり通常のshell環境へ戻ったことがわかります
2. jupyter notebookをインストール
- このあとのハンズオンで使用するjupyter notebookをインストールします
- 仮想環境に入っている(プロンプトに
(tf)と表示)ターミナルで、pip3 install jupyter notebookを実行します
(tf) MacBook-Pro:tftest tohru$ pip3 install jupyter notebook
Collecting jupyter
  Using cached jupyter-1.0.0-py2.py3-none-any.whl
- 下記のような出力でインストールが成功したことを確認します
 :
Successfully installed MarkupSafe-1.0 appnope-0.1.0 decorator-4.1.2 (...中略...) testpath-0.3.1 tornado-4.5.2 traitlets-4.3.2 wcwidth-0.1.7 widgetsnbextension-3.0.2
(tf) MacBook-Pro:tftest tohru$
3. Jupyter notebookの稼働を確認します
-
jupyter notebookで起動します - 8888にアクセスしJupyter notebookの稼働を確認します
(tf)MacBook-Pro:jn tohru$ jupyter notebook
[I 12:43:15.142 NotebookApp] Serving notebooks from local directory: /Users/tohru/Documents/t/jn
[I 12:43:15.142 NotebookApp] 0 active kernels
[I 12:43:15.142 NotebookApp] The Jupyter Notebook is running at: http://localhost:8888/?token=9c1766248add66ef456c2b16007ca1fbb7a65d341115a422
[I 12:43:15.142 NotebookApp] Use Control-C to stop this server and shut down all kernels (twice to skip confirmation).
[C 12:43:15.143 NotebookApp]

    Copy/paste this URL into your browser when you connect for the first time,
    to login with a token:

4. matplotlibをインストール
- 前項と同様に、このあとのハンズオンで使用するmatplotlibをインストールします
- 仮想環境に入っている(プロンプトに
(tf)と表示)ターミナルで、pip3 install matplotlibを実行します
matplotlibをインストール
(tf) MacBook-Pro:tftest tohru$ pip3 install matplotlib
Collecting matplotlib
  Using cached matplotlib-2.0.2-cp36-cp36m-macosx_10_6_intel
  :
- 下記のような出力でインストールが成功したことを確認します
matplotlibインストール成功を確認
 :
Successfully installed cycler-0.10.0 matplotlib-2.0.2 pyparsing-2.2.0 pytz-2017.2
(tf) MacBook-Pro:tftest tohru$
5. Jupyter notebookを使ってPythonの基本を確認する
-githubのtensorflow getting startedサンプルを開き、画面右上の緑の「Download ZIP」ボタンを押してzipファイルをダウンロードします
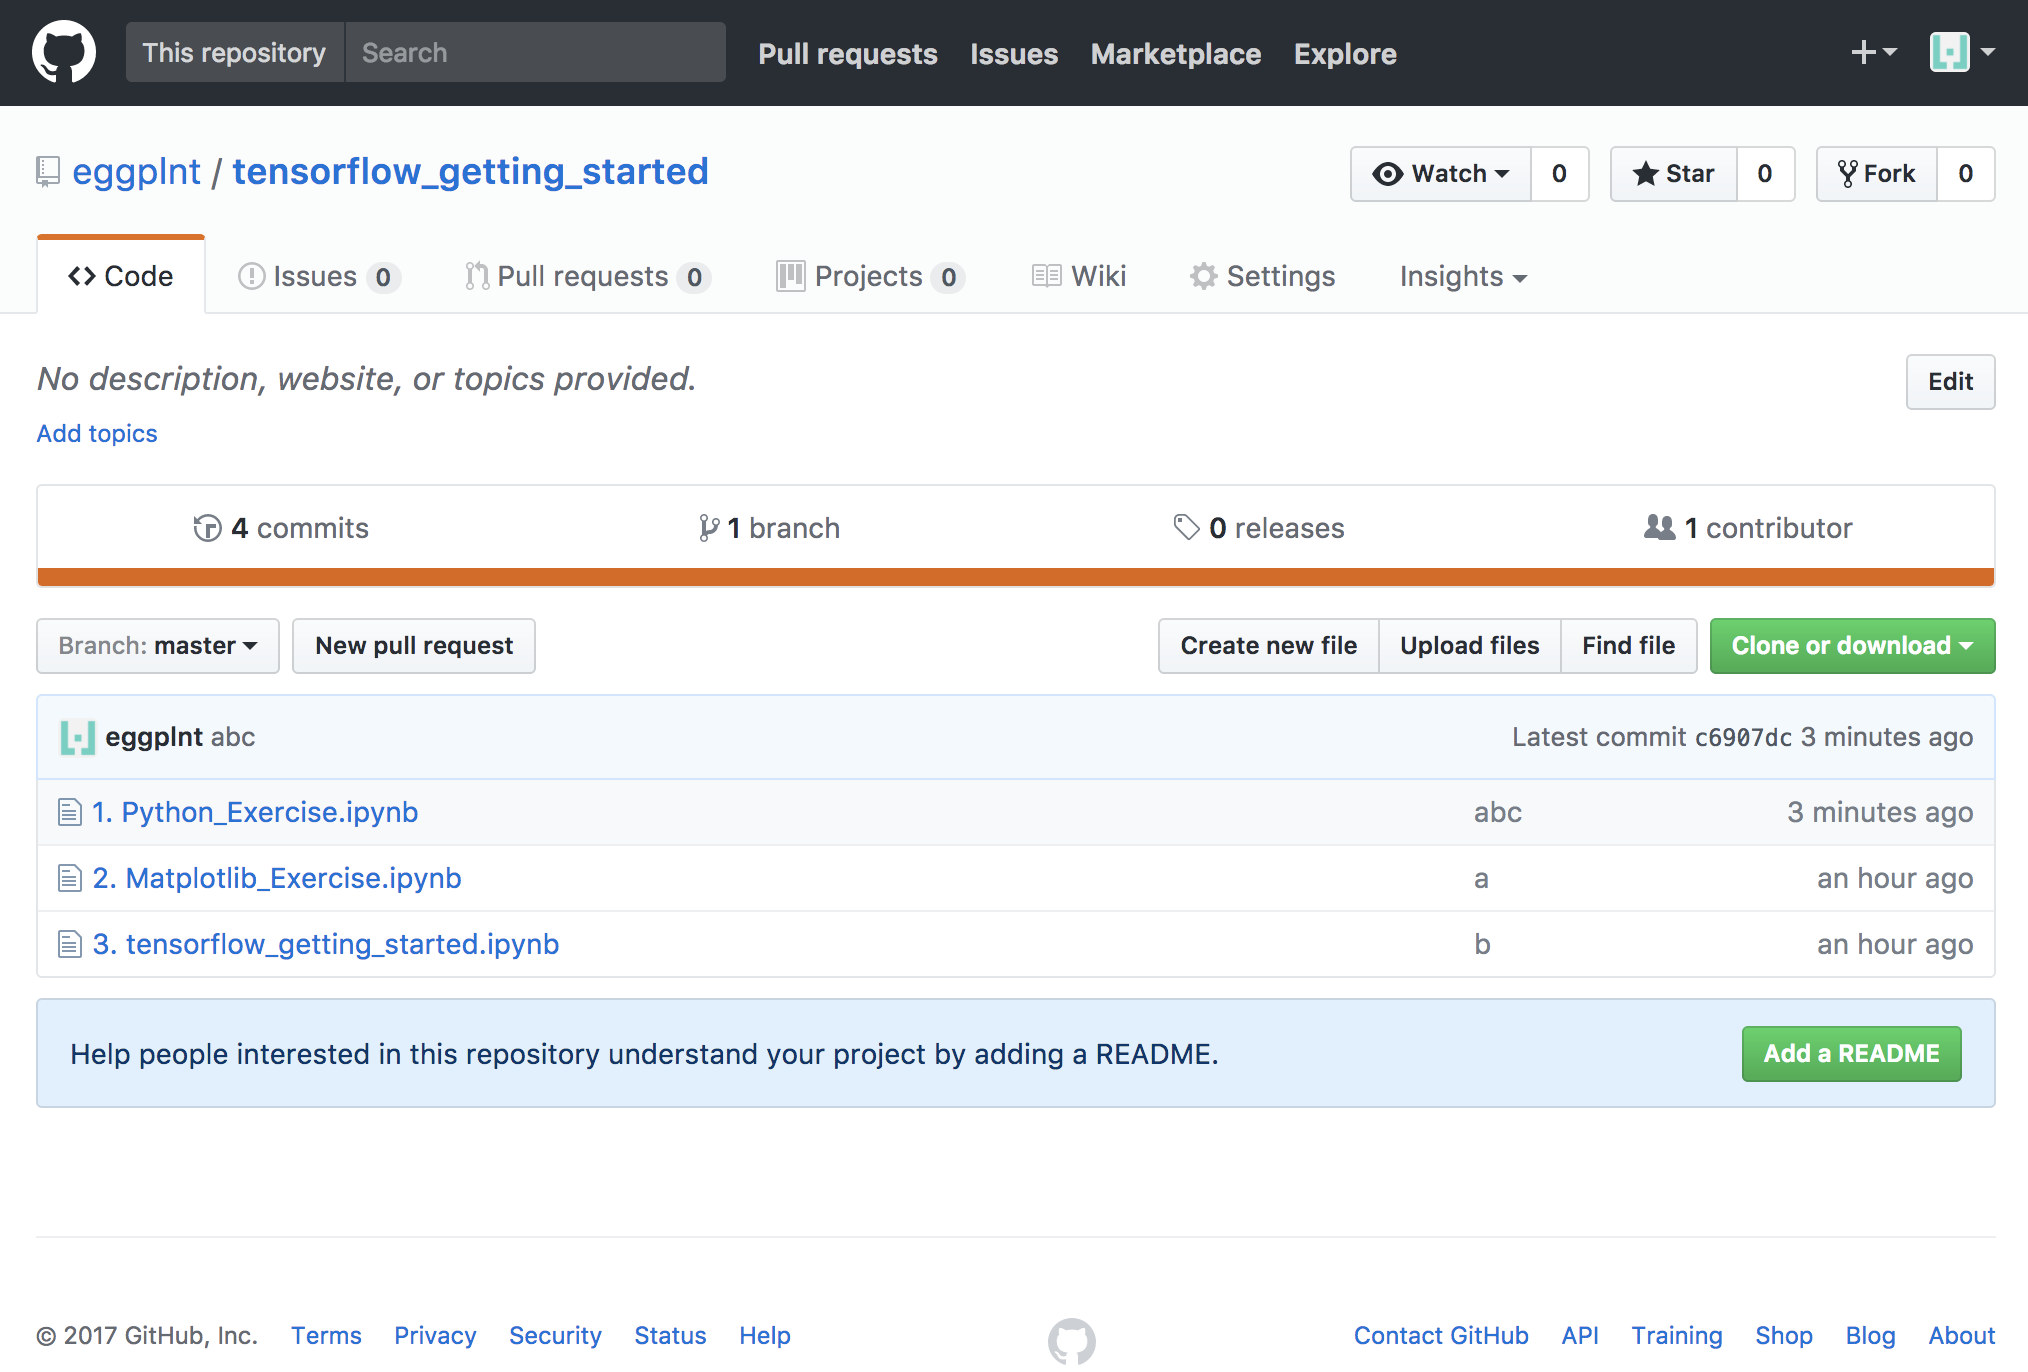
- 適当なディレクトリで上記のzipファイルを解凍します

- 仮想環境をactivateしていない(
(tf)プロンプトが表示されていない)場合、source tf/bin/activateで仮想環境をactivateします。プロンプトに(tf)が表示されます
仮想環境をactivateする
MacBook-Pro:tftest tohru$ source tf/bin/activate
(tf) MacBook-Pro:tftest tohru$
-
jupyter notebookと入力し、jupyter notebookを起動させます。
(tf) MacBook-Pro:python_exercise-master tohru$ pwd
/Users/tohru/Desktop/tftest/tensorflow_getting_started-master
(tf) MacBook-Pro:python_exercise-master tohru$ ls
1. Python_Exercise.ipynb        3. tensorflow_getting_started.ipynb
2. Matplotlib_Exercise.ipynb
(tf) MacBook-Pro:python_exercise-master tohru$ jupyter notebook
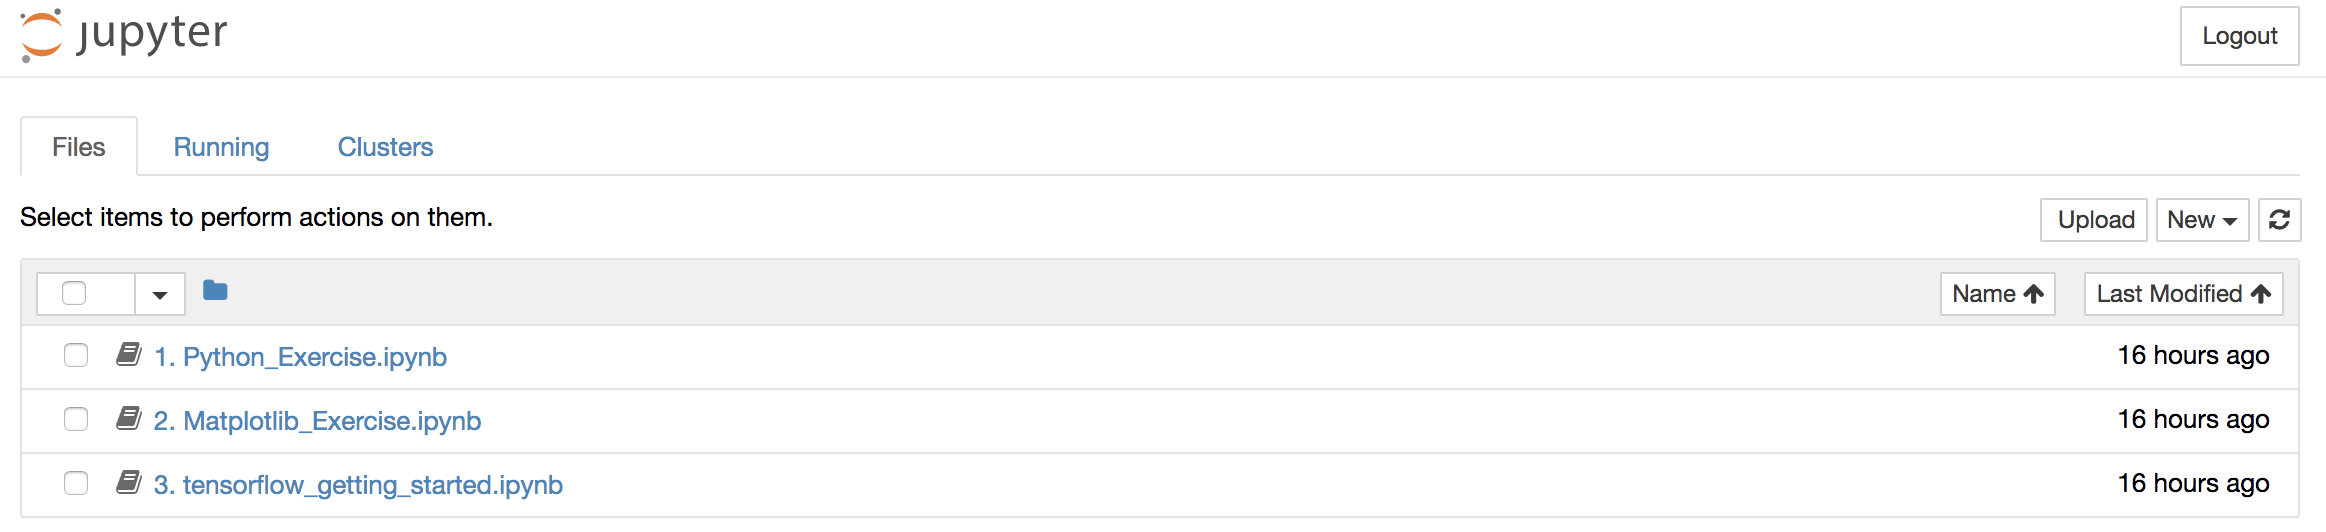
- Jupyter notebookのメニューが表示されるので、「1. Python_Exercise.ipynb」を選択して実行します。
6. Jupyter notebookを使ってMatplotlibの基本的な使い方を確認する
- 前項と同様にjupyter notebookを実行し、「2. Matplotlib_Exercise.ipynb」を選択して実行します。