github
https://github.com/ebatetsu/firebase_vue_chat
Firebaseプロジェクト作成
https://console.firebase.google.com/?hl=ja
ここからプロジェクトを作成
Vue.jsの開発環境構築
Vue CLIを使用するのでインストール
$ npm install -g vue-cli
任意のディレクトリでプロジェクトフォルダ作成
$ vue init webpack [project_name]
とりあえず全部EnterでOKです。
ディレクトリ移動
$ cd [project_name]
パッケージをインストールする
$ npm install
sassで書きたかったら
$ npm install sass-loader node-sass --save-dev
ローカルサーバー起動
$ npm run dev
http://localhost:8080
にアクセスして
これが表示されればOKです。
Firebaseプロジェクトとの紐付け
Firebase CLIのインストール&ログイン
$ npm install -g firebase-tools
$ firebase login
初期化コマンド
$ firebase init

こんな画面になり、今回はDatabase、Hostingだけ使用するのでSpaceで選択してEnter
Firebaseプロジェクト選択では先ほど作成したプロジェクトを選択
基本Enterで進んでいくが、
「What do you want to use as your public directory?」
publicディレクトリを聞かれた際は、最終的にVue CLIで開発したものをビルドして./distディレクトリに吐き出すのでdistと入力
一旦Firebaseにデプロイしてみる
Vueをビルドする
$ npm run build
Firebaseにデプロイ
$ firebase deploy
Firebase管理面の「Hosting」から確認できます。
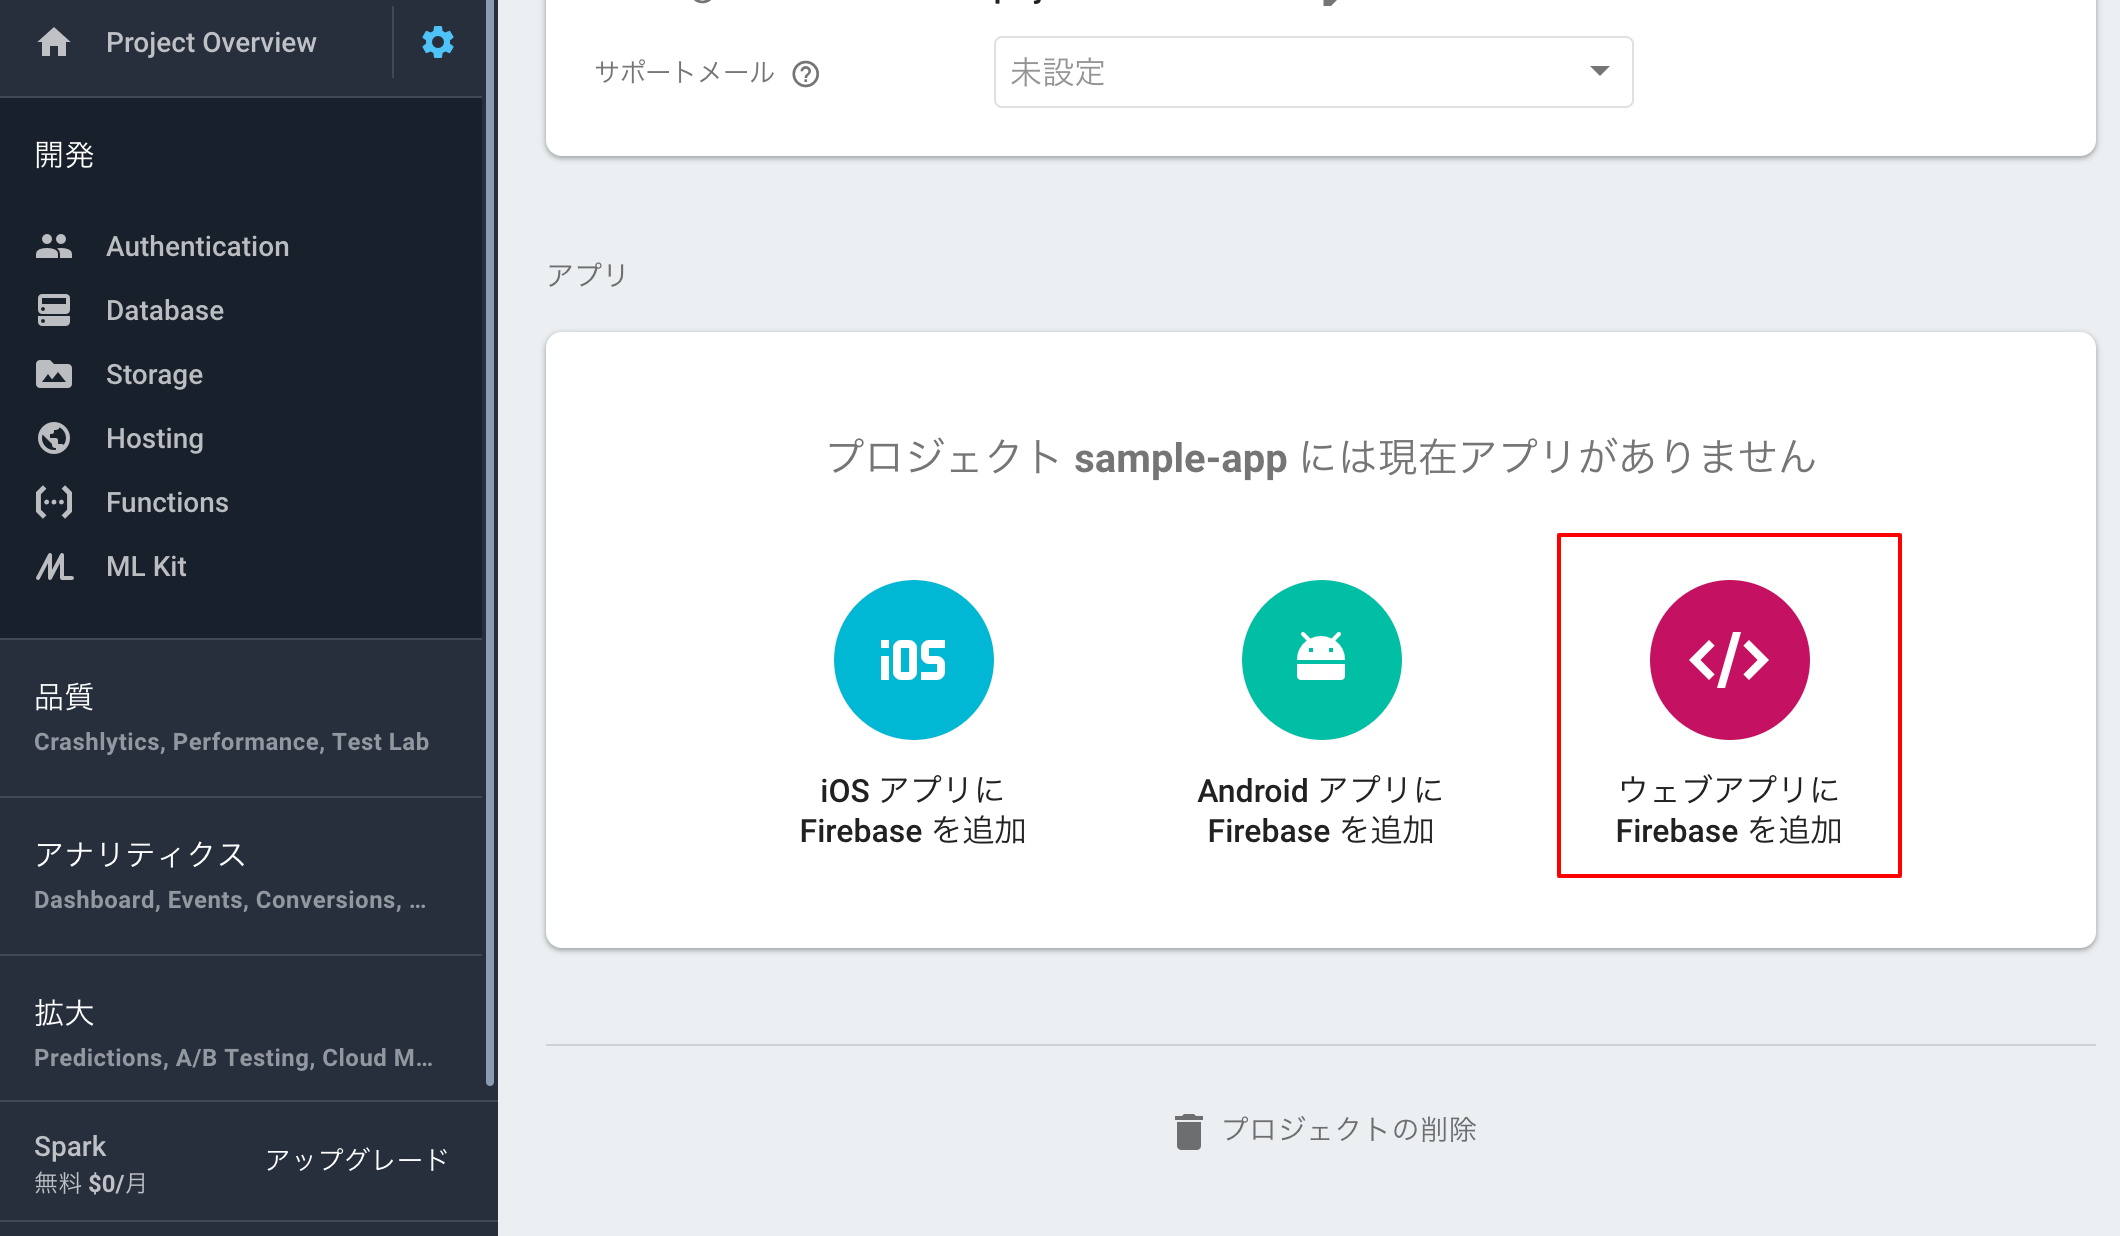
Firebaseをアプリに追加
左上の歯車マークから設定画面に遷移し、「ウェブアプリに Firebase を追加」をクリック
表示されたスニペットをコピーし
./index.html
の</body>直前に貼り付ける
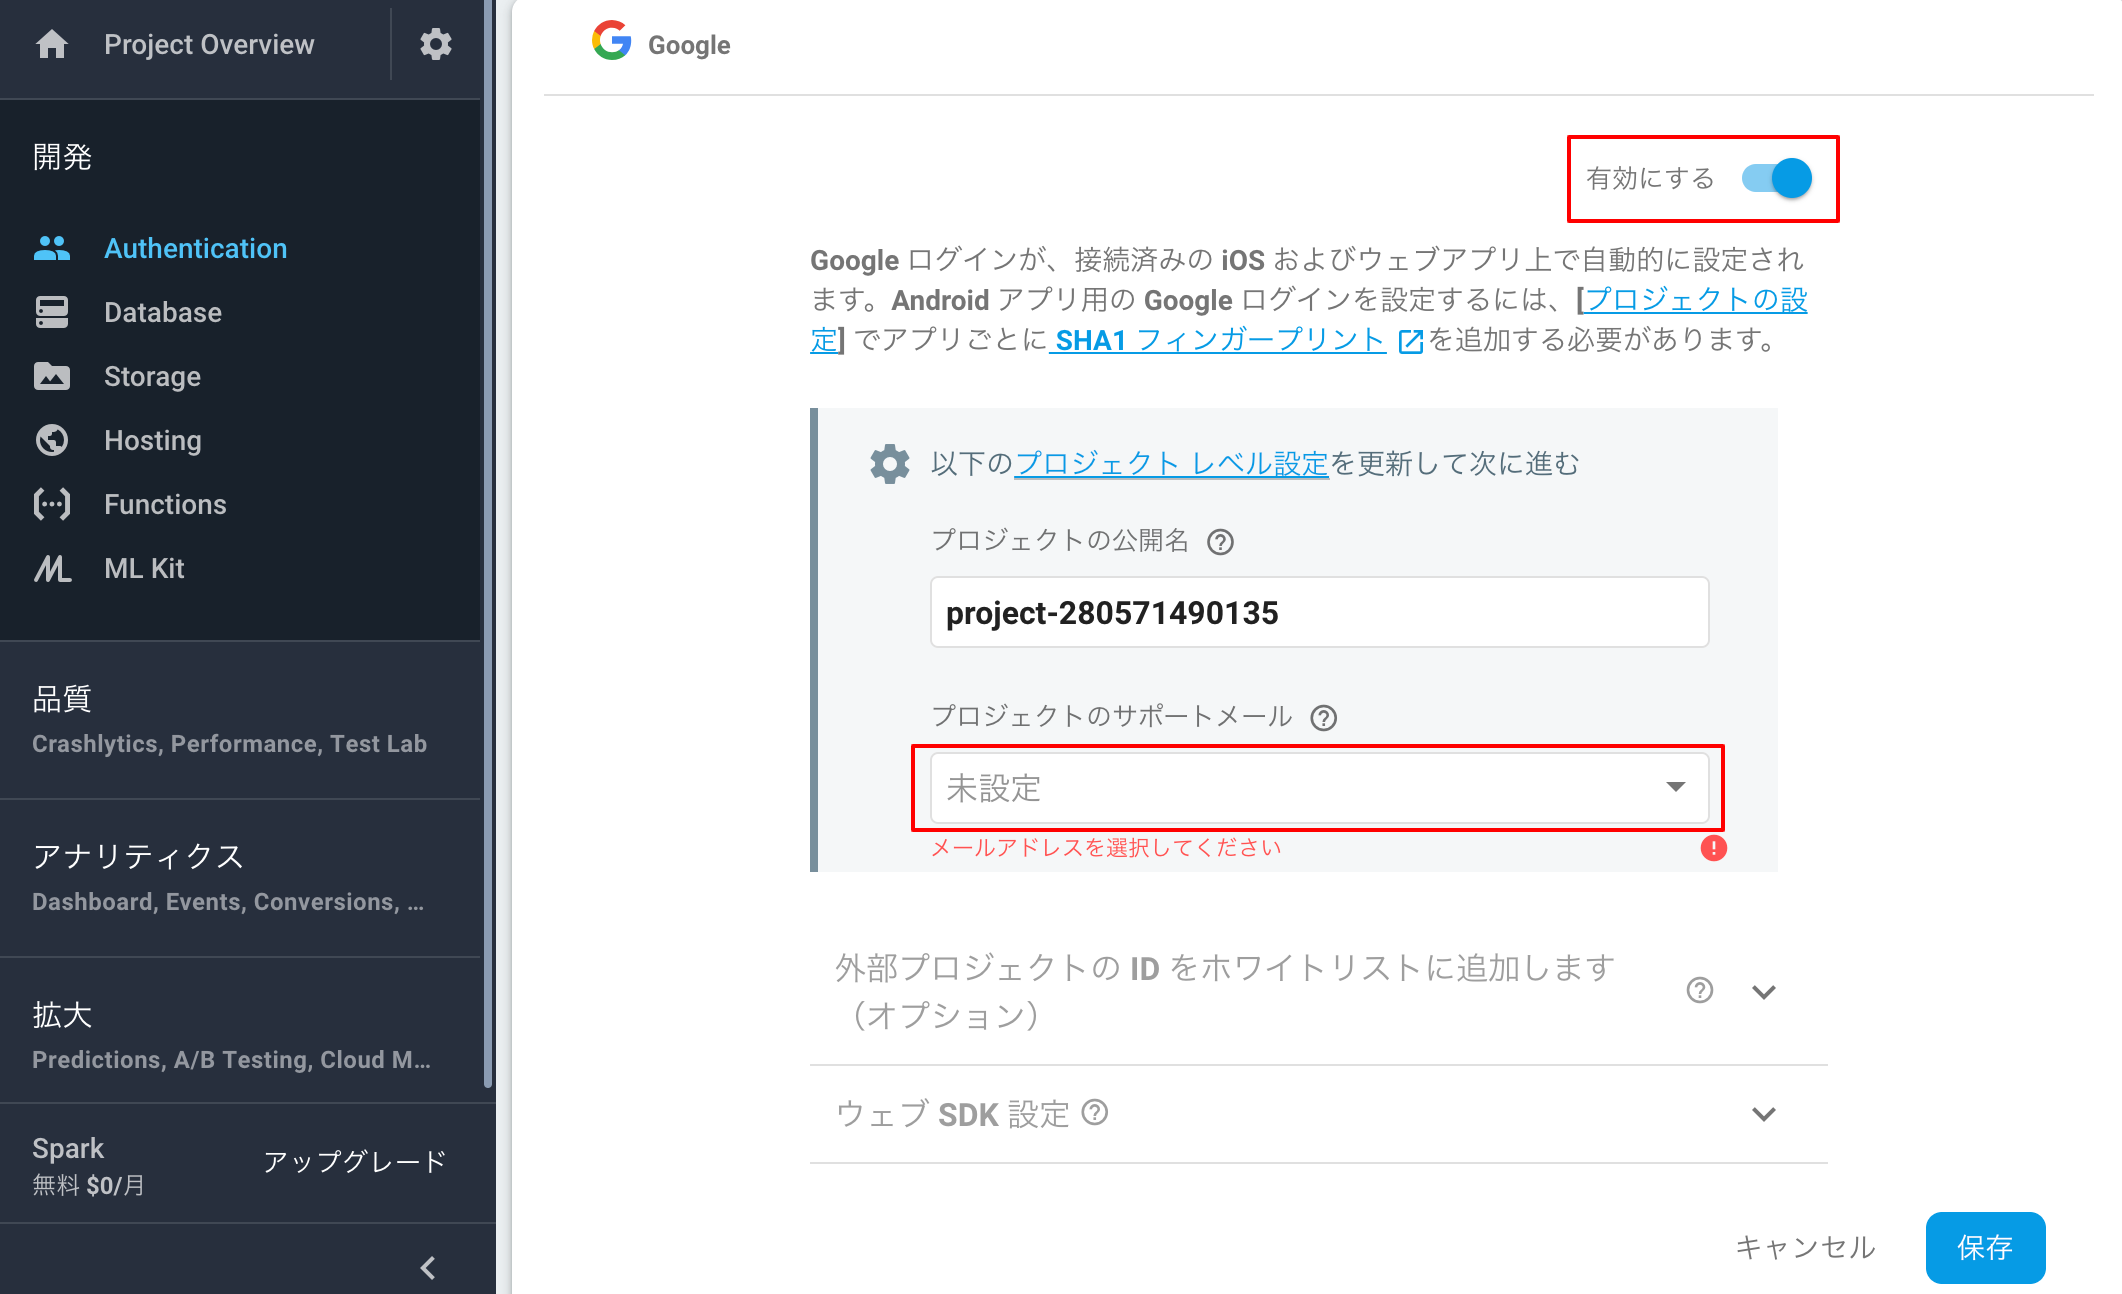
Google認証を有効化
管理画面 → Authentication → ログイン方法 → googleからステータスを有効にしてメールアドレスを選択して保存
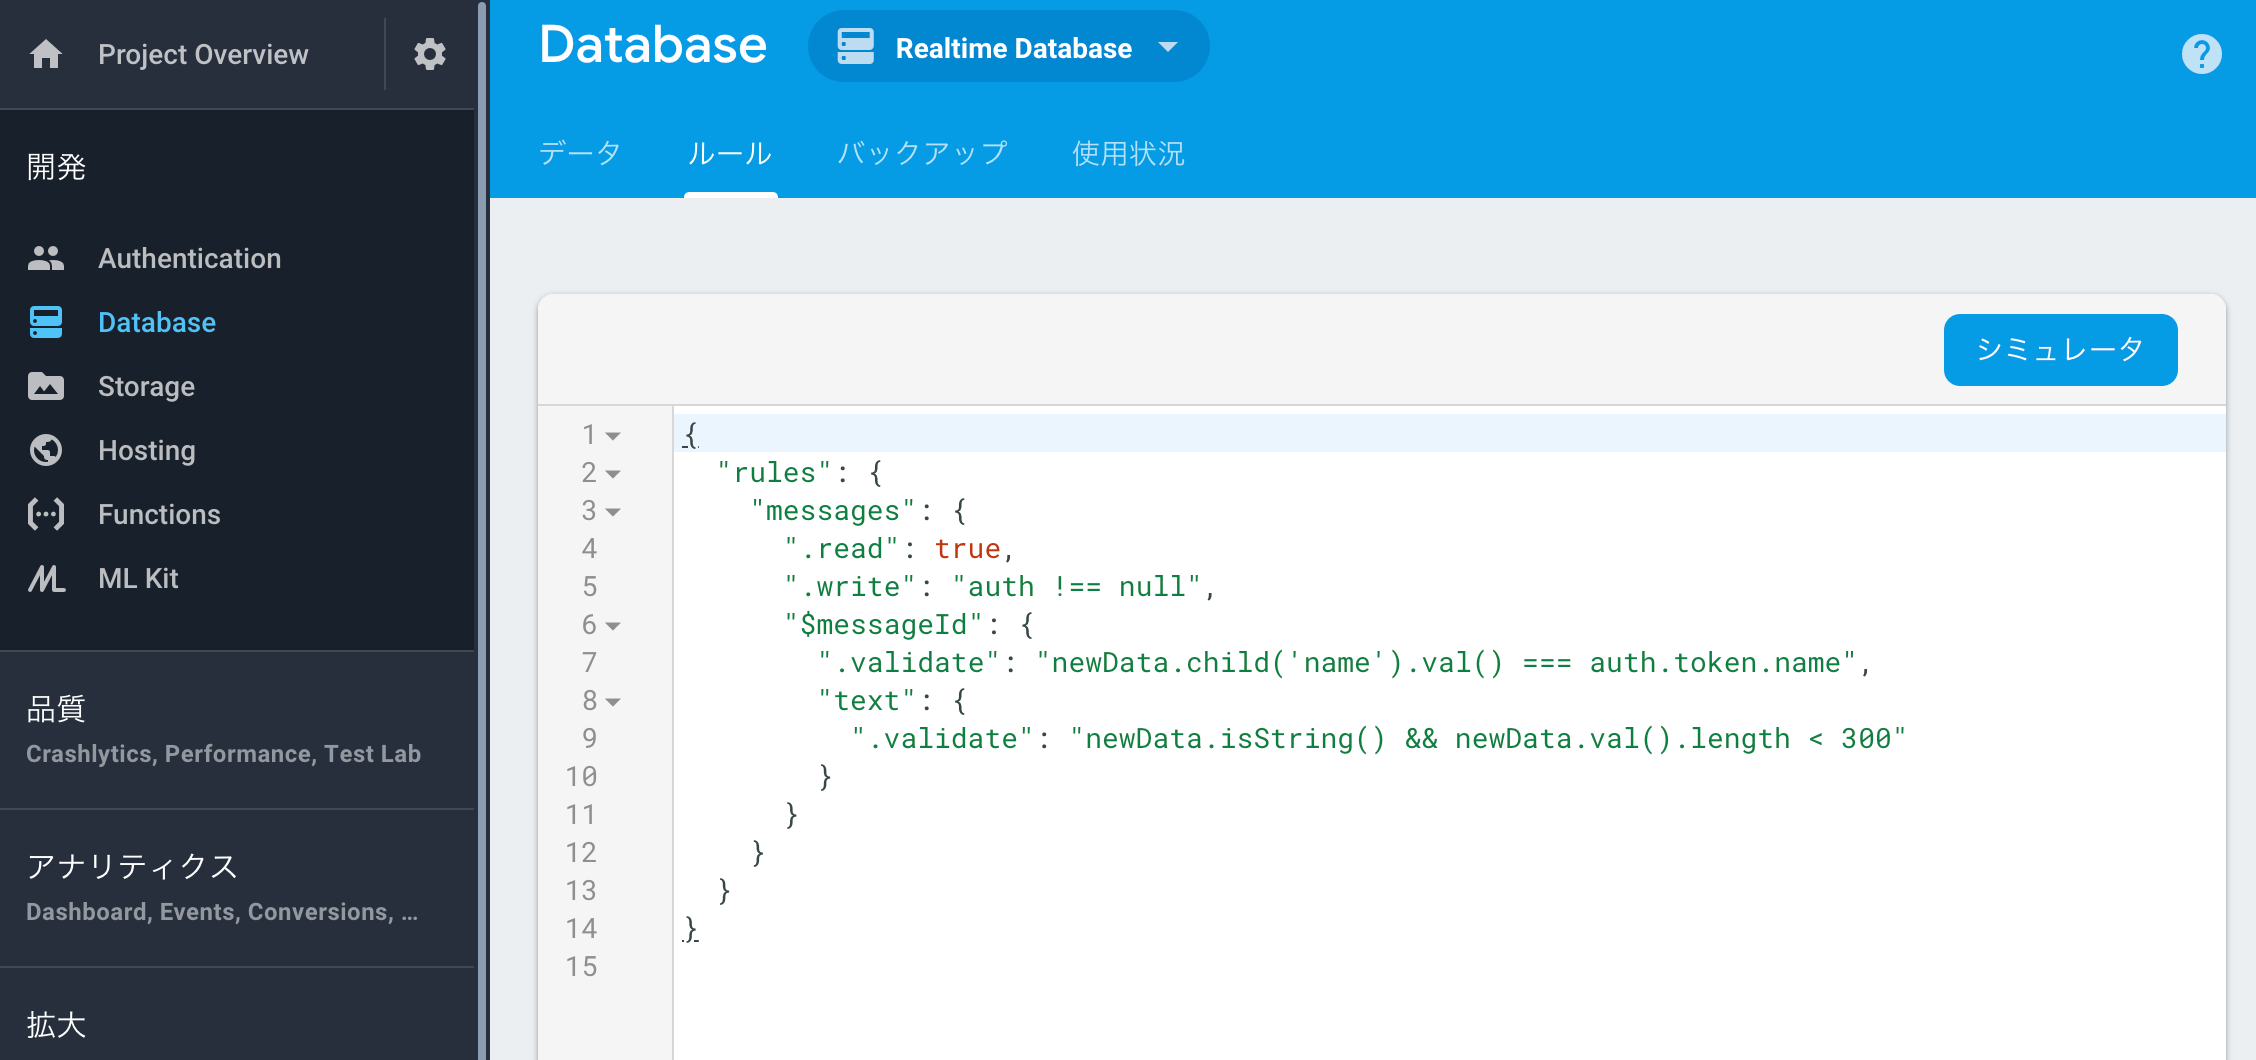
データベース作成
管理画面 → Database
からRealtime Databaseを選択
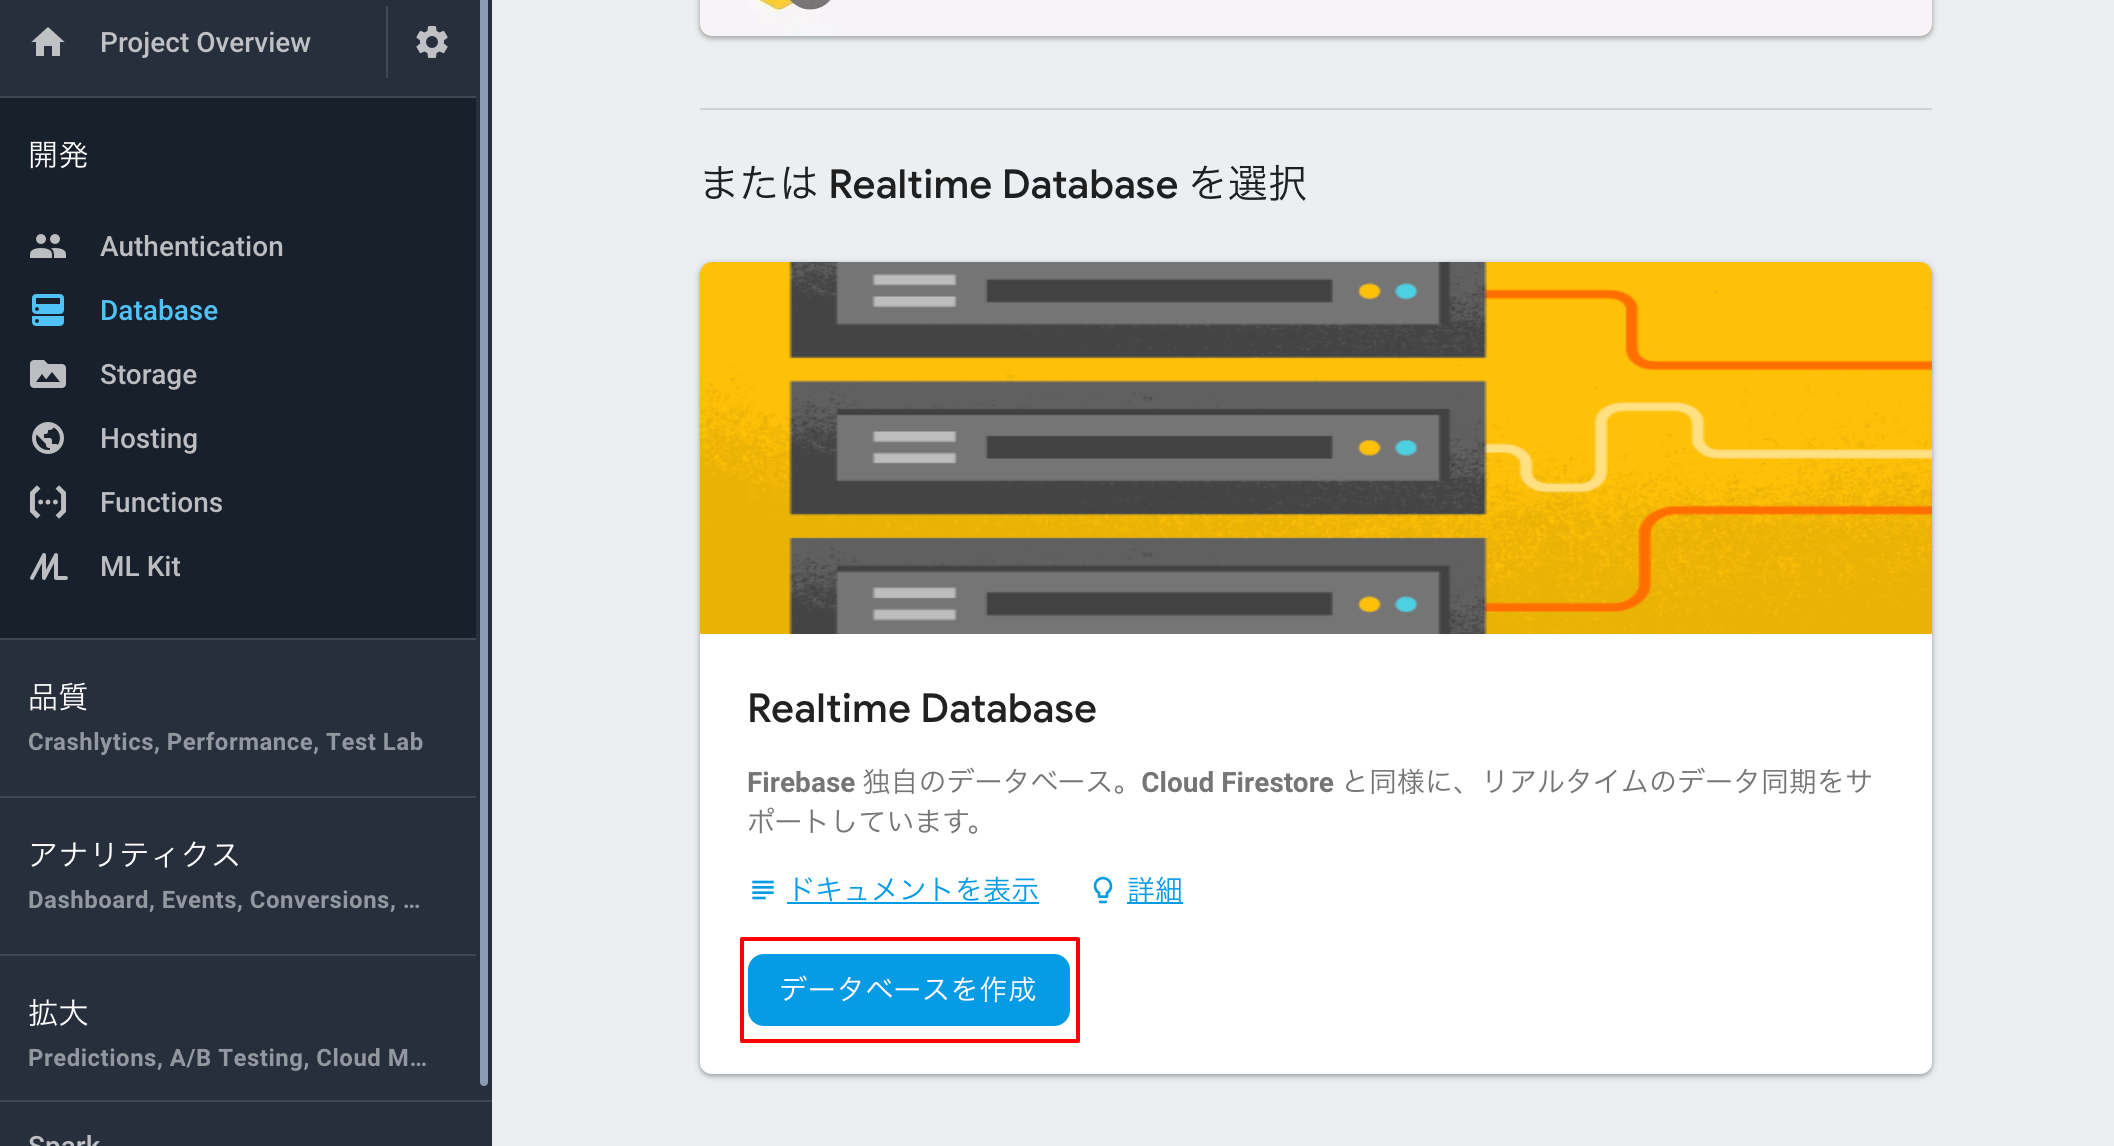
セキュリティルールは設定しなおすのでどちらでも大丈夫です。
./database.rules.json
に以下のように記述
https://github.com/ebatetsu/firebase_vue_chat/blob/master/database.rules.json
- 読み込みは制限なし
- 書き込みは認証が必要
- 認証時のnameデータと書き込み時のnameデータは一致していないといけない
- textデータは300文字以下でないといけない
みたいな設定をしています。
詳しくは公式のFirebase Realtime Database ルールについてを見てください。
データベース設定だけデプロイ
$ firebase deploy --only database
管理画面から反映を確認
実装(ようやく。。)
認証部分実装
雛形となる部分を実装していきます。
./src/App.vue
に以下のように記述
https://github.com/ebatetsu/firebase_vue_chat/blob/master/src/App.vue
サインイン・サインアウト機能は非常に簡単に実装できます。
signIn () {
  const provider = new firebase.auth.GoogleAuthProvider()
  firebase.auth().signInWithPopup(provider)
},
signOut () {
  firebase.auth().signOut()
},
ユーザーがログインしているかどうかでボタンのテキストやfunctionを切り替えています。
onAuthStateChanged () {
  firebase.auth().onAuthStateChanged( user => {
    this.userName = user ?
      this.getUserName() : null

    this.userPic = user ?
      this.getProfilePicUrl() : null

    this.authButtonText = user ?
      'Sign-out' : 'Sign-in with Google'

    this.authFunction = user ?
      this.signOut : this.signIn

    this.isSignedIn = user ?
      true : false
  })
},
<button class="header__auth-button" @click="authFunction">
  {{ authButtonText }}
</button>
下記部分は子コンポーネントに値を渡しています。
<router-view
  :isSignedIn="isSignedIn"
  :userName="userName"
  :userPic="userPic"
>
</router-view>
ルート設定
./src/components/HelloWorld.vue
を任意の名前に変更する
./src/components/Chat.vue
./src/router/index.js
を以下のように記述
https://github.com/ebatetsu/firebase_vue_chat/blob/master/src/router/index.js
これでTOPにアクセスすると<router-view></router-view>に./src/components/Chat.vueの内容が表示される
チャット部分実装
./src/App.vue
<router-view></router-view>に入る部分を実装していきます。
以下のように記述
https://github.com/ebatetsu/firebase_vue_chat/blob/master/src/components/Chat.vue
データベース設定でもバリデーションを入れていましたがjs側でもログイン状態を確認しつつ値が空ではないこともチェックし、問題なければ'/messages/'配列に追加する
postMessage () {
  let that = this
  if (!that.isSignedIn || !that.message) return
  firebase.database().ref('/messages/').push({
    name: that.userName,
    text: that.message,
    profilePicUrl: that.userPic
  })
  .then( data => {
    that.errorMessage = null
    that.message = null
  })
  .catch( error => {
    that.errorMessage = '正しく入力してください'
  })
},
データベースから値を取ってきて
loadMessages () {
  firebase.database().ref('/messages/').on('value', (snapshot) => {
    if (snapshot) {
      let rootList = snapshot.val()
      let messageList = []
      Object.keys(rootList).forEach((val, key) => {
        rootList[val].id = val
        messageList.push(rootList[val])
      })
      this.messageList = messageList
    }
  })
}
messageListにプッシュ
data () {
  return {
    messageList: []
  }
},
v-forで表示する
<li v-for="list in messageList">
  <div class="conversation__user-image"><img :src="list.profilePicUrl" alt=""></div>
  <div class="conversation__col">
    <p class="conversation__user-name">{{list.name}}</p>
    <p class="conversation__user-text">{{list.text}}</p>
  </div>
</li>
ちなみに
<style scoped lang="scss">
のscopedはコンポーネントごとにcssを切り分けてくれる属性です。
再度ビルド&デプロイ
$ npm run build
$ firebase deploy
完成!
