※この記事は個人的なメモです。
追記:
非常に完成度の高いvimプラグインがすでにありました↓
素晴らしいですね...
https://github.com/mattn/qiita-vim
普通にこれ使った方が良いです。
ただし、新規投稿の際、タイトルとタグはつけてくれないので、私は、新規投稿時のみ自分で作ったもの使うようにしています。
こんにちは。
最近とても興味深い記事を見つけて、Vimをもっと使ってやろうと意気込んで、作ってみたものです。1
Vimで書いた*.mdファイルを簡単に投稿したかったので最近ハマっているPyhtonを使ってみました。
こんな感じです↓
ちなみに、NeoBandleに比べて圧倒的に軽いvim-plugを普段から使っていますが、非常におすすめです。
ミニマリストの方は試してみると良いかもしれません。↓
https://github.com/junegunn/vim-plug
Qiita API
Qiita APIをPythonで叩くにはTokenを取得せねばなりません。
Token取得には「curl コマンドで Qiita API を試す方法」2がとても参考になりました!
Tokenが取得できたら
次は、Pythonから叩きます。
まずは、ディレクトリ構成を、
qiita-book
|-- qiita.py
|-- content.md
|-- content.title
とってもシンプルです。
また、同一ディレクトリに記事を貯めていく形です。
では、とりあえずqiita.pyをのぞいてみましょう。
import requests
import sys

if __name__ == "__main__":
    print('Do you have info:y,n')
    infoans = input()
    if infoans == "y":
        print('please input info path:')
        infopath = input() + ".title"
        if infopath == "q":
            sys.exit()
        infof = open(infopath,"r")
        title = infof.readline()
        tags = []
        for i in infof.readlines():
            tags.append(i.replace('\n',''))
        infof.close()

    else:
        tags = []
        print('please input info file name:')
        infopath = input() + ".title"
        if infopath == "q":
            sys.exit()
        with open(infopath,"w"):pass
        print('please input title:')
        title = input()
        infof1 = open(infopath,"w")
        infof1.write(title + "\n")
        if title == "q":
            sys.exit()

        for i in range(5):
            print('Do you have any other tags?:y,n')
            ans = input()
            if ans == "q":
                sys.exit()
            if ans in 'y':
                print('please input tags. if you need any other tags, you can set next input: ')
                tagadd = input()
                tags.append(tagadd + "\n")
            else:
                break
        infof1.writelines(tags)
        infof1.close()

    print('please input filepath:')
    filepath = input()
    f = open(filepath,"r")

    item = {
        'title': title,
        "coediting": False,
        'tags': [{"name": tag} for tag in tags],
        'private': True,
        'tweet': False,
    }

    item['body'] = f.read()
    f.close

    url = 'https://qiita.com/api/v2/items'

    token = アクセストークン

    headers = {
     'Authorization': 'Bearer {}'.format(token),
     'Content-Type': 'application/json',
    }

    #print(item)
    #print(headers)
    res = requests.post(url, headers=headers, json=item)
思い立って数時間で書いたクオリティーです...笑
今度時間がある時もう少し書き直したいと思います。
ちなみに、コードの解説をすると。
import requests
import sys
requestsでjsonをpostしています。
sysは終了処理のためにインポートしています。
if __name__ == "__main__":
↑これはPythonのお決まりですね。
print('Do you have info:y,n')
    infoans = input()
    if infoans == "y":
        print('please input info path:')
        infopath = input() + ".title"
        if infopath == "q":
            sys.exit()
        infof = open(infopath,"r")
        title = infof.readline()
        tags = []
        for i in infof.readlines():
            tags.append(i.replace('\n',''))
        infof.close()
    else:
        tags = []
        print('please input info file name:')
        infopath = input() + ".title"
        if infopath == "q":
            sys.exit()
        with open(infopath,"w"):pass
        print('please input title:')
        title = input()
        infof1 = open(infopath,"w")
        infof1.write(title + "\n")
        if title == "q":
            sys.exit()
↑はqiitaの投稿に失敗した際にもう一度投稿情報を入力し直さなくても投稿できるところです。
1時間に60投稿以上すると(そんなペースでかけるわけないですが笑)アクセス拒否されるので、その際に同じ内容を入力しなくて済むようにバックアップを取っています。
バックアップファイルは*.titleとしています。
また、記事のタイトルを決めてtitle変数にinputしています。
        for i in range(5):
            print('Do you have any other tags?:y,n')
            ans = input()
            if ans == "q":
                sys.exit()
            if ans in 'y':
                print('please input tags. if you need any other tags, you can set next input: ')
                tagadd = input()
                tags.append(tagadd + "\n")
            else:
                break
        infof1.writelines(tags)
        infof1.close()
上記処理は、Qiitaのタグをtags変数にinputしています。
ちなみに、タグは最大5つまでなので、Do you have any other tags?:y,n でNoと答えるまで繰り返して、配列に格納しています。
また、ここの情報もバックアップファイル*.titleに保存しています。
item = {
        'title': title,
        "coediting": False,
        'tags': [{"name": tag} for tag in tags],
        'private': False,
        'tweet': False,
    }
↑ここで、tagsを繰り返して最大5つまで格納できるようにしています。
item['body'] = f.read()
    f.close
    url = 'https://qiita.com/api/v2/items'
    token = アクセストークン
    headers = {
     'Authorization': 'Bearer {}'.format(token),
     'Content-Type': 'application/json',
    }
    res = requests.post(url, headers=headers, json=item)
↑tokenには取得したアクセストークンをそれぞれ使いましょう。
直書きはよくないので、工夫した方が良いと思います。
それから、最後に、requestsでpostしましょう。
ここまでできたら、あとはプレビュー機能が欲しくなってきます。
プレビュー機能はvim-plugの力を借りて、以下のように.vimrcに素晴らしいプラグインを加えます。
以下の記述でCtrl+Pでプレビューできます。
また、Qiitaの記事を更新する際にはすでにmattnさんの素晴らしいツールがあるので、そのプラグインも加えます。
"vimプラグイン https://github.com/junegunn/vim-plug
" Specify a directory for plugins
" - For Neovim: ~/.local/share/nvim/plugged
" - Avoid using standard Vim directory names like 'plugin'
call plug#begin('~/.vim/plugged')
Plug 'plasticboy/vim-markdown'
Plug 'kannokanno/previm'
Plug 'tyru/open-browser.vim'
Plug 'mattn/qiita-vim'
Plug 'mattn/webapi-vim'
call plug#end()
""" markdown {{{
  autocmd BufRead,BufNewFile *.mkd  set filetype=markdown
  autocmd BufRead,BufNewFile *.md  set filetype=markdown
  " Need: kannokanno/previm
  nnoremap <silent> <C-p> :PrevimOpen<CR> "
  let g:vim_markdown_folding_disabled=1
" }}}
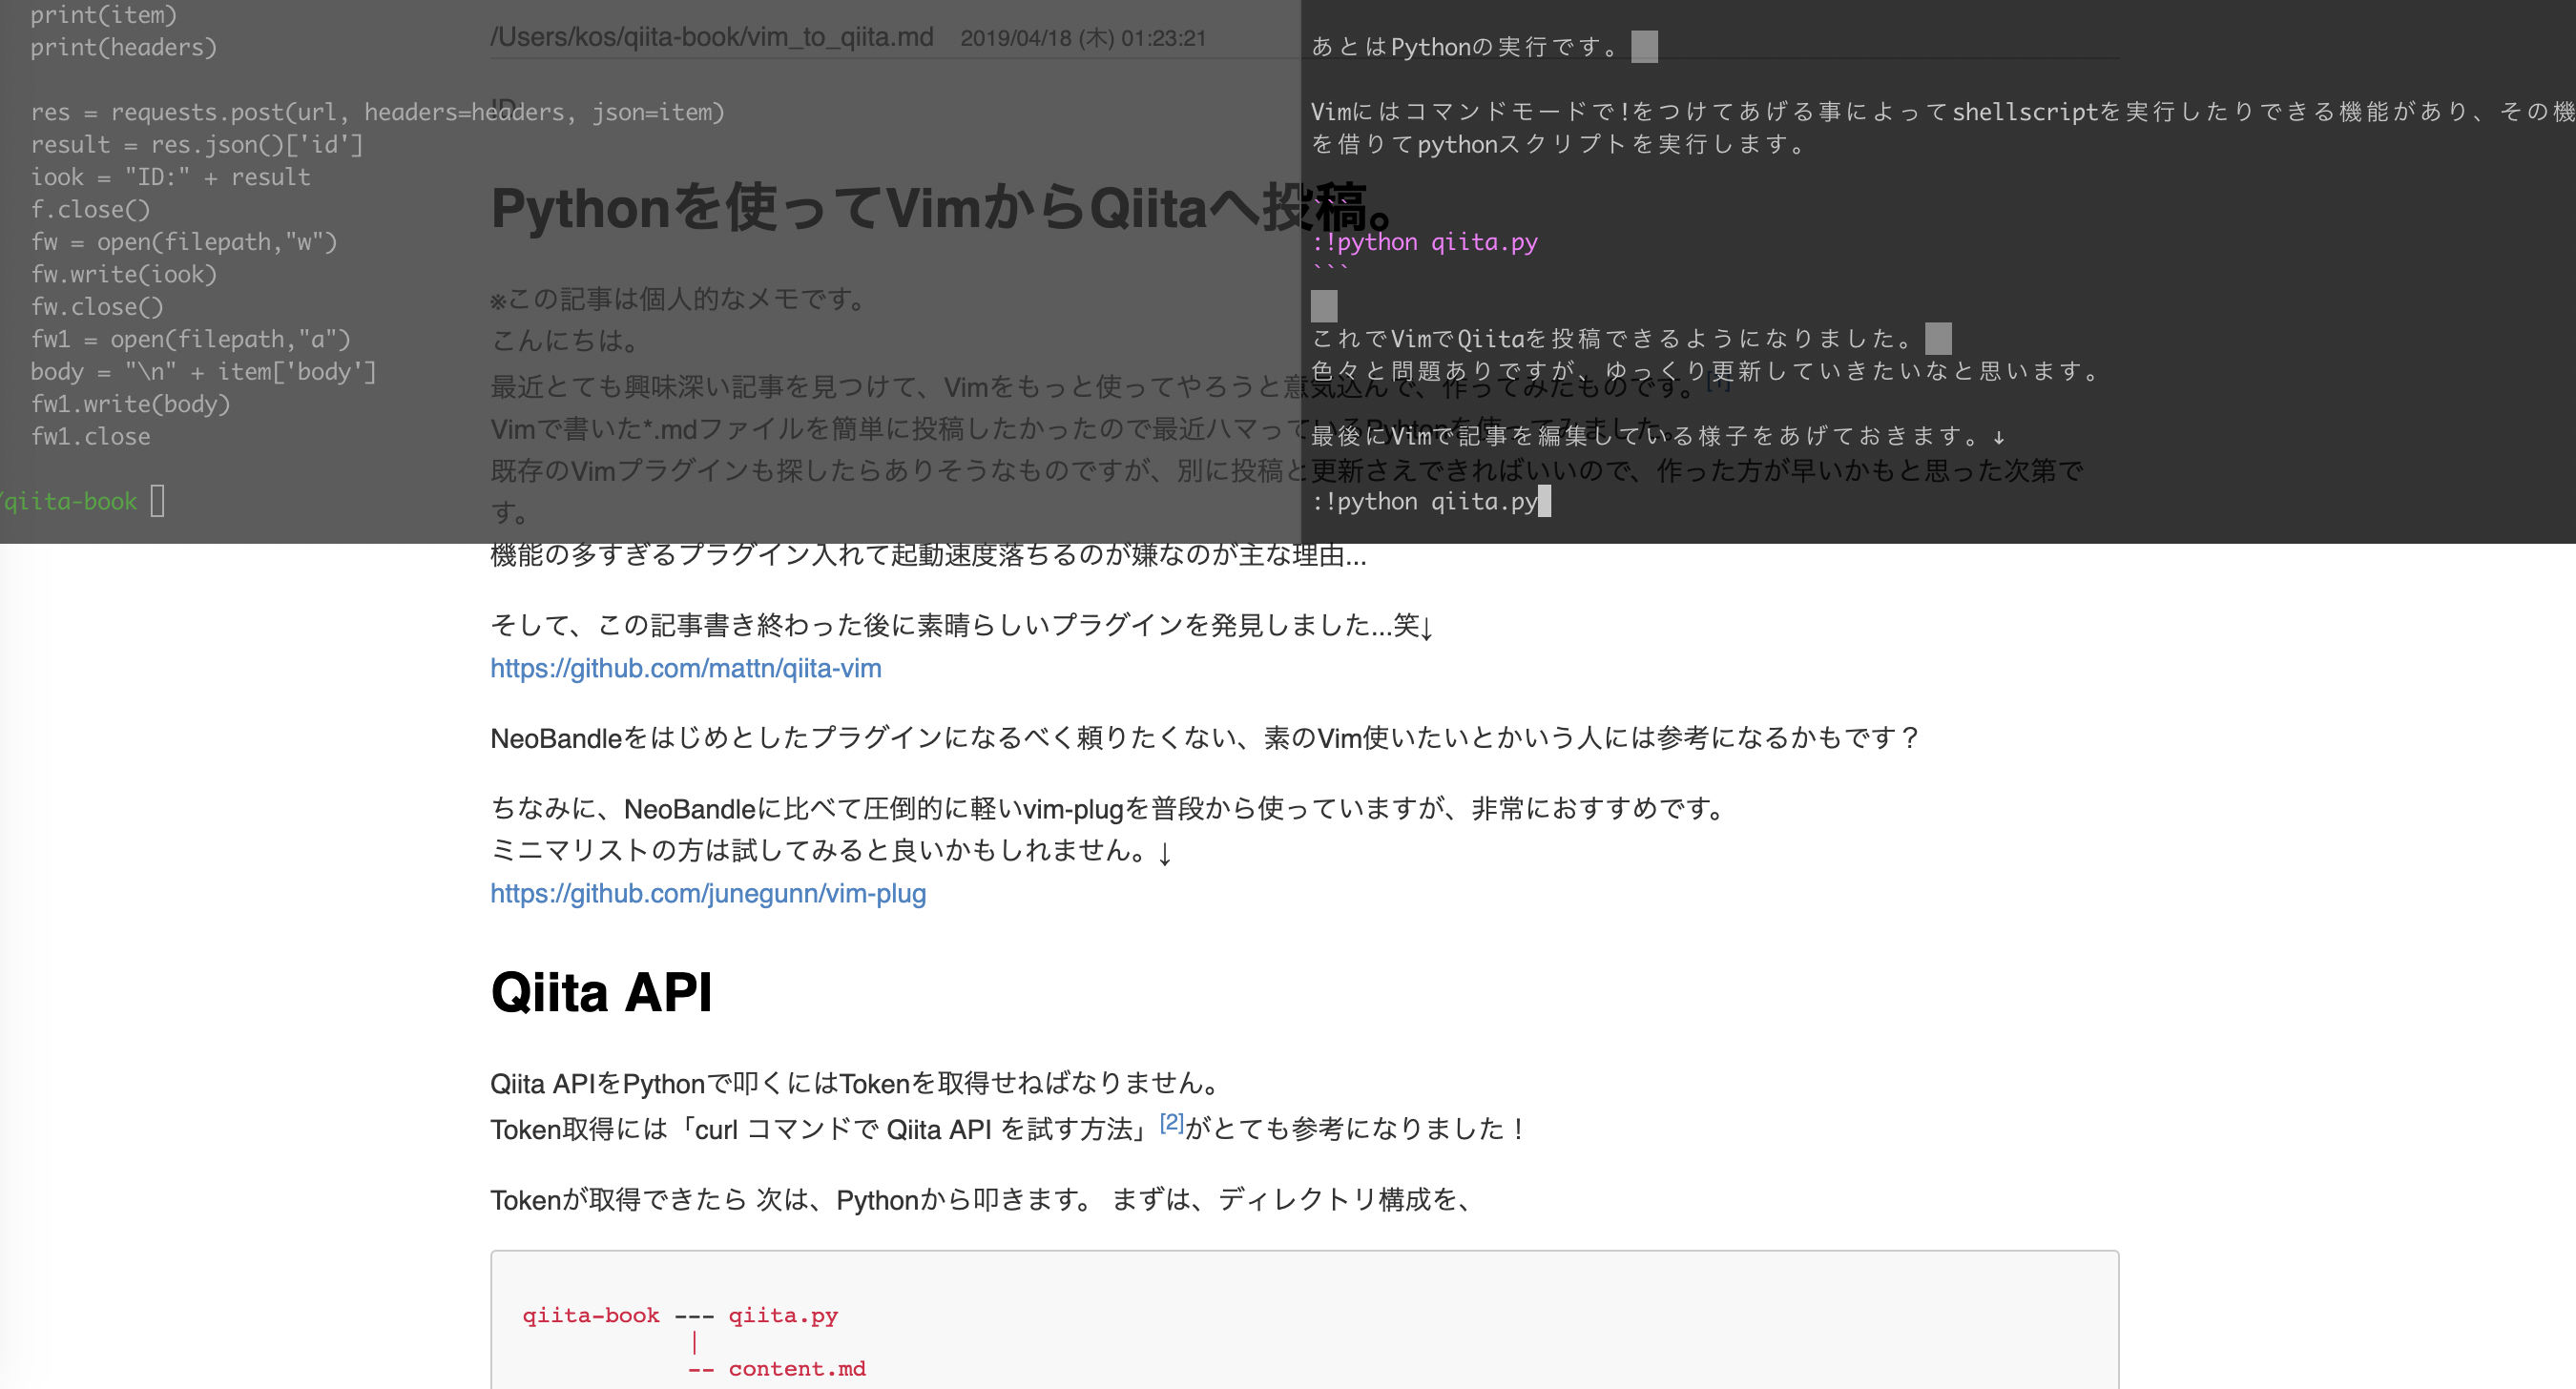
あとはPythonの実行です。
Vimにはコマンドモードで!をつけてあげる事によってshellscriptを実行したりできる機能があり、その機能を借りてpythonスクリプトを実行します。
:!python qiita.py
これでVimでタイトルやタグを設定してQiitaを投稿できるようになりました。
まだまだ色々と問題ありですが、ゆっくり更新していきたいなと思います。
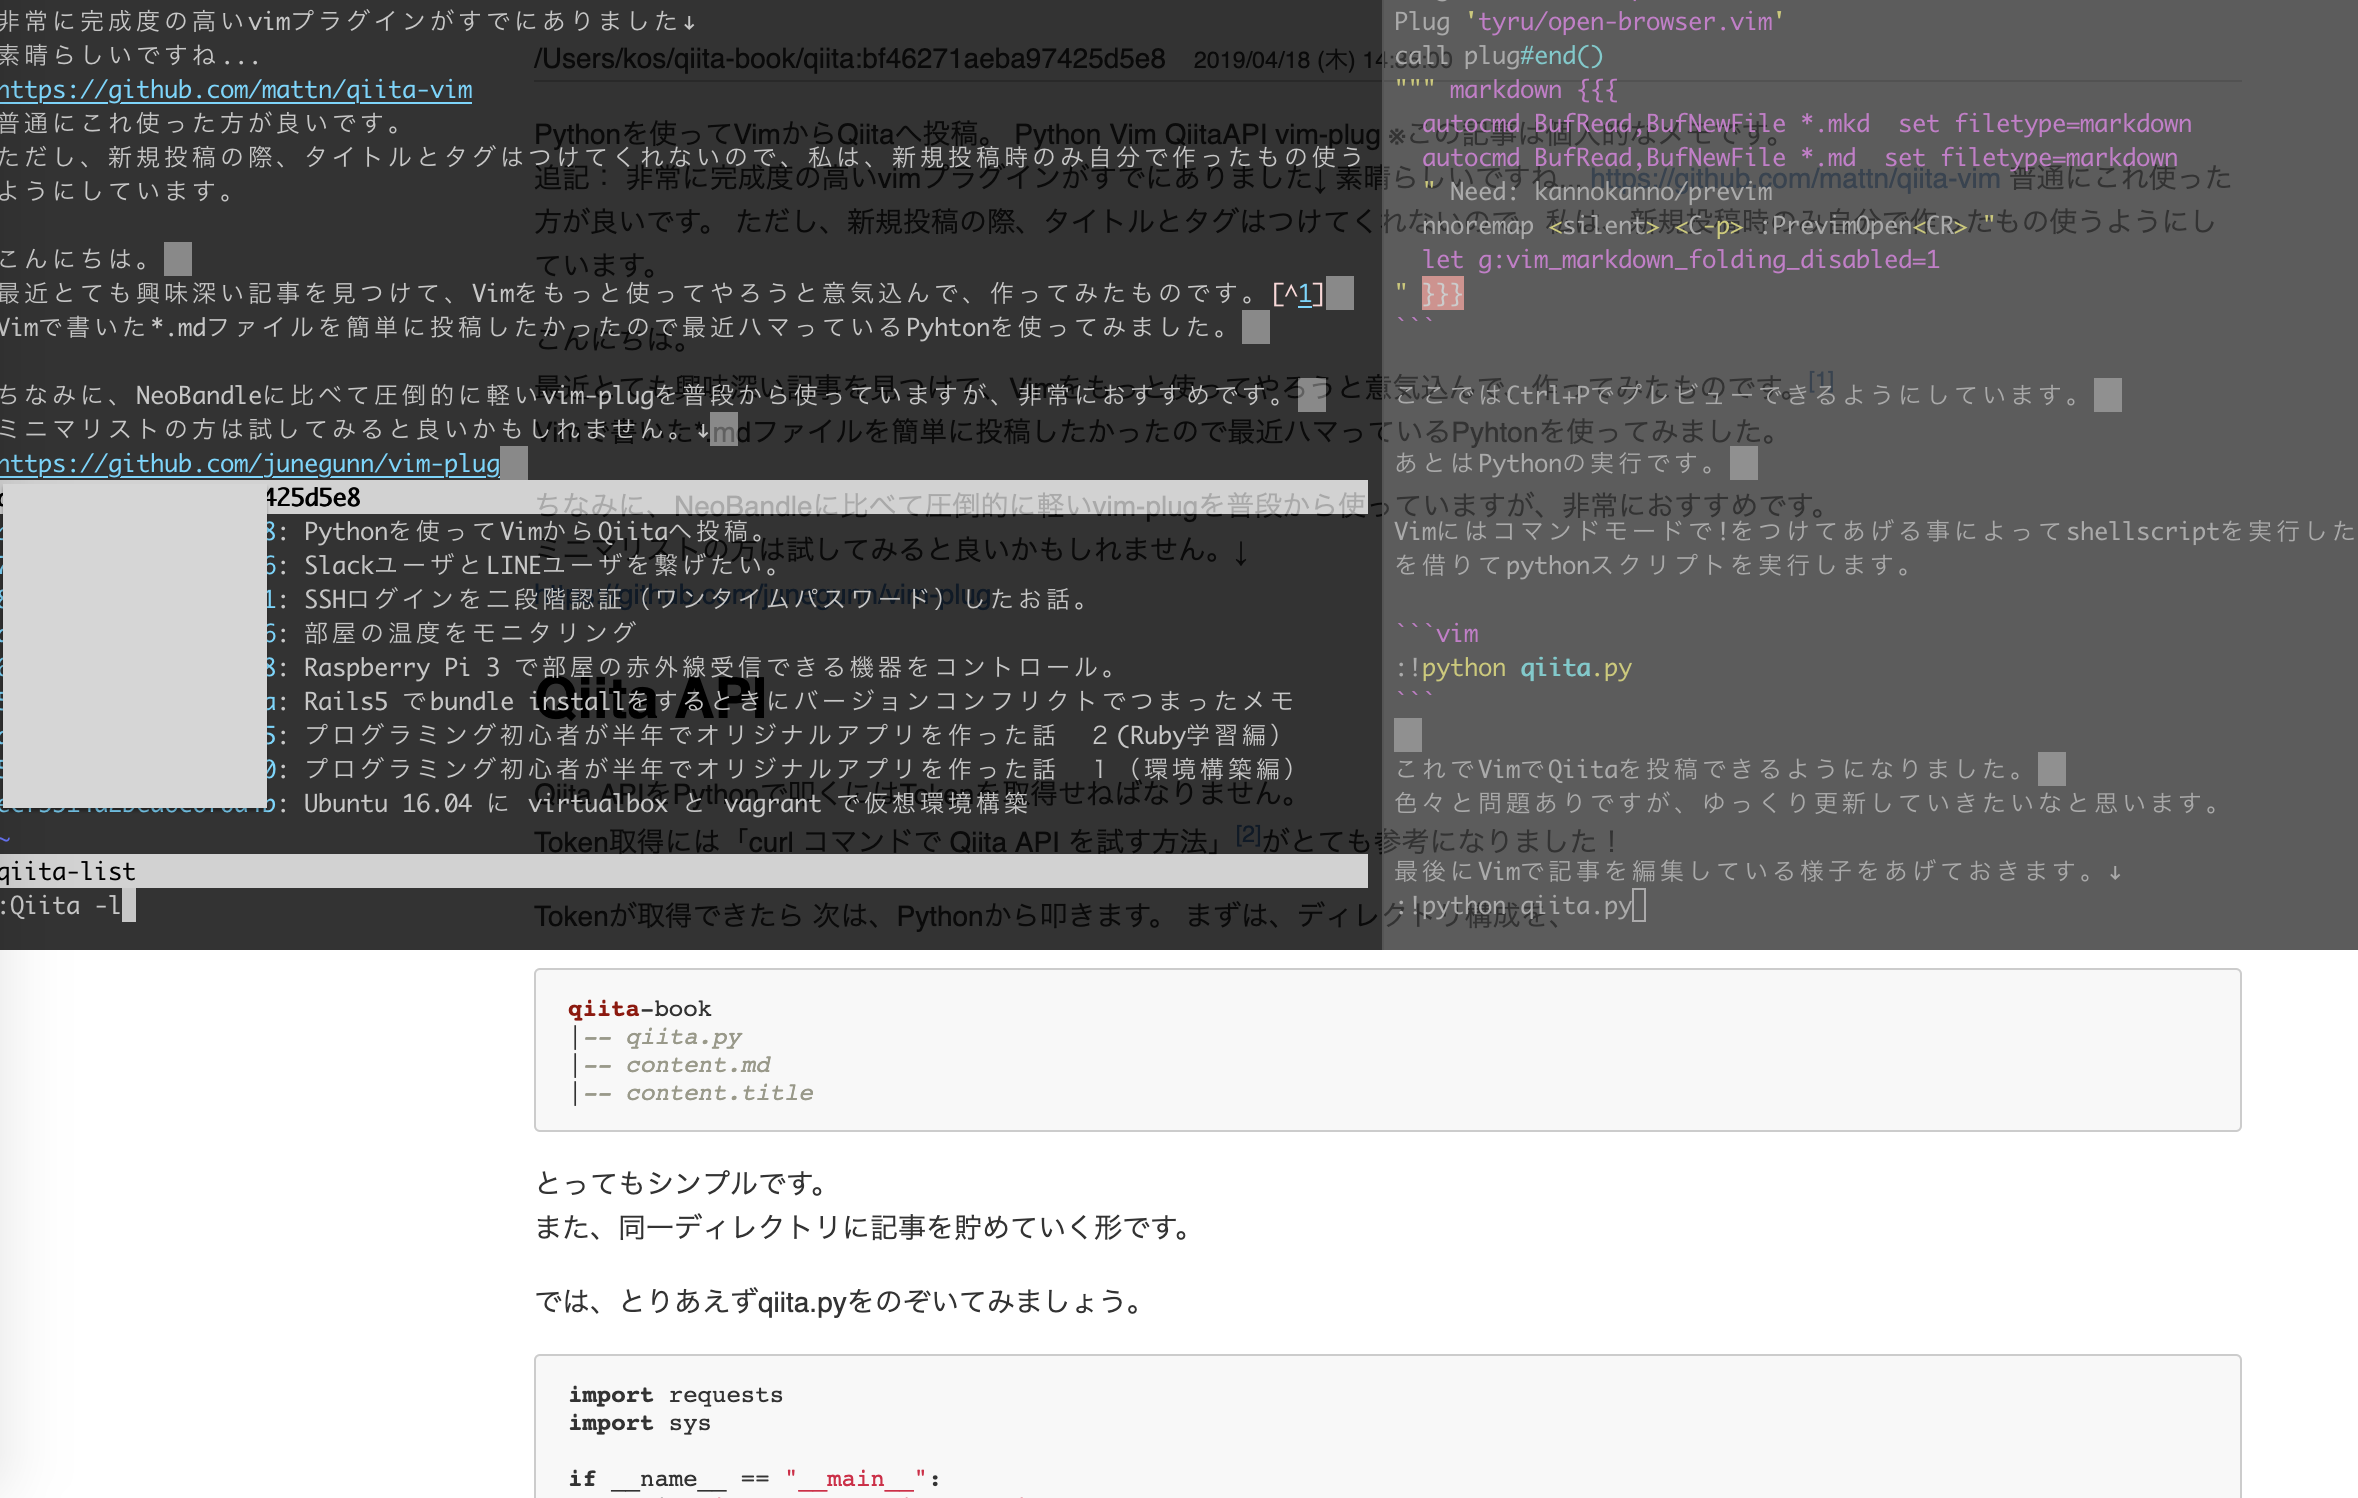
最後にVimで記事を編集している様子をあげておきます。↓
参考.
-
「vimって極めればvscode並のIDEになるんじゃないの? - 最強のvimrcを晒す。」 https://qiita.com/ryuta69/items/98901f4c4f0683e7aa57?utm_source=Qiitaニュース&utm_campaign=d26eeec1b5-Qiita_newsletter_356_04_17_2019&utm_medium=email&utm_term=0_e44feaa081-d26eeec1b5-33219769 ↩
-
「curl コマンドで Qiita API を試す方法」https://qiita.com/itooww/items/ea6f197ef50bf8b252ce ↩