目標
基本的なAPIを学ぶ
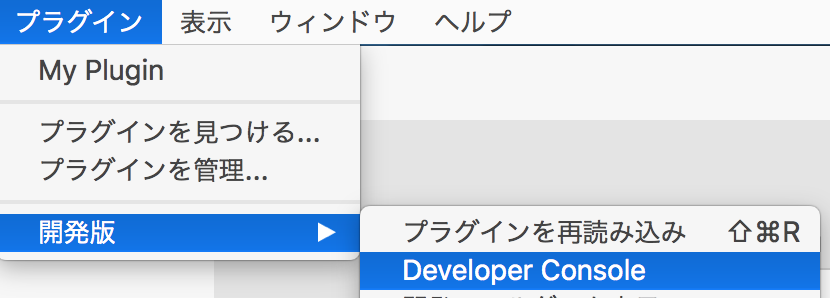
ログ
console.log("HelloWorld!");
コンソールにログを表示できる
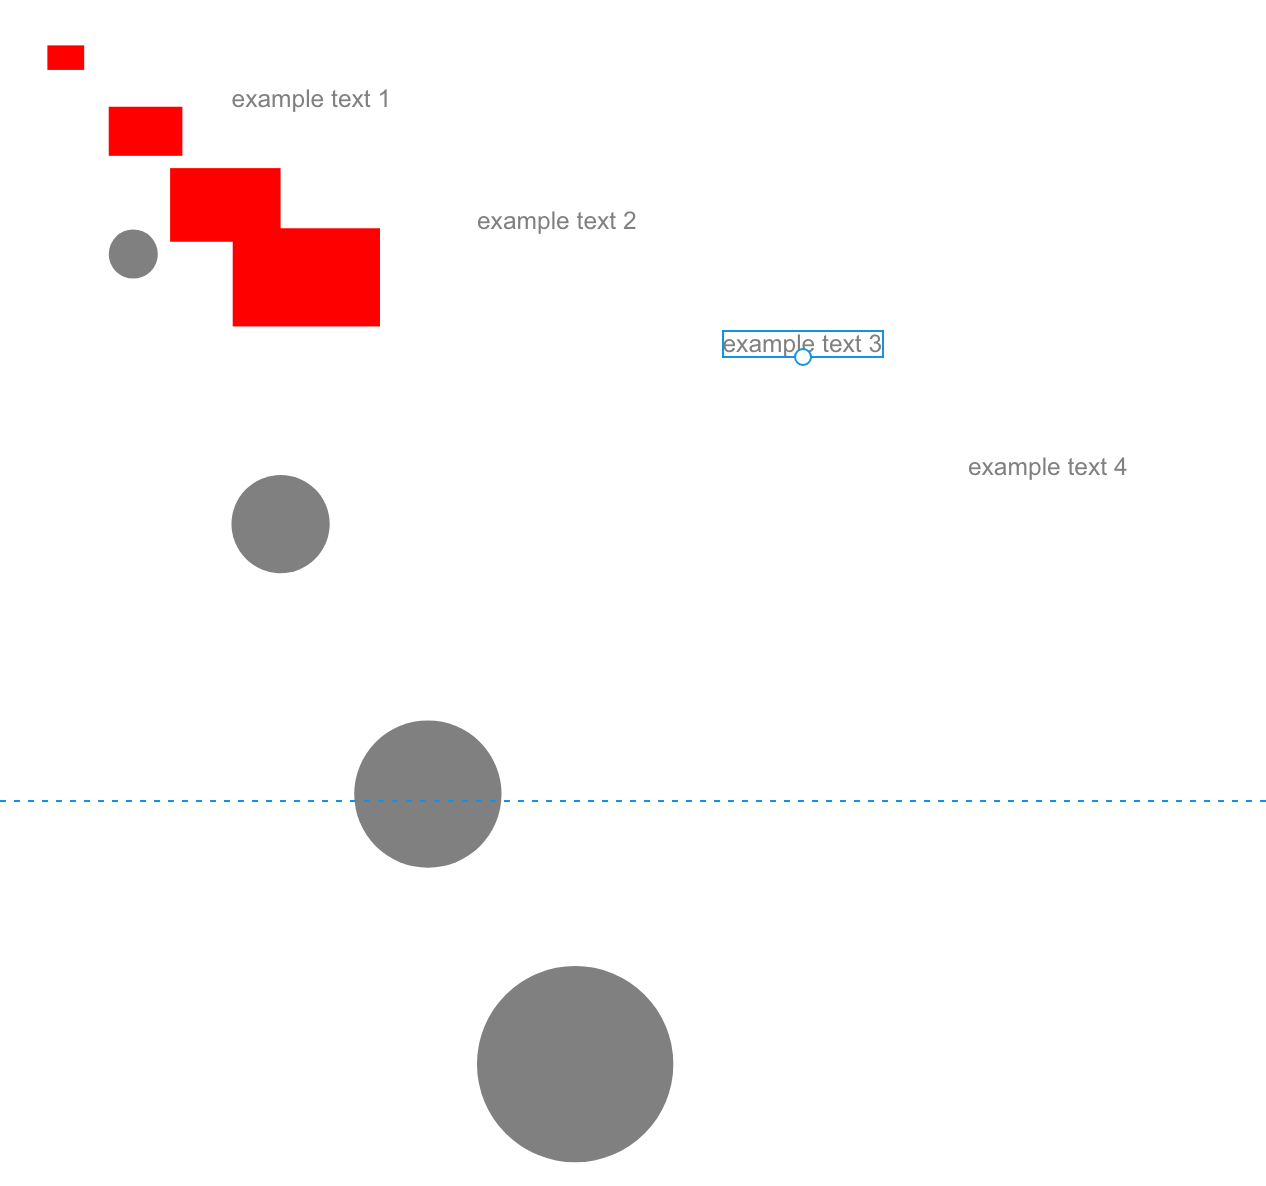
図形の作成
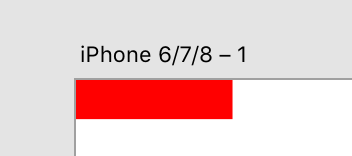
長方形を作る
create_rectangle.js
// 1. scenegraphの機能を使う
const {Rectangle, Color} = require("scenegraph");

function myPluginCommand(selection) {
    console.log("create rectangle");
    // 2. 長方形を生成
    const rect = new Rectangle();
    // 3. 各プロパティーを設定
    rect.width = 100;
    rect.height = 25;
    rect.fill = new Color("red");
    // 4. XDノードツリーにテキストオブジェクトを追加
    selection.insertionParent.addChild(rect);
}
ポイント
Rectangle 長方形
Color 色
selection.insertionParent.addChild(rect); ノードとして追加
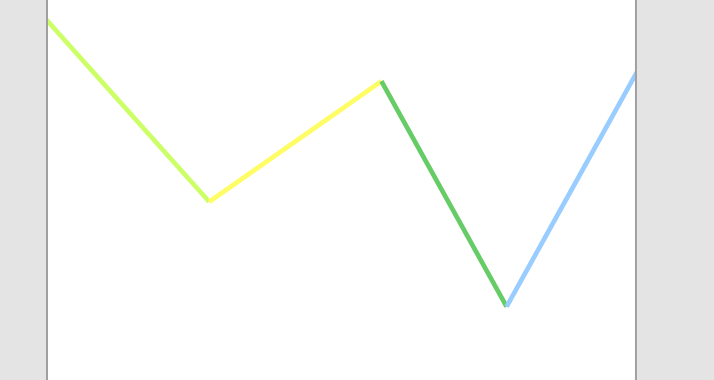
線を引く
LineTutorial.js
const {Line, Color} = require("scenegraph");
const commands = require("commands");

// 線の始点と終点の情報
const lineData = [
    { startX: 100, startY: 110, endX: 210, endY: 233 },
    { startX: 210, startY: 233, endX: 320, endY: 156 },
    { startX: 320, startY: 156, endX: 400, endY: 300 },
    { startX: 400, startY: 300, endX: 500, endY: 120 }
]

// ランダムな色を生成する関数
const randomColor = () => {
    const hexValues = ['00', '33', '66', '99', 'CC', 'FF'];
    const color = "#" + Array.from({ length: 3 }, _ => hexValues[Math.floor(Math.random() * hexValues.length)]).join("");
    return color;
}

// 線を引く
const myPluginCommand = (selection) => {
    let lines = lineData.map(data => {
        const line = new Line(); // Lineのインスタンスを生成

        // Lineの始点と終点を設定
        line.setStartEnd(
            data.startX,
            data.startY,
            data.endX,
            data.endY
        );

        // Lineの境界線(実質線の情報)を設定
        line.strokeEnabled = true;
        line.stroke = new Color(randomColor());
        line.strokeWidth = 3;

        selection.insertionParent.addChild(line);
        return line;
    });

    // linesを選択する
    selection.items = lines;

    // 選択したノード(lines)をグループ化
    commands.group();
}
線を引くチュートリアル.
ES6について学んだので書き方はチュートリアルから変えました.
ポイント
Line 線
stroke 境界線
グループ化.js
selection.items = targets;
commands.group();
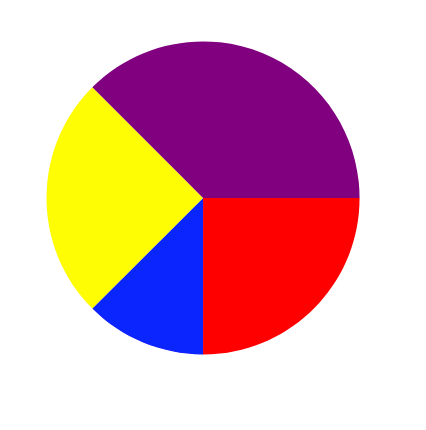
円形グラフ
PieChartTutorial.js
const { Path, Color } = require("scenegraph");
const commands = require("commands");

// 円周上の点の座標を"px,py"を取得
const pointOnCircle = (radius, angle) => {
    const radians = angle * 2. * Math.PI / 360.;
    const xcoord = radius * Math.cos(radians);
    const ycoord = radius * Math.sin(radians);
    return xcoord + "," + ycoord;
}

// 扇型の図形を作成
const createWedge = (selection, radius, startAngle, endAngle, color) => {
    const startPt = pointOnCircle(radius, startAngle);
    const endPt = pointOnCircle(radius, endAngle);
    const pathData = `M0,0 L${startPt} A${radius},${radius},0,0,1,${endPt} L0,0`; // 扇型のパスのデータ
    const wedge = new Path();
    wedge.pathData = pathData;
    wedge.fill = new Color(color);
    wedge.translation = {x: radius, y: radius};
    selection.insertionParent.addChild(wedge);
    return wedge;
}

// パイチャートを作成
const createPieChart = (selection) => {
    const wedges = [
        createWedge(selection, 100, 0, 90, "red"),
        createWedge(selection, 100, 90, 135, "blue"),
        createWedge(selection, 100, 135, 225, "yellow"),
        createWedge(selection, 100, 225, 360, "purple")
    ];
    selection.items = wedges;
    commands.group();
}

const myPluginCommand = (selection) => {
    createPieChart(selection);
}
ポイント
Pathを使うのには専用の書き方を学ぶ必要がある.
今回はスキップします
文字の生成
TextTutorial.js
// Style Text Tutorial
const { Text, Color } = require("scenegraph");


const createStyledText = (selection) => {

    const node = new Text();
    node.text = "This is some red text";
    node.styleRanges = [{
        length: node.text.length,
        fill: new Color("#FF0000"),
        fontSize: 24
    }];

    selection.insertionParent.addChild(node);
    node.moveInParentCoordinates(20, 50);
}


const myPluginCommand = (selection) => {
    createStyledText(selection);
}
2018年10月 公式チュートリアルは
node.styleRangesをnode.styleRangeと間違えているため動かないことに注意
StyleTextTutorial.js
// Style Text Tutorial
const { Text, Color } = require("scenegraph");


const createStyledText = (selection) => {

    const node = new Text();

    const textDataList = [
        {text: "This ", color: "red"},
        {text: "is ", color: "orange"},
        {text: "some ", color: "yellow"},
        {text: "Colorful ", color: "green"},
        {text: "Text ", color: "blue"},
    ]
    node.text = textDataList.map(item => item.text).join(""); // テキストを連結

    node.styleRanges = textDataList.map(item => ({
        length: item.text.length,
        fill: new Color(item.color),
        fontSize: 24
    }));

    selection.insertionParent.addChild(node);
    node.moveInParentCoordinates(20, 50);
}


const myPluginCommand = (selection) => {
    createStyledText(selection);
}
ポイント
styleRanges テキストのスタイルの配列
テキストの要素を分解することで各要素のStyleを設定できる
全ての長方形の色を変える
フィルター
filter.js
// 全てのRectangleを赤くする
const filterAndColor = (selection, documentRoot) => {
    // SceneNode.childrenでSceneNodeListを参照 foreachで子SceneNodeを取得
    documentRoot.children.forEach(node => {
        if(node instanceof Artboard){ // documentRoot > artBoard > 各グループが基本の構成なのでまずartBoardを取得
            let artboard = node;
            let rectangles = artboard.children.filter(artboardChild => {
                return artboardChild instanceof Rectangle;
            })
            rectangles.forEach(rectangle => {
                rectangle.fill = new Color("red");
            })
        }
    })
}

...

module.exports = {
    commands: {
        createElements, // こっちは生成用
        filterAndColor
    }
};
ポイント
documentRoot ルートを引数としてわたせる
SceneNodeList SceneNode.children で子を取得できる,配列ではないことに注意
x instanceof y xがyのinstanceならtrueを返す
