iOSアプリ開発の際に自分がよく使う小ネタです。
環境
- Swift 3
定数をまとめるApp.swiftを作成
どのファイルからも参照するような定数はこのstructで管理します。
値が途中で変更しなければいけなくなった際に、このファイルの値を変更すれば済みます。
App.swift
import UIKit

struct App {

    static let bundleID = Bundle.main.bundleIdentifier!
    static let version = Bundle.main.object(forInfoDictionaryKey: "CFBundleShortVersionString") as! String
    static let build = Bundle.main.object(forInfoDictionaryKey: "CFBundleVersion") as! String

    struct Size {
        static let screenWidth = UIScreen.main.bounds.width
        static let screenHeight = UIScreen.main.bounds.height
        static let navigationBarHeight: CGFloat = 44
        static let toolBarHeight: CGFloat = 44
        static let statusBarHeight = UIApplication.shared.statusBarFrame.height
        static let statusBarAndNavigationBarHeight = Size.statusBarHeight + Size.navigationBarHeight
    }

    struct URL {
        static let itunes: String = ""
        static let devlop: String = ""
        static let production: String = ""
    }

    struct API {
        static let hogeKey: String = ""
        static let fugaKey: String  = ""
    }

    struct Font {
        static func main(_ size: CGFloat) -> UIFont { return App.Font.hiraKakuW3(size: size) }
        static func hiraKakuW6(size: CGFloat) -> UIFont { return UIFont(name: "HiraKakuProN-W6", size: size) ?? UIFont.systemFont(ofSize: size) }
        static func hiraKakuW3(size: CGFloat) -> UIFont { return UIFont(name: "HiraKakuProN-W3", size: size) ?? UIFont.systemFont(ofSize: size) }
    }

    struct Logo {
        static let titleImage: UIImage = R.image.titleImage()
    }
}
参考
R.swiftを導入
コード補完でリソース管理できるので名前の打ち間違えを防げます。
又、呼び出す際のコードも短縮することができます。
Demo:
R.swiftを使わない書き方:
let icon = UIImage(named: "settings-icon")
let font = UIFont(name: "San Francisco", size: 42)
let viewController = CustomViewController(nibName: "CustomView", bundle: nil)
let string = String(format: NSLocalizedString("welcome.withName", comment: ""), locale: NSLocale.current, "Arthur Dent")
R.swiftを使った書き方:
let icon = R.image.settingsIcon()
let font = R.font.sanFrancisco(size: 42)
let viewController = CustomViewController(nib: R.nib.customView)
let string = R.string.localizable.welcomeWithName("Arthur Dent")
よく使うパターン
// Custom Cellを取得

func tableView(_ tableView: UITableView, cellForRowAt indexPath: IndexPath) -> UITableViewCell {
    guard let cell = tableView.dequeueReusableCell(withIdentifier: R.reuseIdentifier.hogeCell) else { abort() }

    let hoge = hoges[indexPath.row]
    cell.update(hoge)
    return cell
}

// 画面遷移

guard let vc = R.storyboard.setting.instantiateInitialViewController()?.topViewController else { return }
vc.navigationItem.hidesBackButton = true
self.navigationController?.pushViewController(vc, animated: true )
参考
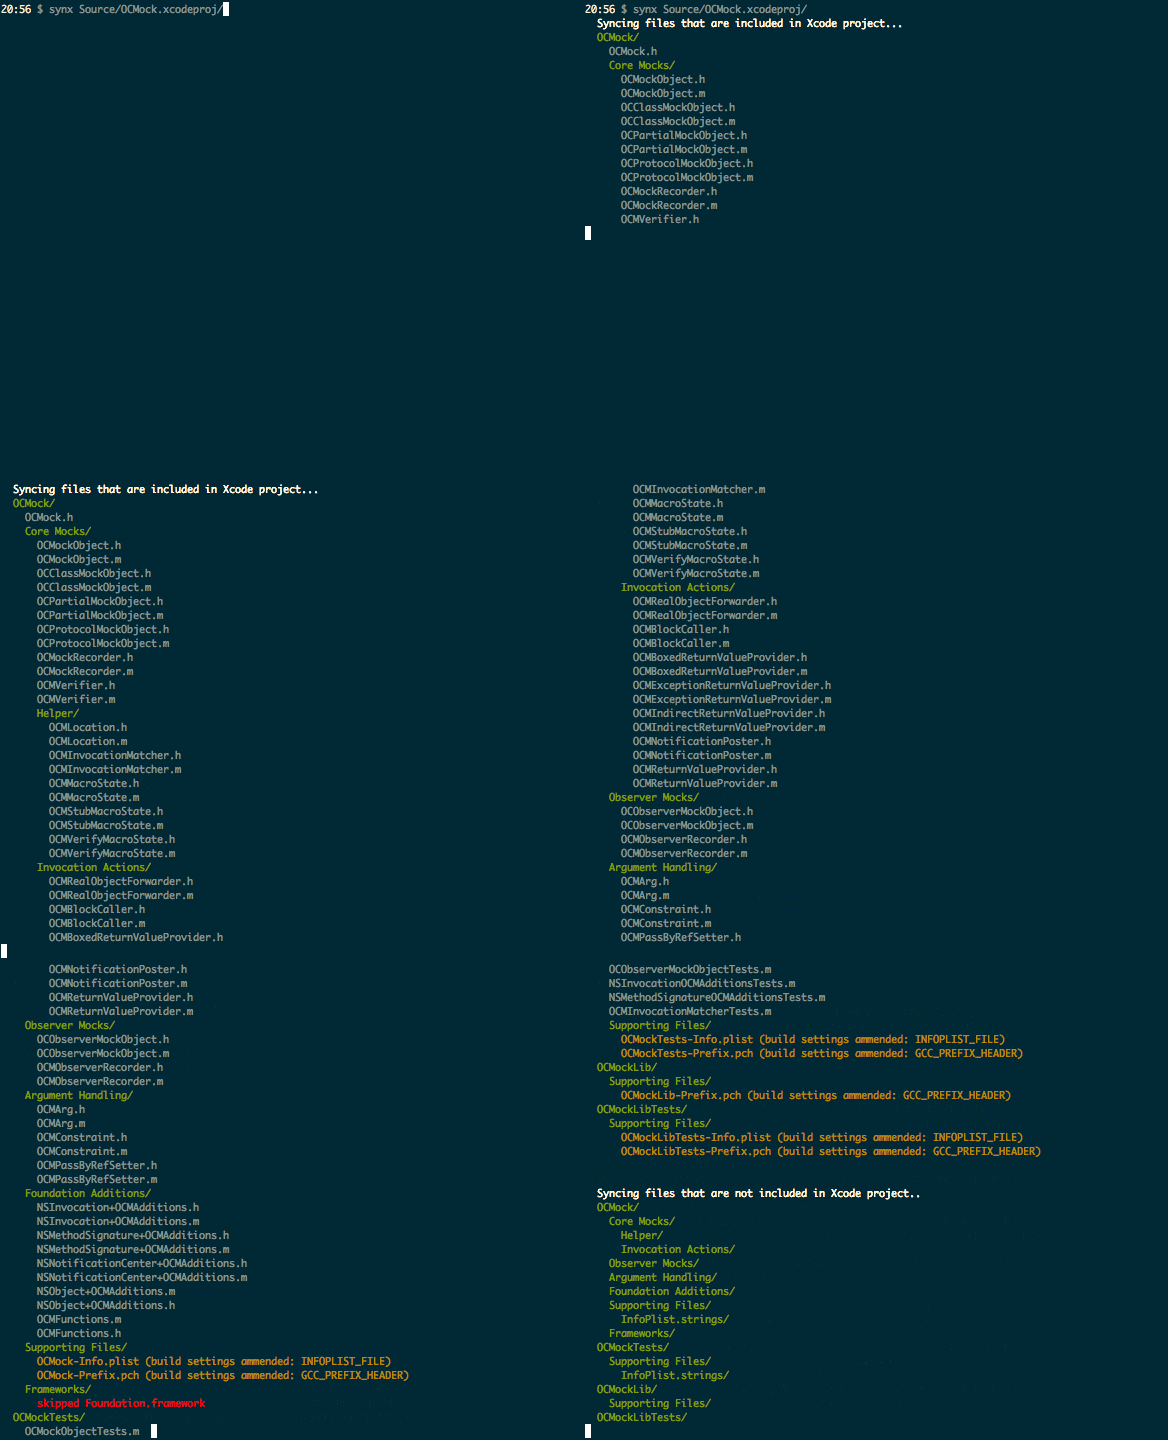
synxでGroupとディレクトリの構成と合わせる
Xcode上でGroupを作成しても、実際のディレクトリ構成は変更されないのでツールを使って整理します。
synx というコマンドラインツールを使うと、
Xcode上のGroupに沿って実際のディレクトリ構成を合わせてくれます。
参考
APIKitとHimotokiの組み合わせでRealmを使う
import Foundation
import APIKit
import Himotoki
import RealmSwift

// finalを付ける
final class User: Object {

    dynamic var id: Int = 0
    dynamic var token: String = ""
    dynamic var deviceToken: String = ""

    override static func primaryKey() -> String? {
        return "id"
    }
}

extension User: Decodable {

    static func decode(_ e: Extractor) throws -> User {
        // インスタンス作成
        let user = User()
        user.token = try e <| "token"
        return user
    }
}


struct AccessTokenRequst: HogeRequest {

    typealias Response = User

    let deviceToken: String

    init(deviceToken: String) {
        self.deviceToken = deviceToken
    }

    var method: HTTPMethod {
        return .post
    }

    var path: String {
        return "/auth/login"
    }

    var headerFields: [String: String] {
        return [
            "Content-Type": "application/json"
        ]
    }

    var parameters: Any? {
        return [
            "platform": "iOS",
            "device_token": deviceToken,
        ]
    }

    func response(from object: Any, urlResponse: HTTPURLResponse) throws -> Response {
        return try decodeValue(object)
    }
}
参考
Extension集
base64の文字列をデコード
import UIKit

extension UIImage {

    static func stringToImage(imageString: String) -> UIImage? {

        let base64String = imageString.replacingOccurrences(of: " ", with: "+")

        let decodeBase64: NSData? =
            NSData(base64Encoded: base64String, options: NSData.Base64DecodingOptions.ignoreUnknownCharacters)

        if let decodeSuccess = decodeBase64 {
            let img = UIImage(data: decodeSuccess as Data)
            return img
        }
        return nil
    }
}
フェードイン/フェードアウトアニメーションを追加
import UIKit

enum FadeType: TimeInterval {
    case
    Normal = 0.2,
    Slow = 1.0
}

extension UIView {
    func fadeIn(type: FadeType = .Normal, completed: (() -> ())? = nil) {
        fadeIn(duration: type.rawValue, completed: completed)
    }

    /** For typical purpose, use "public func fadeIn(type: FadeType = .Normal, completed: (() -> ())? = nil)" instead of this */
    func fadeIn(duration: TimeInterval = FadeType.Slow.rawValue, completed: (() -> ())? = nil) {
        alpha = 0
        isHidden = false
        UIView.animate(withDuration: duration,
                                   animations: {
                                    self.alpha = 1
        }) { finished in
            completed?()
        }
    }
    func fadeOut(type: FadeType = .Normal, completed: (() -> ())? = nil) {
        fadeOut(duration: type.rawValue, completed: completed)
    }

    /** For typical purpose, use "public func fadeOut(type: FadeType = .Normal, completed: (() -> ())? = nil)" instead of this */
    func fadeOut(duration: TimeInterval = FadeType.Slow.rawValue, completed: (() -> ())? = nil) {
        UIView.animate(withDuration: duration, animations: {
            self.alpha = 0
        }) { [weak self] finished in
            self?.isHidden = true
            self?.alpha = 1
            completed?()
        }
    }
}
日付フォーマットを変更
import UIKit

extension Date {
    func toString() -> String {
        let dateFormatter = DateFormatter()
        dateFormatter.dateFormat = "yyyy/MM/dd HH:mm"
        return dateFormatter.string(from: self)
    }
}

