Why Cyberduck
Due to the upload file size limitation of browsers, if we need to upload a file whose size is bigger than 4GB, then we cannot make it done through the browser directly.

Occasionally, we need to upload a big file (> 4GB) to OCI Object Storage. Although we can install and use oci-cli (OCI Command Line Interface) to perform the upload, since oci-cli is a command line tool, the installation process and user interface is not quite user friendly for most of the users who do not have technical background.
Cyberduck is GUI tool which can connect to most of the cloud storage services, as long as the service provides Amazon S3 compatible API. It is suitable for us who prefer GUI and have requirement of uploading big files to the object storage.
Brief introduction quotes from Cyberduck official site.
Cyberduck is a libre server and cloud storage browser for Mac and Windows with support for FTP, SFTP, WebDAV, Amazon S3, OpenStack Swift, Backblaze B2, Microsoft Azure & OneDrive, Google Drive and Dropbox.
Install Cyberduck
Visit the Cyberduck download page and select your platform to download the installation package.
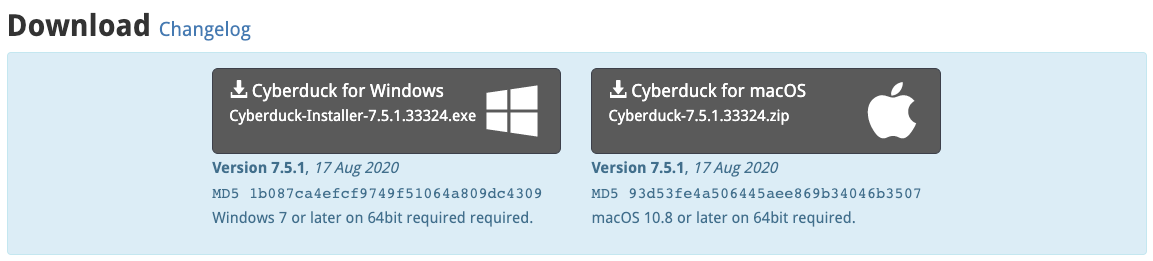
Once the download is completed, we can install it as you do of any other softwares. There should be no any problem in this step.
Create Customer Secret key
OCI Object Storage provides Amazon S3 compatible API, but to access this API we need to use the generated key pair Access Key and Secret Key. This key pair is associated with your OCI account, and you can generate the secret key with following steps.
Visit your OCI account profile
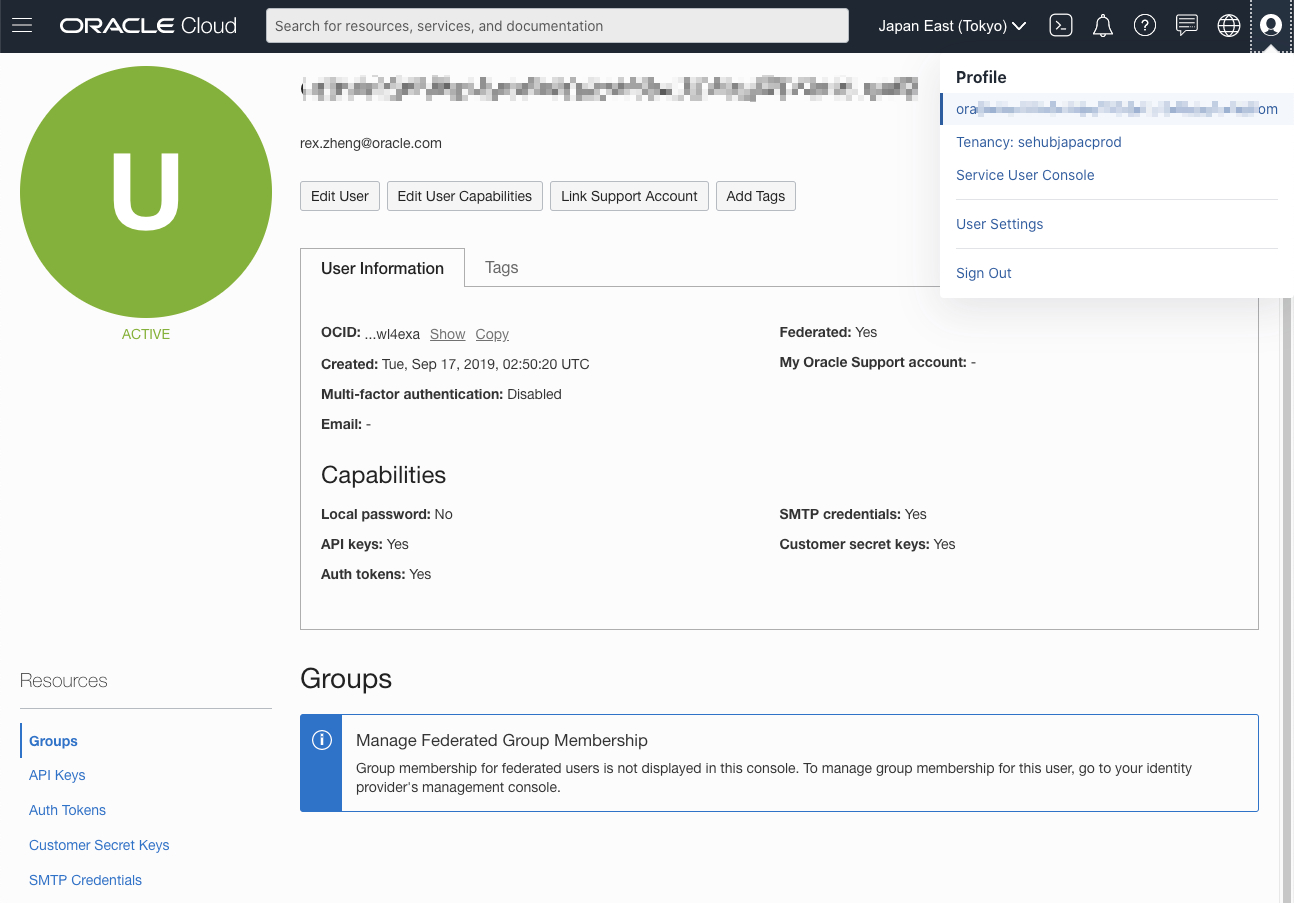
Click Customer Secret Keys

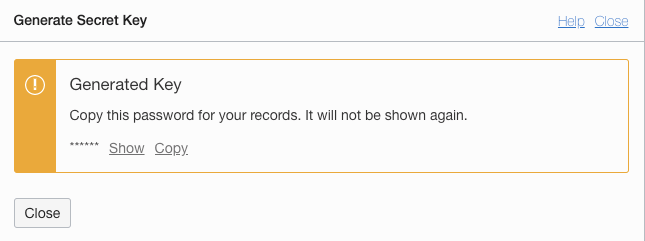
Click Generate Secret Key, input a name for the key and click the button.
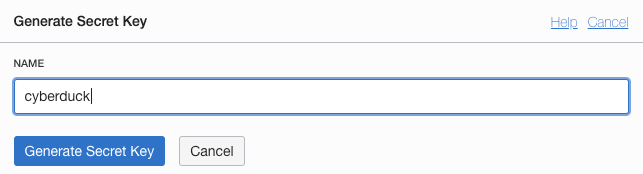
Once the key is generated, click Copy and save it to some safe place. As the message says, this secret key will not show again. if you don't make a note of it, you will have to delete it and re-generate it.
You could get the Access Key from the web console.
Now you should have both of the Access Key and the Secret Key.
Configure the Cyberduck profile
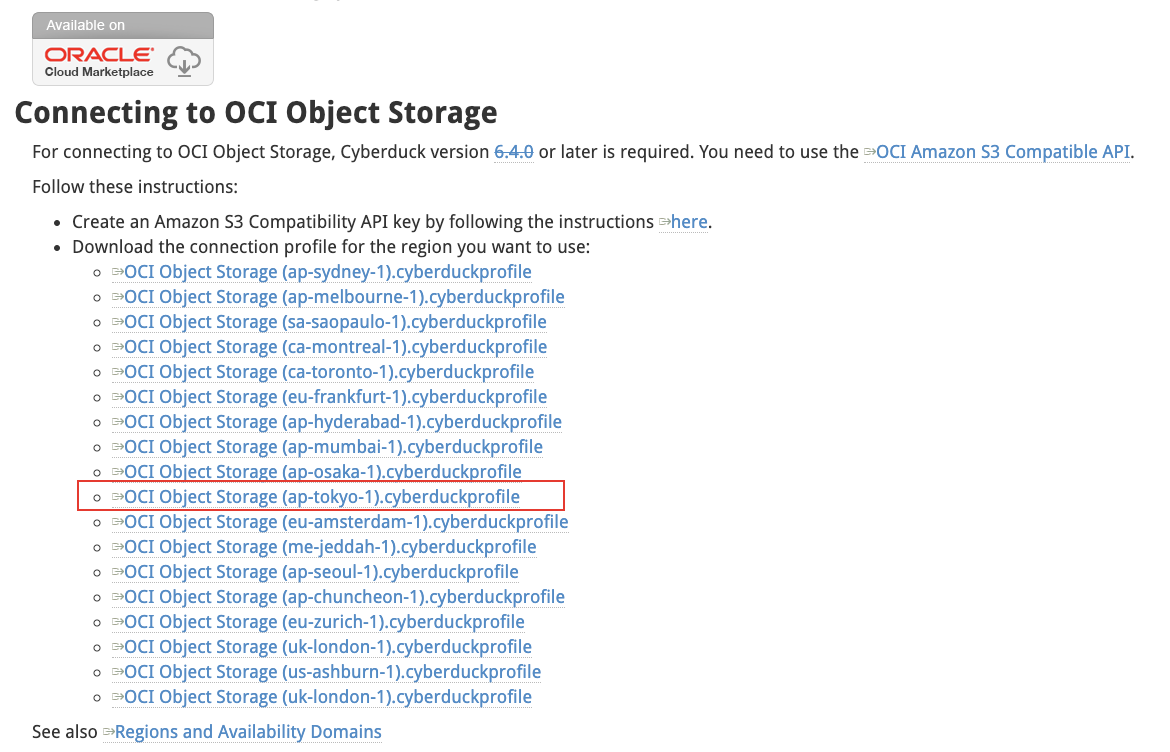
Cyberduck provides some connection profile for OCI Object Storage, just visit and download the Cyberduck connection profile from the Connecting to OCI Object Storage page. In this example, I select OCI Object Storage (ap-tokyo-1).cyberduckprofile
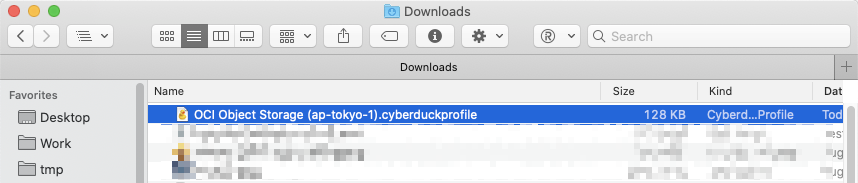
Double click the downloaded file and the installed Cyberduck should open automatically on MacOS, if you are using Windows, you may need to edit the bookmark manually.
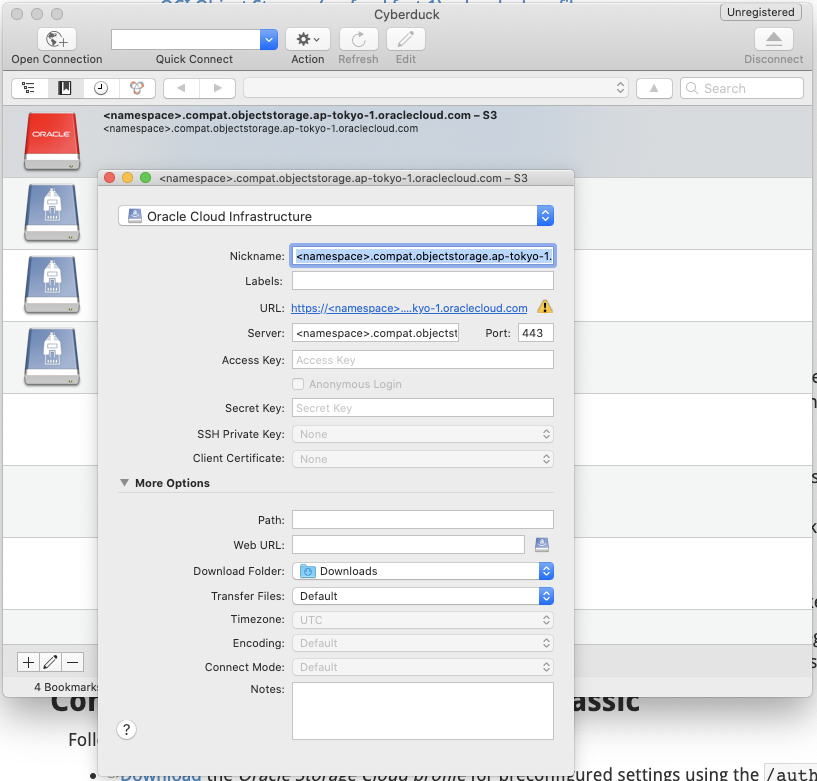
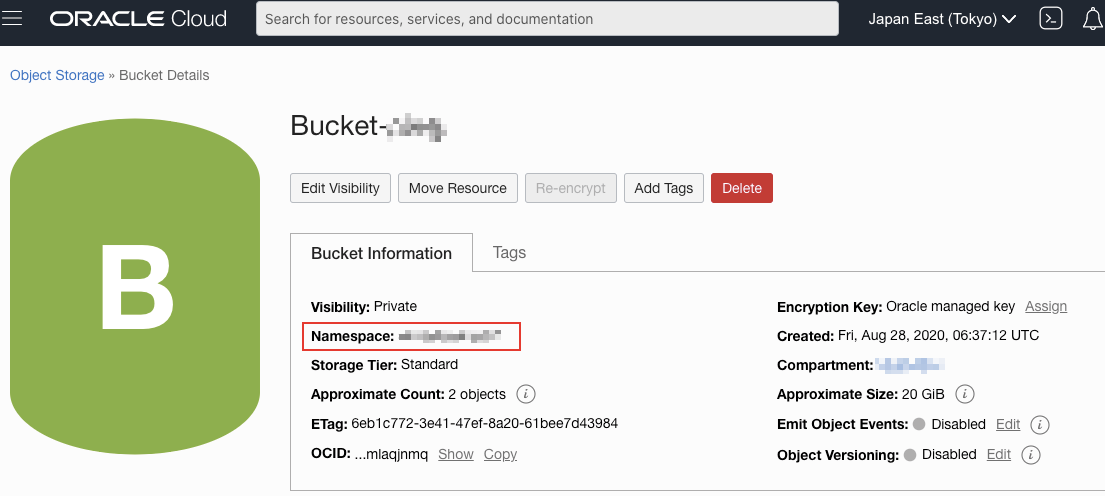
Edit the Nickname as you wish and replace the <namespace> part of Server field with the namespace you get from the OCI Object Storage console page as shown below.
Get namespace from the OCI Object Storage console page.
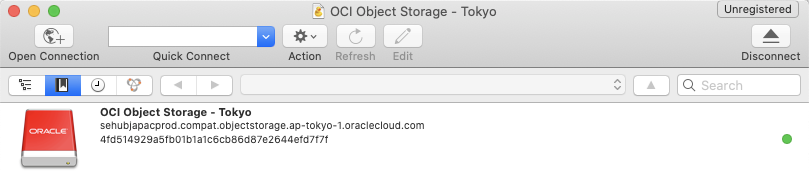
Paste the generated Access Key into the Access Key field. Then save and close this profile. In the Cyberduck bookmark window, you should get a new bookmark as below image shows.
Perform the upload
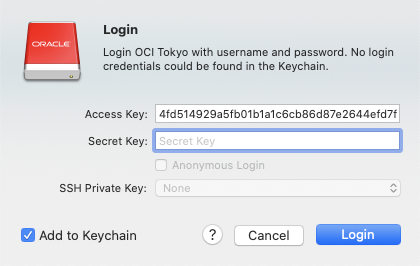
Double click this bookmark there should be window pop up and ask for the Secret Key, just paste the generated Secret Key and click Login.
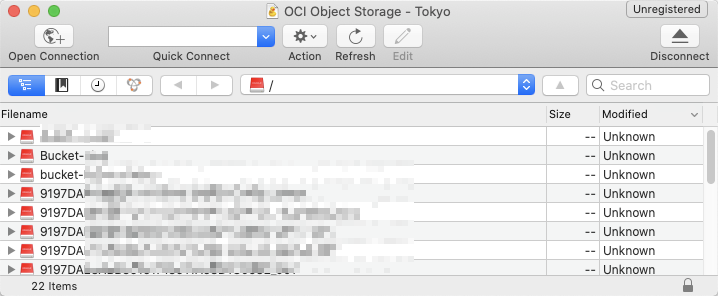
After authenticating all the buckets in your compartment should be listed.
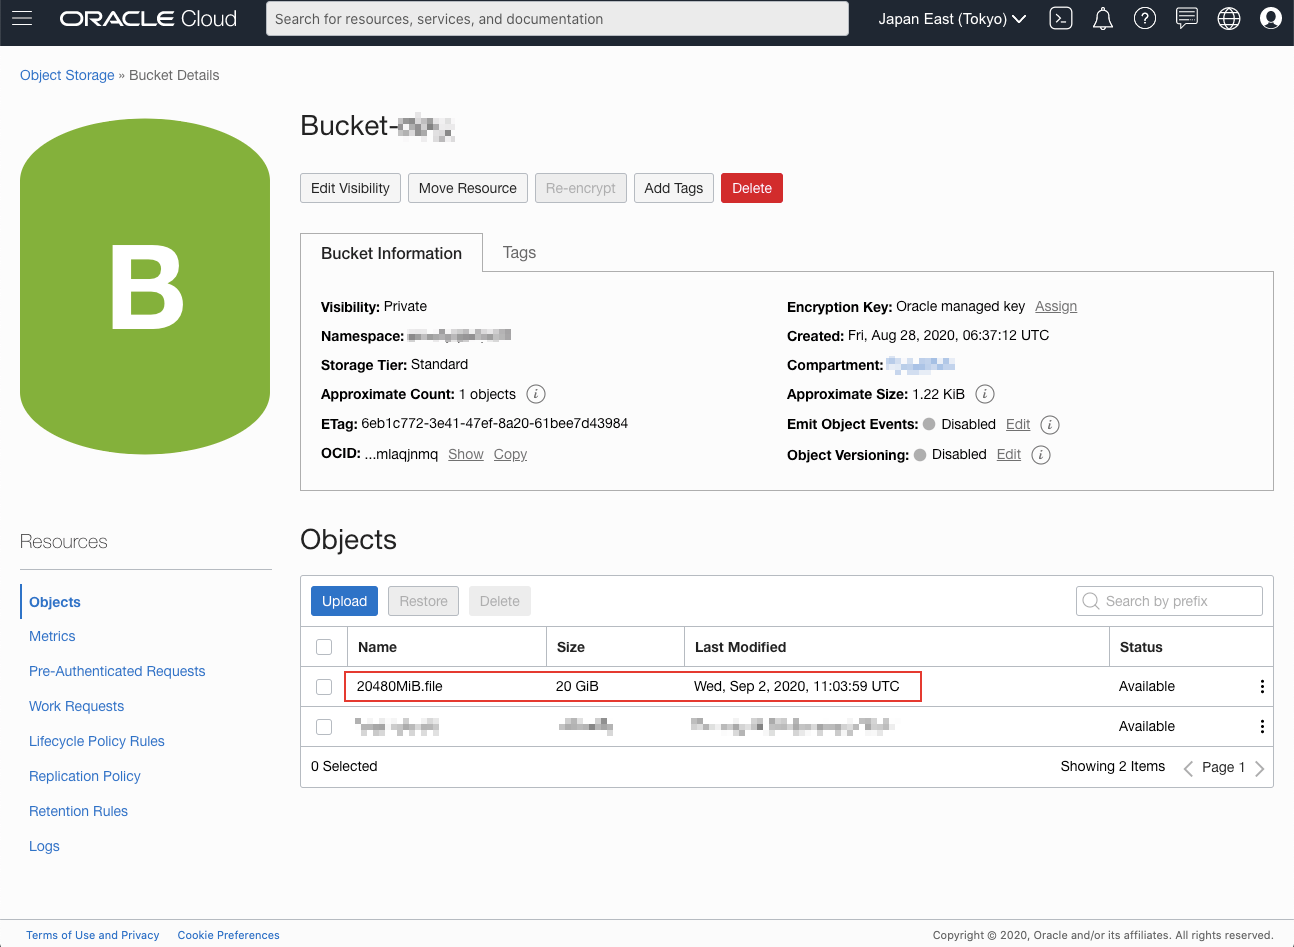
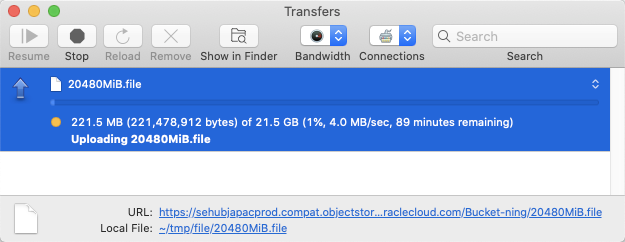
Double click the bucket name you want to upload, drag and drop the file (20 GiB) into the bucket. Then you can have a cup of coffee to wait the upload to complete.
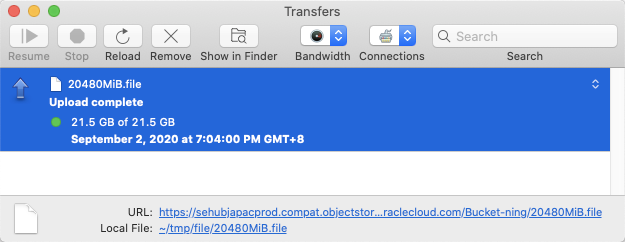
After a while, the file is uploaded successfully.
Now, you can also see it from the OCI Object Storage console.