環境
OS: macOS Catalina (10.15.4)
Flutter: Version 1.12.13+hotfix.8
Android Studio: Version 3.5.2
事前準備
・Flutterの環境構築が完了していること
Flutterの環境構築
・Firebaseとアプリの連携は完了していること
FlutterアプリとFirebaseを連携する
・Firebase Consoleで電話番号認証が有効になっていること

実装方法
①ライブラリのインストール
今回使用するライブラリは以下です。
・firebase_auth: ^0.15.5+3
パッケージページリンク
firebase_auth
pubspec.yamlに以下を記述
dependencies:
  flutter:
    sdk: flutter
  # 省略
  firebase_auth: ^0.15.5+3  #追記
flutter packages getでインストール
②実装
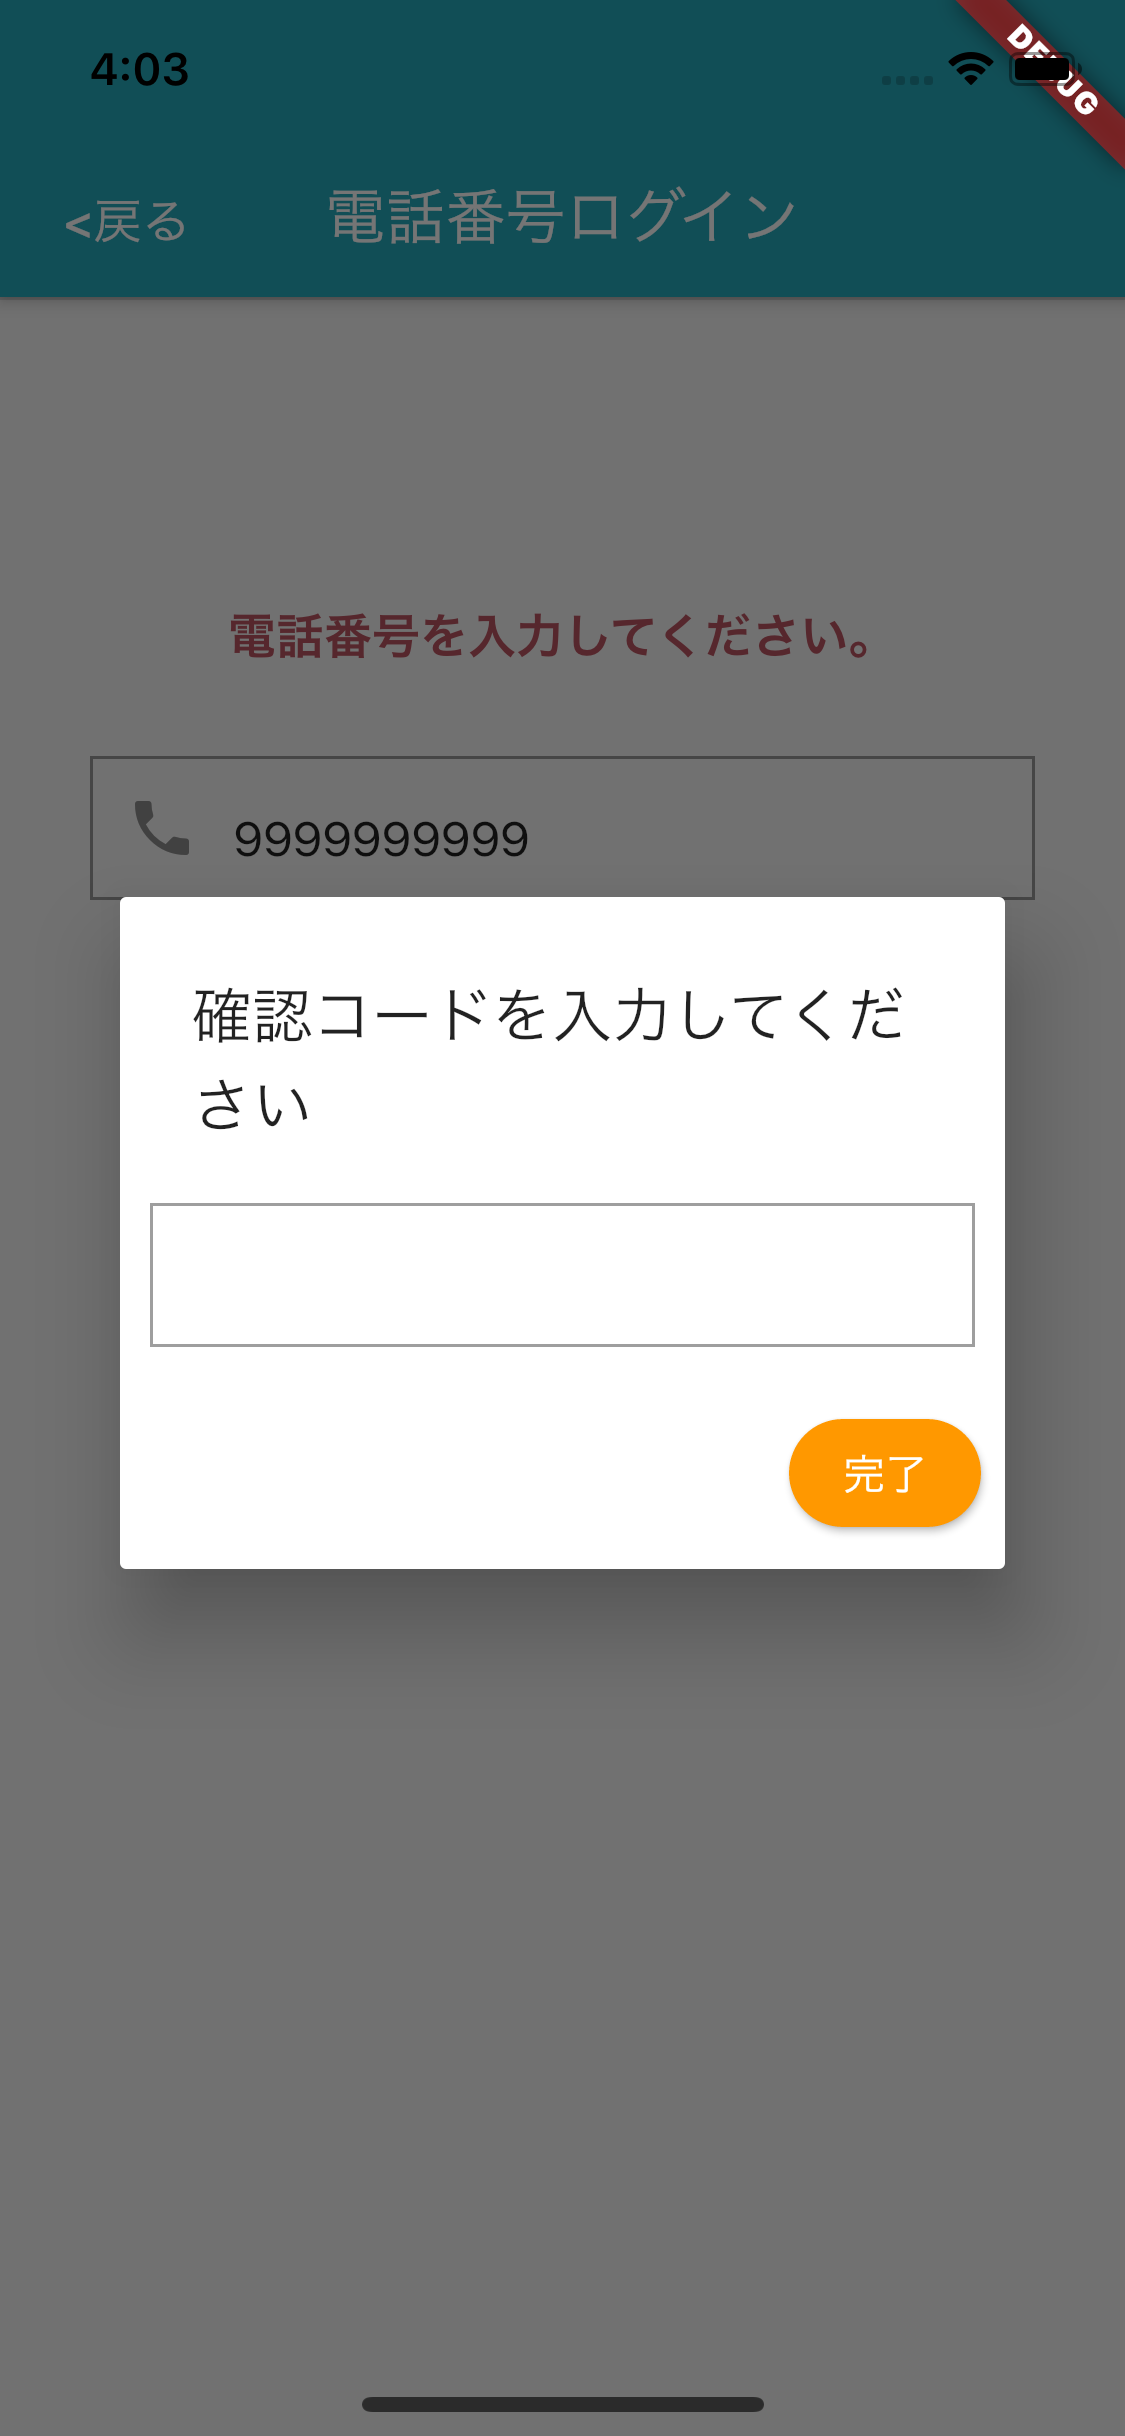
今回は以下のような画面で実装しています。
電話番号入力
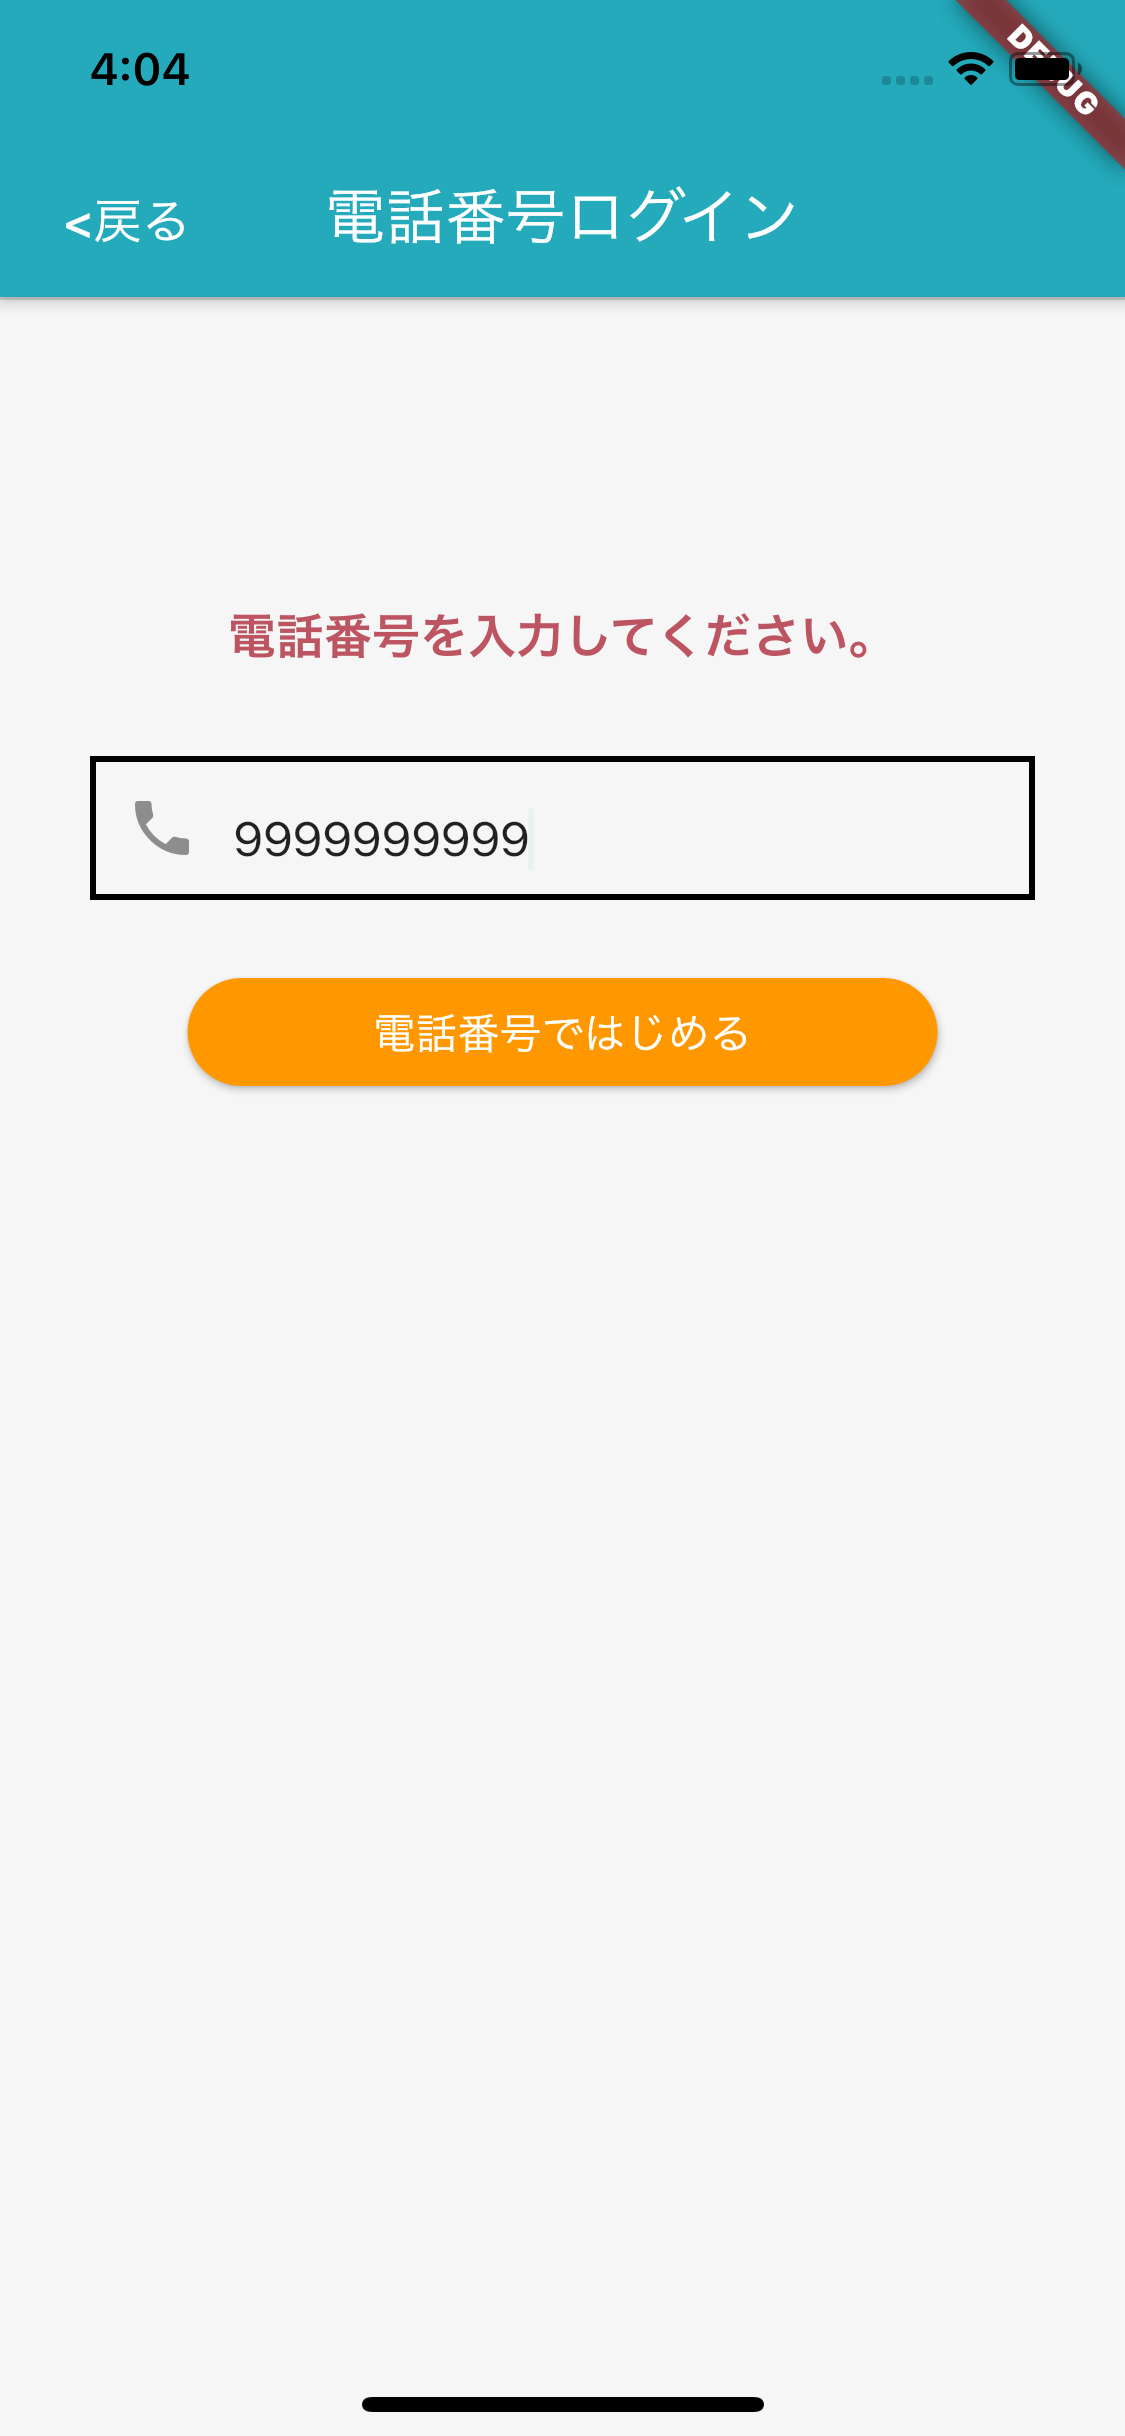
コード確認ダイアログ
実装コード
import 'package:flutter/material.dart';
import 'package:firebase_auth/firebase_auth.dart';
import 'package:todo_flutter/src/model/screen_arguments.dart';

class PhoneAuthPage extends StatefulWidget {
  PhoneAuthPage({Key key, this.title}) : super(key: key);

  final String title;

  @override
  _PhoneAuthPageState createState() => _PhoneAuthPageState();
}

class _PhoneAuthPageState extends State<PhoneAuthPage> {
  final _phoneNumController = TextEditingController();
  String iphone;
  String smsCode;
  String verificationId;

  void _verifyPhoneNumber(BuildContext context) async {
    // _phoneNumController.text.toString()はテキストフィールドに入力された電話番号
    String phone = "+81" + _phoneNumController.text.toString();
    final fireBaseAuth = FirebaseAuth.instance;

    final PhoneCodeAutoRetrievalTimeout autoRetrieval = (String verId) {
      this.verificationId = verId;
    };

    final PhoneCodeSent smsCodeSent = (String verId, [int forceCordResend]) {
      // fireBaseのrobotチェック後に呼ばれる
      this.verificationId = verId;
      smsCodeDialog(context).then((value) {
        print('sign in');
      });
    };

    final PhoneVerificationCompleted verifiedSuccess = (AuthCredential user) {
      print('verified');
    };

    final PhoneVerificationFailed verifiedFailed = (AuthException exception) {
      print('miss');
      print('${exception.message}');
    };

    await fireBaseAuth.verifyPhoneNumber(
      phoneNumber: phone,
      timeout: Duration(seconds: 5),
      verificationCompleted: verifiedSuccess,
      verificationFailed: verifiedFailed,
      codeSent: smsCodeSent,
      codeAutoRetrievalTimeout: autoRetrieval,
    );
  }

  Future<bool> smsCodeDialog(BuildContext context) {
    return showDialog(
      context: context,
      barrierDismissible: false,
        builder: (BuildContext content) {
        return AlertDialog(
          title: Text('確認コードを入力してください'),
          content: TextField(
            keyboardType: TextInputType.number,
            onChanged: (String value){
              this.smsCode = value;
            },
          ),
          contentPadding: EdgeInsets.all(10),
          actions: <Widget>[
            RaisedButton(
                child: Text(
                  "完了",
                  style: TextStyle(color: Colors.white),
                ),
                color: Colors.orange,
                shape: StadiumBorder(),
                onPressed: (){
                  FirebaseAuth.instance.currentUser().then((user) {
                    if (user == null) {
                      Navigator.pop(context);
                      signIn();
                    }else{
                      Navigator.pop(context);
                      Navigator.pushNamed(
                          context,
                          '/todo',
                          arguments: ScreenArguments(
                            user.uid
                          ),
                      );
                    }
                  });
                }
            ),
          ],
        );
    }
    );
  }

  signIn() {
    AuthCredential _credential = PhoneAuthProvider.getCredential(verificationId: this.verificationId, smsCode: this.smsCode);
    FirebaseAuth.instance.signInWithCredential(_credential).then((user) {
      // 認証後画面遷移させる
      ScreenArguments arg = ScreenArguments(user.user.uid);
      Navigator.pushNamed(
          context,
          '/todo',
          arguments: arg,);
    }).catchError((e){
      print(e.toString());
    });
  }

  @override
  Widget build(BuildContext context) {
    return Scaffold(
      resizeToAvoidBottomPadding: false,
      appBar: AppBar(
        title: Text(
          "電話番号ログイン",
          style: TextStyle(color: Colors.white),
        ),
      ),
      body: Center(
        child: Align(
          alignment: Alignment.center,
          child: Container(
              padding: EdgeInsets.only(
                left: 30,
                right: 30,
                top: 100,
                bottom: 100,
              ),
              child: _phoneNumWidget(context)
          ),
        ),
      ),
    );
  }

  Widget _phoneNumWidget(BuildContext context) {
    return Column(
      mainAxisAlignment: MainAxisAlignment.start,
      children: <Widget>[
        Text(
          "電話番号を入力してください。",
          style: TextStyle(fontWeight: FontWeight.bold,fontSize: 16,color: Colors.red),
        ),
        Padding(
          padding: EdgeInsets.only(top: 20),
        ),
        TextField(
          controller: _phoneNumController,
//          hintText: '090xxxxyyyy',
          keyboardType: TextInputType.phone,
//          icon: Icon(Icons.phone, color: Colors.grey),
          onChanged: (String value){
            this.iphone = value;
          },
        ),
        Padding(
          padding: EdgeInsets.only(top: 20),
        ),
        Container(
          width: 250,
          child: RaisedButton(
              child: Text(
                "電話番号ではじめる",
                style: TextStyle(color: Colors.white),
              ),
              color: Colors.orange,
              shape: StadiumBorder(),
              onPressed: (){
                _verifyPhoneNumber(context);
              }
          ),
        ),
      ],
    );
  }
}
日本語の記事がなくて実装が面倒だったので、実装してます。
丸々コピーでも実装できますが、必要な部分切り取って実装するといいと思います。
エラー回避
以下のようなエラーが出る場合はアプリとの連携がうまく行っていない可能性があります。
https://teratail.com/questions/243907
- IOSの場合
①プロジェクト/ios/RunnerにGoogleService-Info.plistをセットしているか?
→Xcodeより追加が必要
②プロジェクト/ios/RunnerのInfo.plistに以下を記述
<?xml version="1.0" encoding="UTF-8"?>
<!DOCTYPE plist PUBLIC "-//Apple//DTD PLIST 1.0//EN" "http://www.apple.com/DTDs/PropertyList-1.0.dtd">
<plist version="1.0">
<dict>
  // 省略
  <key>CFBundleURLTypes</key>
    <array>
        <dict>
            <key>CFBundleTypeRole</key>
            <string>Editor</string>
            <key>CFBundleURLSchemes</key>
            <array>
                // GoogleService-Info.plistのREVERSED_CLIENT_IDの↓に記述
                <string>自分のREVERSED_CLIENT_ID</string>
            </array>
        </dict>
    </array>
</dict>
</plist>
- Androidの場合
①プロジェクト/android/appにgoogle-services.jsonをセットしているか?
②プロジェクト/androidのbuild.gradleに以下を記述
buildscript {
    // 省略
    dependencies {
        // 省略
        classpath 'com.google.gms:google-services:4.3.3'
    }
}
③プロジェクト/android/appのbuild.gradleに以下を記述
apply plugin: 'com.android.application'
// 省略
apply plugin: 'com.google.gms.google-services'  // 追加
// 省略
dependencies {
    implementation 'com.google.firebase:firebase-analytics:17.2.2'  // 追加
}
④証明書のSHA1をFirebaseに登録
terminalで以下を実行
$ keytool -list -v -keystore ~/.android/debug.keystore
上記コマンドを実行すると、「証明書のフィンガプリント」という項目があるので、そこの SHA1 をコピーし、
「Firebase Console」 -> 「プロジェクト設定」 -> 「Androidアプリ」 -> 「フィンガープリントの追加」
にペーストして追加。