新品MacBookがやってきた!
手順の大まかな流れ
- Homebrewのインストール
- rbenvのインストール
- bash_profileの設定
- Rubyのインストール
- Bundlerのインストール
- MySQLのインストール
- Railsのインストール
- Railsを起動
1.Homebrewのインストール
環境構築をする際に、複数のアプリを入れていくわけだが、すべてのアプリのバージョン管理を個別にするのは非常に煩雑な作業である。
Homebrewによってバージョン管理をすると、非常に楽になる。
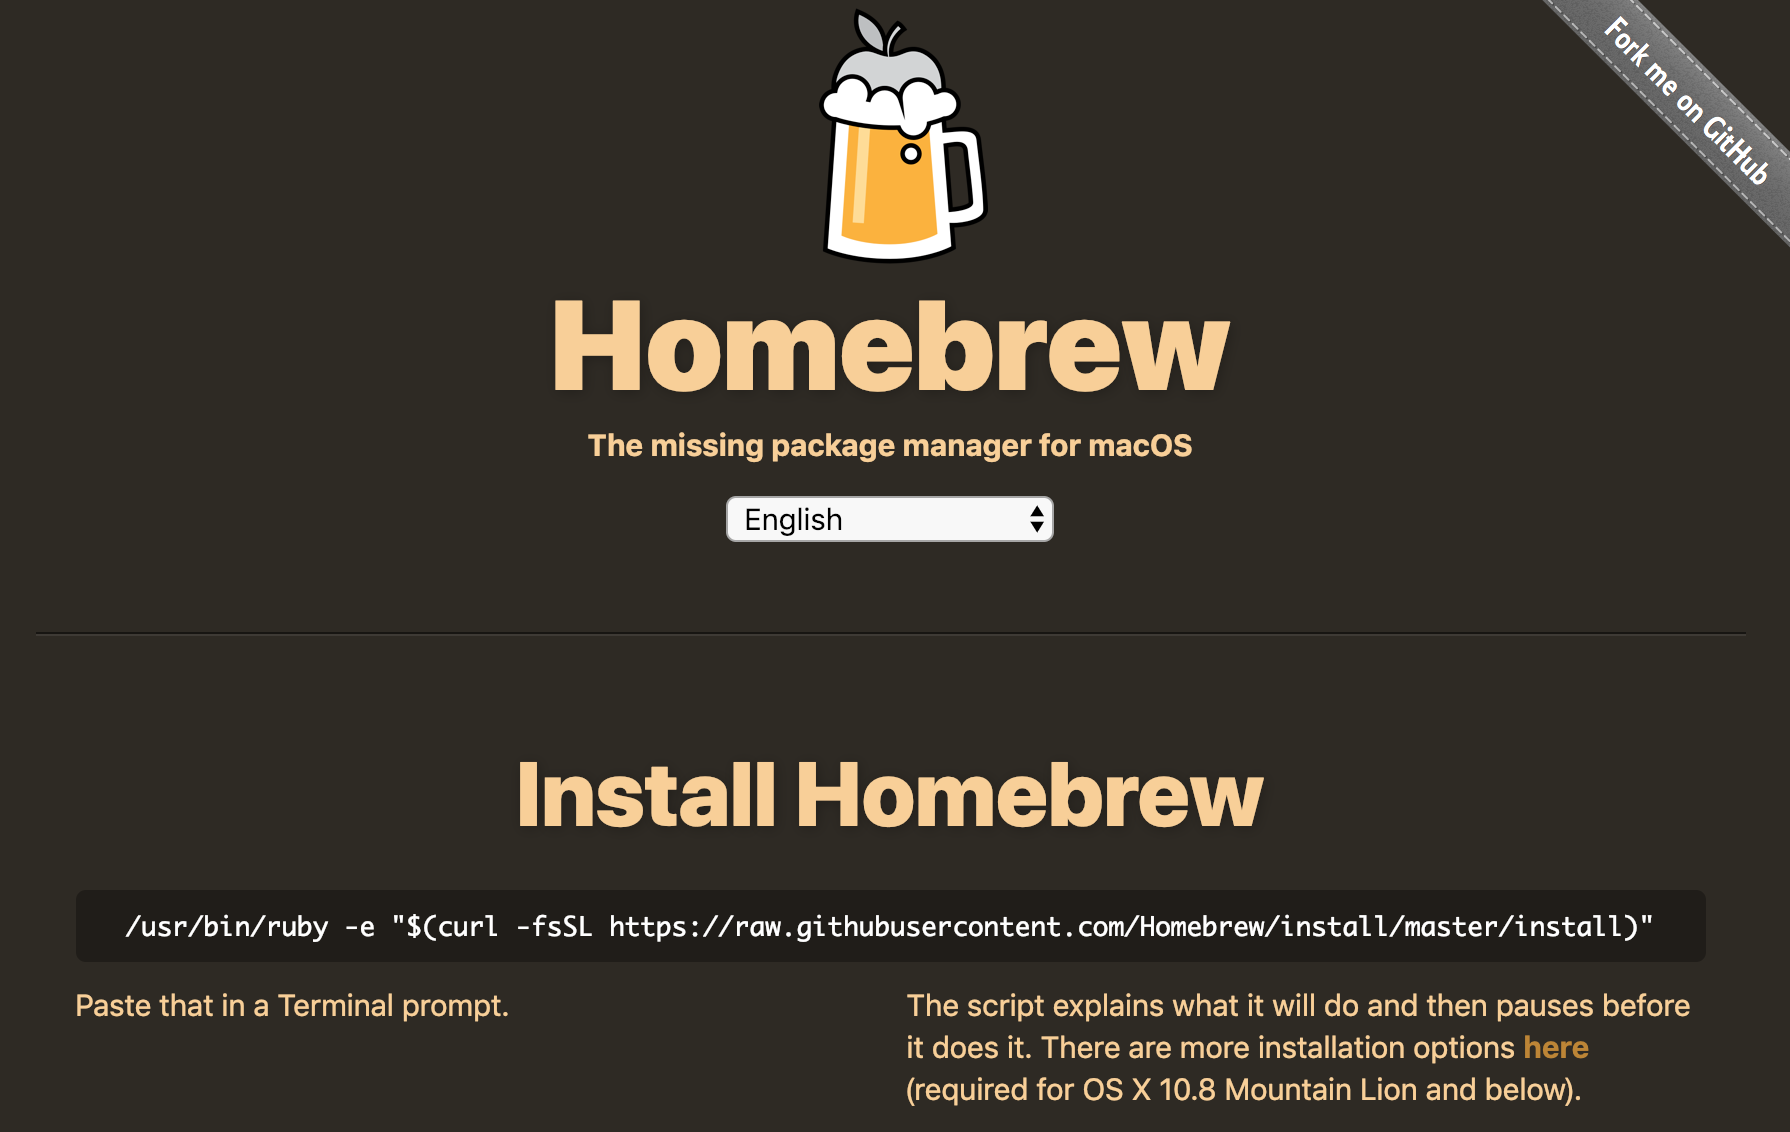
画面下側にあるコマンドをターミナルに入力してインストール
/usr/bin/ruby -e "$(curl -fsSL https://raw.githubusercontent.com/Homebrew/install/master/install)"
すると
==> This script will install:
以下 ズラズラ〜〜〜〜
途中Password:には、今使用中のPCを起動時に使用するpasswordを 入力すればOK
以降は、こちらのページに沿って進めていくhttps://qiita.com/TAByasu/items/47c6cfbeeafad39eda07
Homebrewインストールの確認
$ brew -v
Homebrew 1.9.2
Homebrewのアップデート
$ brew update
Already up-to-date.
もちろん、今インストールしたばかりなので最新版と念押し
2. rbenvのインストール
rubyのバージョン管理ができるようにrbenvをHomebrewでインストール
rbenvがインストールされているか確認
rbenv -v
-bash: rbenv: command not found
$ brew install rbenv ruby-build
Rbenvは、確かにまだインストールされていないので、下記コマンドでインストール
$ brew install rbenv ruby-build
==> Installing dependencies for rbenv: autoconf, openssl, pkg-config and ruby-build
==> Installing rbenv dependency: auto
==> Downloading https://homebrew.bintray.c
ズラズラ〜〜〜(中略)
For pkg-config to find openssl you may need to set:
  export PKG_CONFIG_PATH="/usr/local/opt/openssl/lib/pkgconfig"
3. bash_profileの設定
これは、ざっくり言えば、rbenvを使うための設定
一つのPCにつき、1回だけの設定でOK!
$ echo 'export PATH="~/.rbenv/shims:/usr/local/bin:$PATH"' >> ~/.bash_profile
$ echo 'eval "$(rbenv init -)"' >> ~/.bash_profile
$ source ~/.bash_profile
4. Rubyのインストール
rubyのバージョン確認
$ ruby -v
ruby 2.3.7p456 (2018-03-28 revision 63024) [universal.x86_64-darwin18]
これは、おそらくデフォルトで最初からmac OS に入っているもの
まだrbenv -vでインストールしたバージョンを使用していないことになる
rubyのインストール
そこで、今回は、Rubyバージョン 2.5.0 このPC全体のローカル環境に指定して、rbenvでバージョン管理できるようにする
$ rbenv global 2.5.0
ズラズラ〜〜の後、 Installing ruby-2.5.0と 出たまま待って
$ rbenv rehash
ruby 2.5.0p0 (2017-12-25 revision 61468) [x86_64-darwin18]
これで Ruby 2.5.0 がインストールされた
5. Bundlerのインストール
Bundlerがインストールされているか確認
$ bundle -v
-bash: bundle: command not found
といことで、まだインストールされていないので、下記コマンドでインストールしてバージョンの確認
Bundlerのインストール
$ gem install bundler
Fetching: bundler-2.0.1.gem (100%)
Successfully installed bundler-2.0.1
Parsing documentation for bundler-2.0.1
Installing ri documentation for bundler-2.0.1
Done installing documentation for bundler after 5 seconds
1 gem installed
Bundlerのバージョン確認
$ bundle -v
Bundler version 2.0.1
6. MySQLのインストール
$ brew install mysql
==> Downloading https://homebrew.bintray.com
以下ズラズラ〜〜#が画面いっぱいに広がる(中略)〜〜
(おまけ)
gitのバージョン確認
$ git --version
git version 2.20.1
7. Railsのインストール
7.1 Railsをインストールし作業するディレクトリを作成
今回は既にデスクトップ上にあるWorkspaceというディレクトリの中に”sampleapp” という名前のディレクトリを新たに作成してそこに入る
$ cd Desktop/workspace
$ mkdir sampleapp
$ cd sampleapp
7.2 Rubyのバージョンを指定してインストール
現在のRubyのバージョンを確認
$ ruby -v
ruby 2.5.0p0 (2017-12-25 revision 61468) [x86_64-darwin18]
もちろん、グローバル環境にあるRubyと同じバージョンだ
Rubyのバージョンを指定してインストール
実は、旧パソコンで現在開発中のアプリがRuby version2.4.0 なので 古いのは承知で 2.4.0を指定してインストール
(今後のバージョン切り替えを考慮して念のため)
$ rbenv local  2.4.0
rbenv: version `2.4.0' not installed
$ rbenv local 2.4.0 && rbenv rehash
ruby-build: use openssl from homebrew
Installed ruby-2.4.0 to….
これで作業ディレクトリに.ruby-versionファイルが作成された
Ruby バージョンの再確認
$ ruby -v
ruby 2.4.0p0 (2016-12-24 revision 57164) [x86_64-darwin18]
2.5.0`から 2.4.0` に変わったのでOK!
(あくまで、グローバル環境は2.5.0である。作業したいディレクトリsampleappのみ2.4.0ということ。)
7.3 Bundlerの初期化
bundle initでGemfileを作成する
$ bundle init (*ない場合はgem install bundler )
rbenv: bundle: command not found
The `bundle' command exists in these Ruby versions:
  2.5.0
Bandlerがないと返されたので 、、、
(前のVersion 2.5.0ではインストールしたが、今回の2.4.0 ではインストールしていなかったから! )
$ gem install bundler
Fetching: bundler-2.0.1.gem (100%)
Successfully installed bundler-2.0.1
Parsing documentation for bundler-2.0.1
Installing ri documentation for bundler-2.0.1
Done installing documentation for bundler after 9 seconds
1 gem installed
再び
$ bundle init
Writing new Gemfile to /Users/*****/Desktop/workspace/sampleapp/Gemfile
これで、指定のディレクトリ(↑)にGemfileが作られた。
7.4 GemfileのRailsのコメントアウトを削除、後ろにversionを指定して保存
# gem “rails”の #を削除して、railsのバージョンを追記
# frozen_string_literal: true

source "https://rubygems.org"

git_source(:github) {|repo_name| "https://github.com/#{repo_name}" }

#gem "rails"
# frozen_string_literal: true

source "https://rubygems.org"

git_source(:github) {|repo_name| "https://github.com/#{repo_name}" }

gem “rails”, “5.1.6"
7.5 Railsをインストールしてバージョン確認
$ bundle install --path=vendor/bundle --without production

Fetching gem metadata from https://rubygems.org/..........
ズラズラ〜〜(中略)
Bundle complete! 16 Gemfile dependencies, 70 gems now installed.
Gems in the group production were not installed.
Bundled gems are installed into `./vendor/bundle`
Railsのバージョン確認
$ bundle exec rails -v
Rails 5.1.6
Gemfileに書いてある情報をもとに、bundlerがインストールしてくれた。
bundlerでインストールすると何かすごいかって言うと、、
Rails5.1.6 を使うための、他のGemとの相互依存性を調べて全部必要なGemを入れてくれている。
8. Railsを起動
$ cd Desktop/workspace/sampleapp
$ bundle exec rails s
=> Booting Puma
=> Rails 5.1.6.1 application starting in development
=> Run `rails server -h` for more startup options
Puma starting in single mode...
* Version 3.12.0 (ruby 2.4.0-p0), codename: Llamas in Pajamas
* Min threads: 5, max threads: 5
* Environment: development
* Listening on tcp://0.0.0.0:3000
Use Ctrl-C to stop
これで新品のMacBookのrailsローカル環境構築が終了した!
ブラウザ上で http://localhost:3000/ へアクセスすると

Railsの画面が表示された!
(Rubyバージョンが2.4.0になっているはず。)
これにて、ローカル環境構築は終了!