備忘を兼ねて、Ubuntu 14.04にMySQL 5.7をインストールする方法を紹介します。
リポジトリの確認
MySQL :: Download MySQL APT Repositoryからmysql-apt-config_X.X.X-X_all.debのファイルのバージョンを確認する。
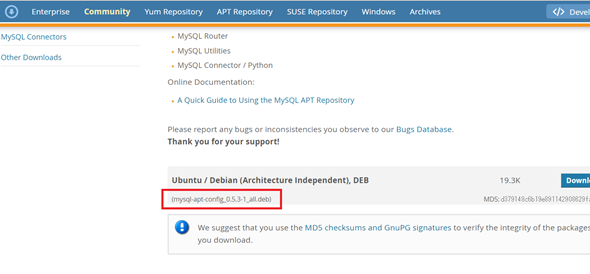
※執筆時点では、mysql-apt-config_0.5.3-1_all.debが最新。
MySQLのインストール
MySQLをインストールしていく。
Command
$cd /MySQLをダウンロードするディレクトリ
#.debファイルのダウンロード
$ wget http://dev.mysql.com/get/mysql-apt-config_0.5.3-1_all.deb
#パッケージのインストール
$ sudo dpkg -i mysql-apt-config_0.5.3-1_all.deb
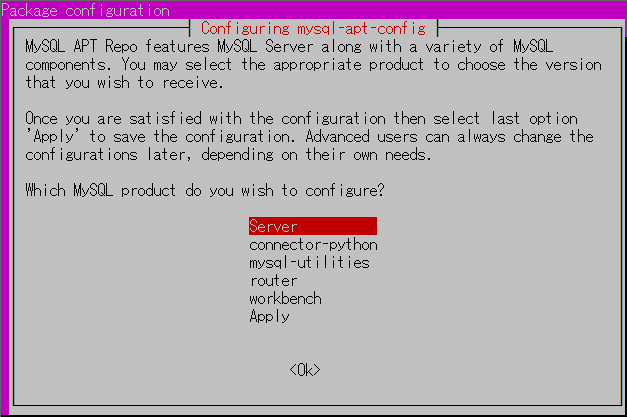
「Server」を選択。

「mysql-5.7」を選択。
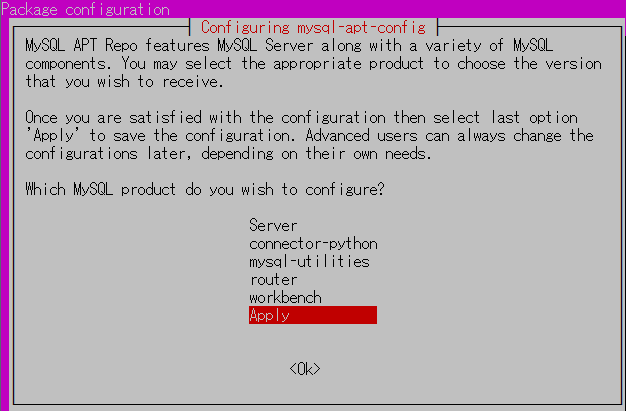
「Apply」を選択。
パッケージをアップデート & インストールする。
Command
$ sudo apt-get update
$ sudo apt-get install mysql-server

#もし↑でエラーが出たら↓コマンドを実行する。
$ sudo apt-get -f install
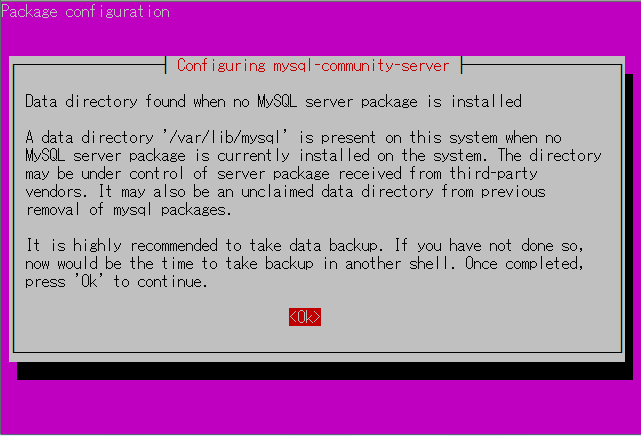
「OK」を選択。
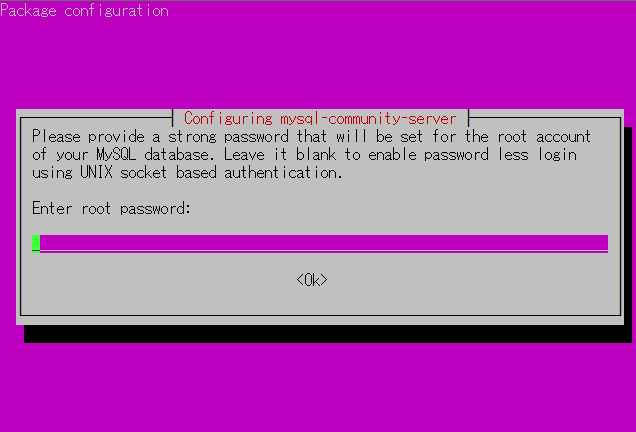
MySQLで使用するrootユーザのパスワードを入力する。
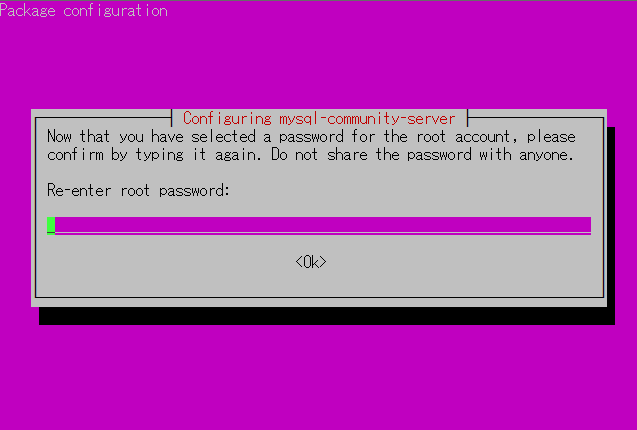
再度、パスワードを入力する。
MySQLにログインする
Command
$ mysql -u root -p
# 先ほど設定したrootパスワードを入力する。

Copyright (c) 2000, 2015, Oracle and/or its affiliates. All rights reserved.

Oracle is a registered trademark of Oracle Corporation and/or its
affiliates. Other names may be trademarks of their respective
owners.

Type 'help;' or '\h' for help. Type '\c' to clear the current input statement.

mysql>
#上記のように表示されればOK
以上になります。
他にもmysql用のOSユーザ作ったり、文字コード変更したり色々やりますが、とりあえずここまで。
たったこれだけの作業ですが、ぺーぺーのインフラエンジニアにはこたえます。。
これくらいササッと作業できるようになったらカッコいいですね。
次回は今回インストールしたMySQL使ってZABBIXを入れていきます。
(参考)
■MySQL APT repositoryからMySQL 5.7.xをインストールするスクリプト
https://hnakamur.github.io/blog/2015/09/22/noninteractive_install_from_mysql_apt_repository_on_ubuntu_trusty/
おしまい。