AWSのEC2をCloudWatch/Lambda/Slackで監視&通知します。
事前準備
- 監視する対象のEC2を作成して下さい。
- SlackにIncoming WebHooksを追加して下さい。
SNS作成
この後作成する監視ルールに検知された時に発生するアラームの送信方法を作成します。
SNSの「Create Topic」を選択して、好きな名前を入力します。
Lambda作成
今回初のLambda!緊張します・・・
まずはLambdaを選択して、「Create a Lambda Function」です。
すると四角い箱がたくさん出てきます。
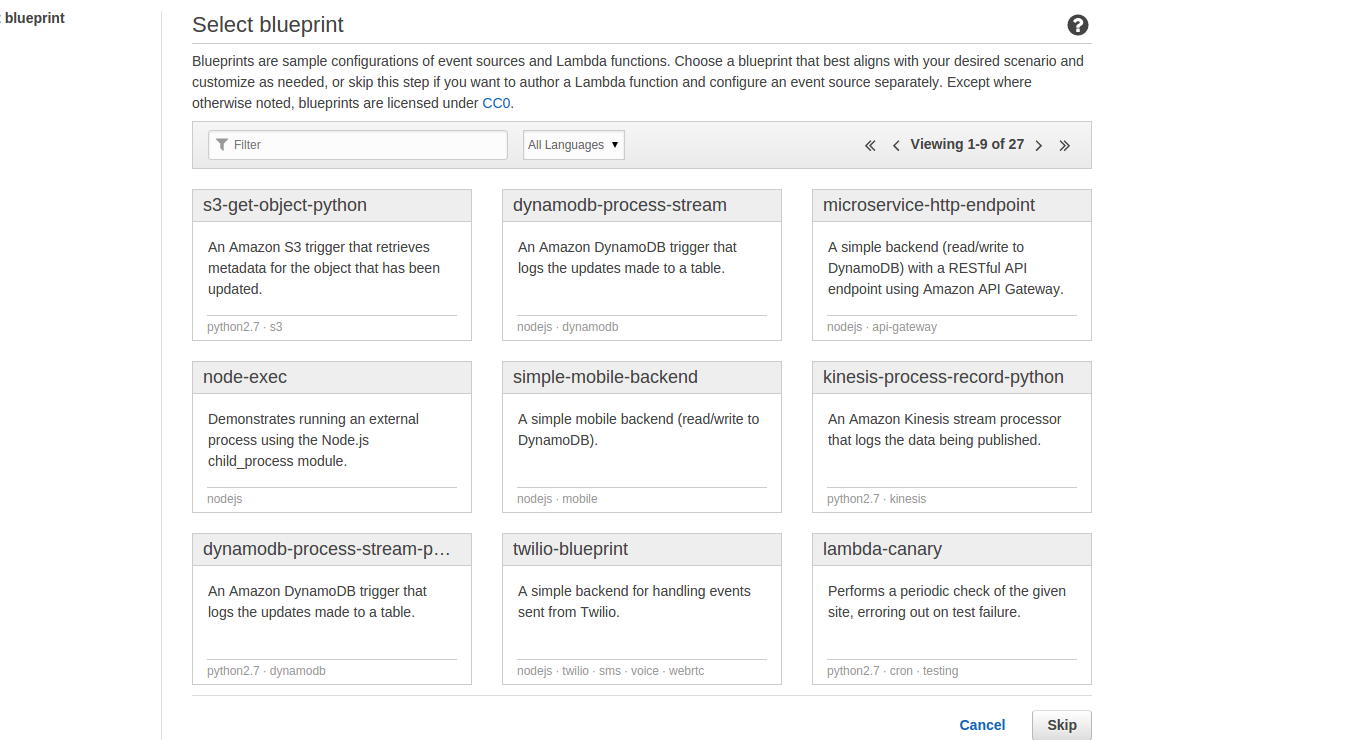
これはblueprint、要はテンプレートのようなモノです。
試しに今回は「sns-message」を選択しました。
すると2つの項目が出現します。
- Event source type
- SNS Topic
Event source typeはSNSのまま、SNS Topicに先程作成したToipcを選択してNext。
するとソースコード編集画面に遷移します。
デフォルトではNode.jsが選択されているので、Node.jsのソースコードが記述されていますね。
このソースだとログ出力のみなので、今回はカスタマイズしてSlackに送信するようにします。
ソースコードは以下を参考にしました。
https://gist.github.com/JeffRausch/15eeec45d36684cdf828/ffc0f8d74394d2bbfd8fa84dc02f467a9c0c05eb
console.log('Loading function');

const https = require('https');
const url = require('url');
const slack_req_opts = url.parse('SlackのIncoming WebHooksのURL');
slack_req_opts.method = 'POST';
slack_req_opts.headers = {'Content-Type': 'application/json'};

exports.handler = function(event, context) {
    (event.Records || []).forEach(function (rec) {
        var req = https.request(slack_req_opts, function (res) {
            if (res.statusCode === 200) {
                context.succeed('posted to slack');
            } else {
                context.fail('status code: ' + res.statusCode);
            }
        });

        req.on('error', function(e) {
            console.log('problem with request: ' + e.message);
            context.fail(e.message);
        });

        var message = JSON.parse(rec.Sns.Message);
        var status = message.NewStateValue;
        if (status === "ALARM") {
            status = ":exclamation: " + status;
        }
        if (status === "OK") {
            status = ":+1: " + status;
        }
        var str = "*" + status + ": " + message.AlarmName + "*" + "\n" +
                    message.AlarmDescription + "*" + "\n" +
                    message.NewStateReason;

        req.write(JSON.stringify({text: str}));

        req.end();

    });
};
後は自身の設定をしていくと登録されます。
また、先程SNSのTopicを選択して作成したので、そのTopicのSubscriptionが自動で作成されます。
監視ルール作成 CloudWatch
作成したEC2のMonitaringでAlarmを作成します。
手っ取り早いのは
EC2 -> EC2 DachBoad -> Running Instances -> インスタンス一覧からインスタンス選択 -> 画面下部のMonitoringタブ -> Create Alarm
作成する際の「Send a notification to」に作成したSNS Topicを選択して下さい。
今回私はCPUのUtilizationが80%以上のアラームを作成しました。
TEST
以下コマンドを実行して、Slackに通知が来れば完了です!
aws cloudwatch set-alarm-state --alarm-name アラーム名 --state-reason "initializing" --state-value ALARM