経緯
- SpringBoot+MavenでのHelloWorldをIntelliJ IDEAのUltimateエディションで書いてみたのと同じことを、Communityエディションで書くとどうなるかやってみた。
感想
- Ultimateほどはサクッとは書けなかった。
- Ultimateの場合、
Spring Initializrによって、- 依存関係をリストから選べる
- pom.xmlの必要な設定を自動的に書いてくれる
- 実行/デバッグの設定を自動的に作ってくれる
- アプリケーションクラスを自動的に作ってくれる
- ちなみに
Spring InitializrはWebサイトからも利用できるので、これとCommunityを組み合わせてUltimateに近い作り方ができなくもない。
環境
- Windows10 Home
- IntelliJ IDEA Community 2017.2.4
- JDK1.8
あと、使用したSpringBootのバージョンは、この時点でのCURRENT GAの1.5.7
手順
IDEAを起動する

新規プロジェクトの作成
- すでに何らかのプロジェクトが開いていたら、
File-New-Project... - プロジェクトが開いていない状態だったら、
Create New Projectをクリック -
New Projectの画面が開く
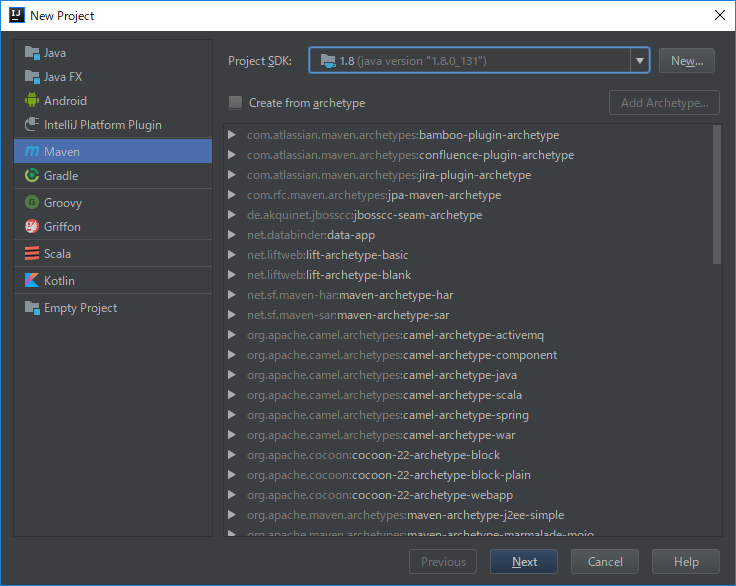
- 左のリストから
Mavenをクリック -
Project SDKはPCに入っているJDKを適当に選択 -
Nextをクリック
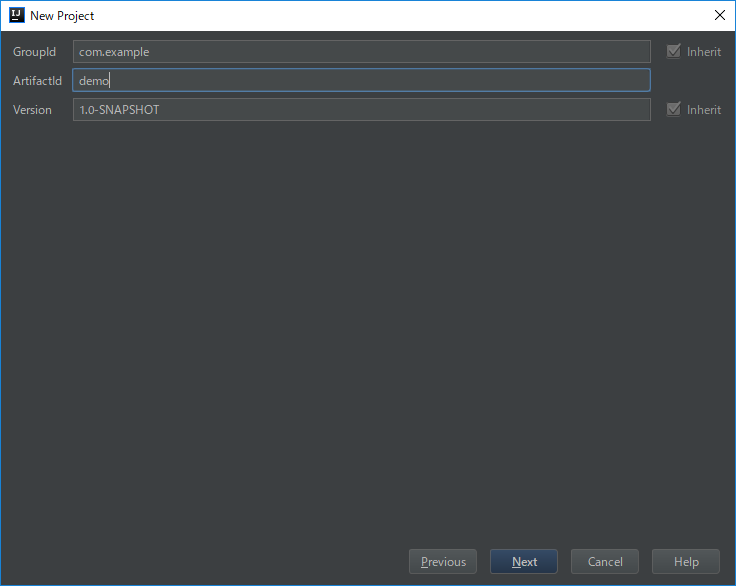
-
GroupIdとArtifactIdを適当に入力 -
Nextをクリック
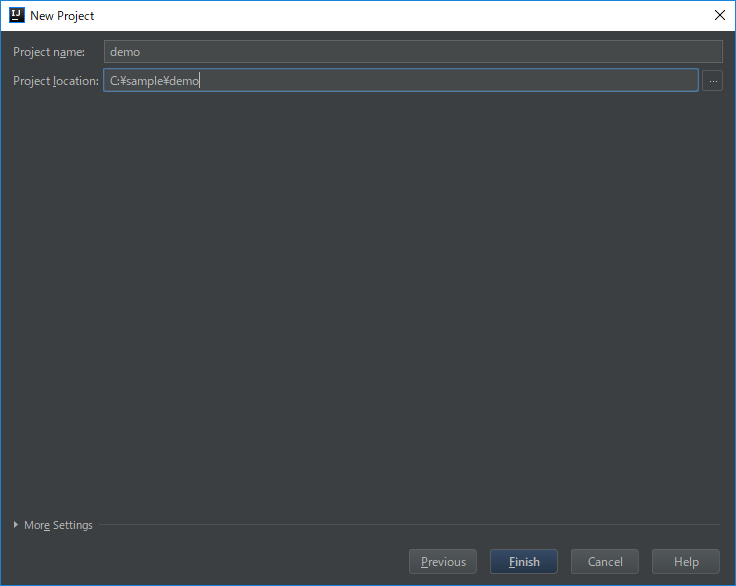
-
Project nameとProject locationを適当に設定 -
Finishをクリック - プロジェクトが作成される
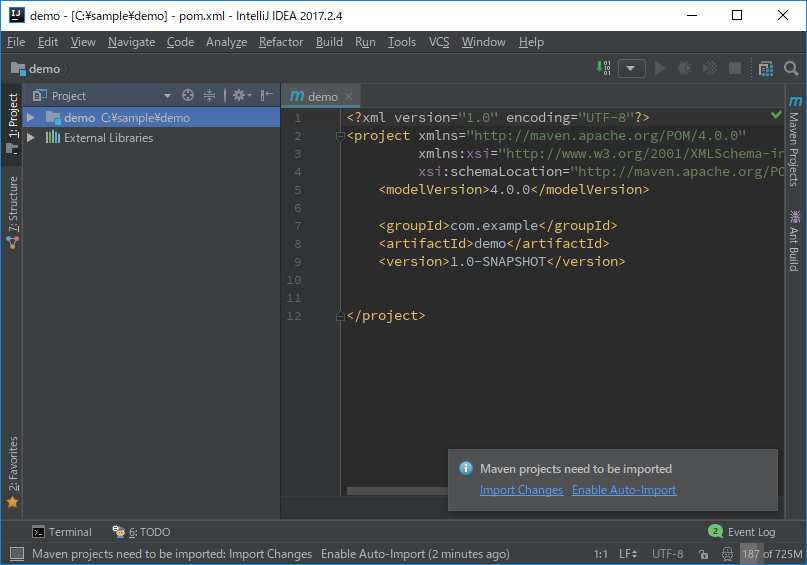
- 画面右下に
Maven projects need to be importedと表示されていたら、Enable Auto-Importをクリックしておくと、pom.xmlを書き換える都度、必要な依存関係を自動的にインポートしてくれる。
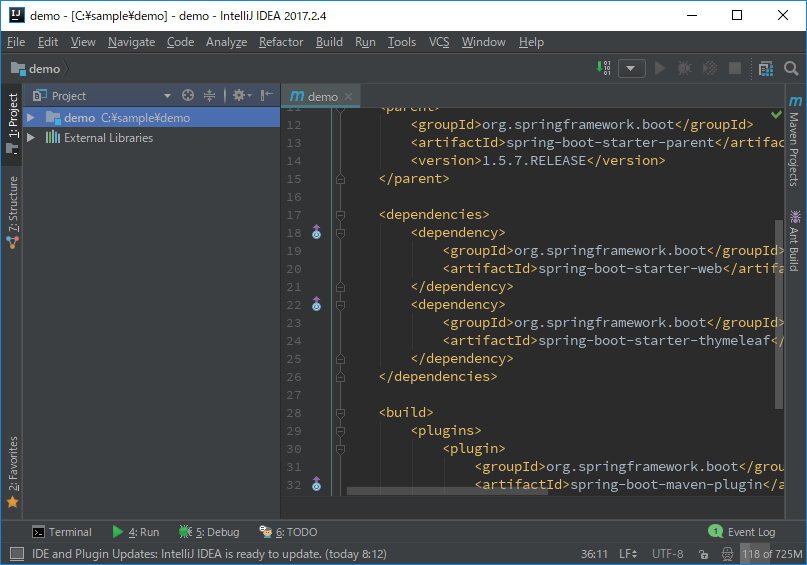
pom.xmlの記述
pom.xmlが画面に表示されているので、ここにspring-boot-starterの親要素の指定、依存関係の指定(spring-boot-starter-webとspring-boot-starter-thymeleafを追加)、およびビルド時にMavenでspring-bootを利用できるようにするためのプラグインの指定を追記する。
<parent>
  <groupId>org.springframework.boot</groupId>
  <artifactId>spring-boot-starter-parent</artifactId>
  <version>1.5.7.RELEASE</version>
</parent>

<dependencies>
  <dependency>
    <groupId>org.springframework.boot</groupId>
    <artifactId>spring-boot-starter-web</artifactId>
  </dependency>
  <dependency>
    <groupId>org.springframework.boot</groupId>
    <artifactId>spring-boot-starter-thymeleaf</artifactId>
  </dependency>
</dependencies>

<build>
  <plugins>
    <plugin>
      <groupId>org.springframework.boot</groupId>
      <artifactId>spring-boot-maven-plugin</artifactId>
    </plugin>
  </plugins>
</build>
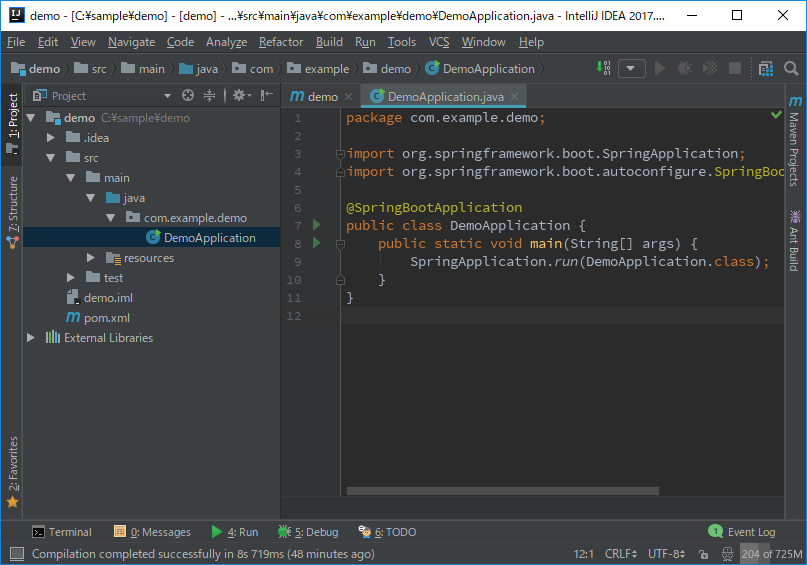
アプリケーションクラスの作成
- 画面左のProjectビューの
demoプロジェクトのツリーを開き、src-main-javaを右クリックし、New-Java Classを選択 -
Nameにcom.example.demo.DemoApplicationと入力し、OKをクリック - クラス宣言の上に
@SpringBootApplicationアノテーションを付加 - main()メソッドを記述する
public static void main(String[] args) {
  SpringApplication.run(DemoApplication.class, args);
}
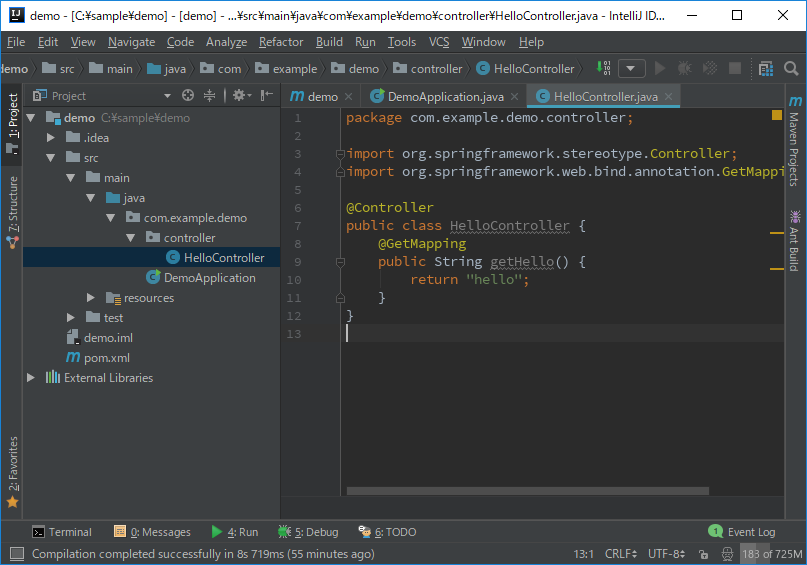
コントローラの作成
-
demoプロジェクトのツリーのcom.example.demoパッケージを右クリックし、New-Java Classを選択 -
Nameにcontroller.HelloControllerと入力し、OKをクリック - クラス宣言の上に
@Controllerアノテーションを追加 - クラスの中に
getHello()メソッドを追加
    @GetMapping
    public String getHello() {
        return "hello";
    }
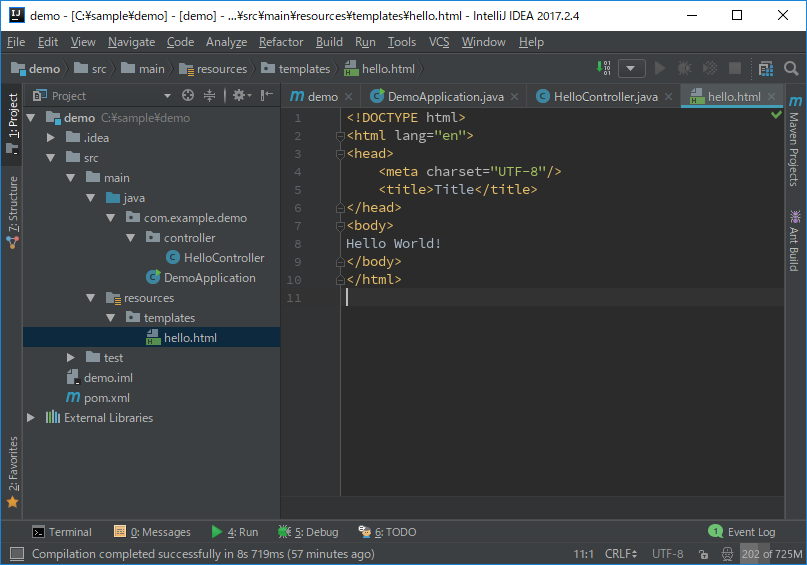
テンプレートの作成
-
demoプロジェクトツリーのsrc-main-resourcesフォルダを右クリックし、New-HTML Fileを選択 -
Nameにtemplates/helloと入力し、OKをクリック -
<body>タグにHello World!と書く - あと、
<meta>タグがこのままだと実行時にthymeleafのエラー(タグが閉じてないよ!エラー)になるので、末尾を/>に書き換える
アプリケーションの起動
-
DemoApplicationアプリケーションクラスを右クリックし、Run DemoApplication.main()を選択 - アプリケーションが起動され、コンソールログがつらつらと表示され始める
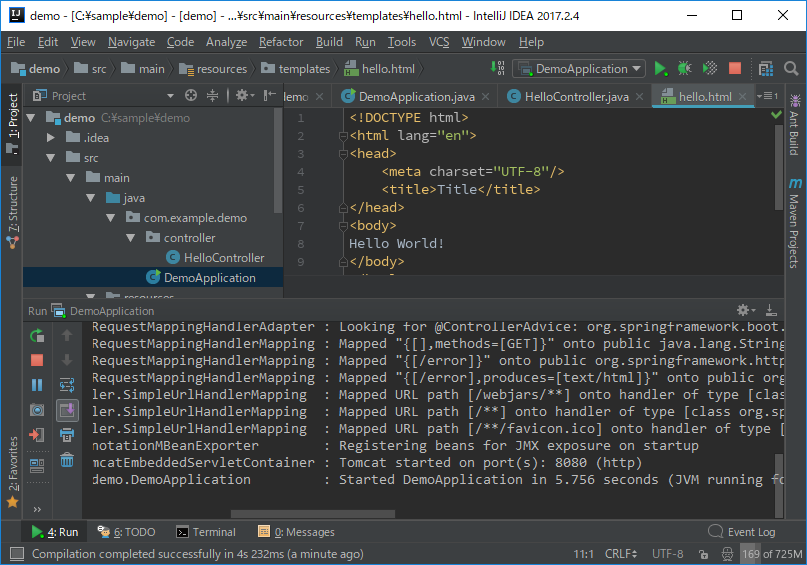
- そのうち
Tomcat started on ...と表示され、内部のTomcatが起動されたことがわかる - 最後に
Started DemoApplication in ...と表示されれば起動完了
動作確認
- ブラウザから、
localhost:8080にアクセスする
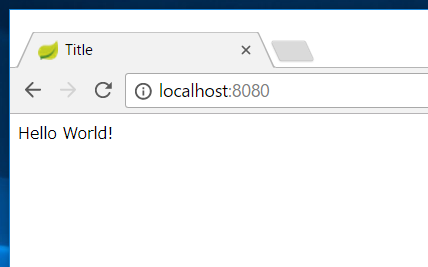
- できた。