はじめに
前回の記事の続きです。
REST Webサービスの作成が僕には難しすぎたので、誰にでも分かるよう手順を残す。
前回はサービス側プログラムの作成と動作確認まで行いましたが、今回はサービス側にリクエストを投げるクライアント側のコマンドプログラムを作ってみたいと思います。
前提
本記事で作成したプログラムの実行は、前回作成したサービスプログラム「ProductsApp」が起動していることを前提としています。「ProductsApp」の作成や起動の方法については、前回の記事を参照下さい。
本記事で作成するプログラムのI/F仕様
引数に指定したURLでサービス側にリクエストを投げ、サービス側からレスポンスされたデータを標準出力します。
>RestClient.exe http://localhost:51585/api/products/1
id: 1 name: Tomato Soup category: Groceries price: 1.0
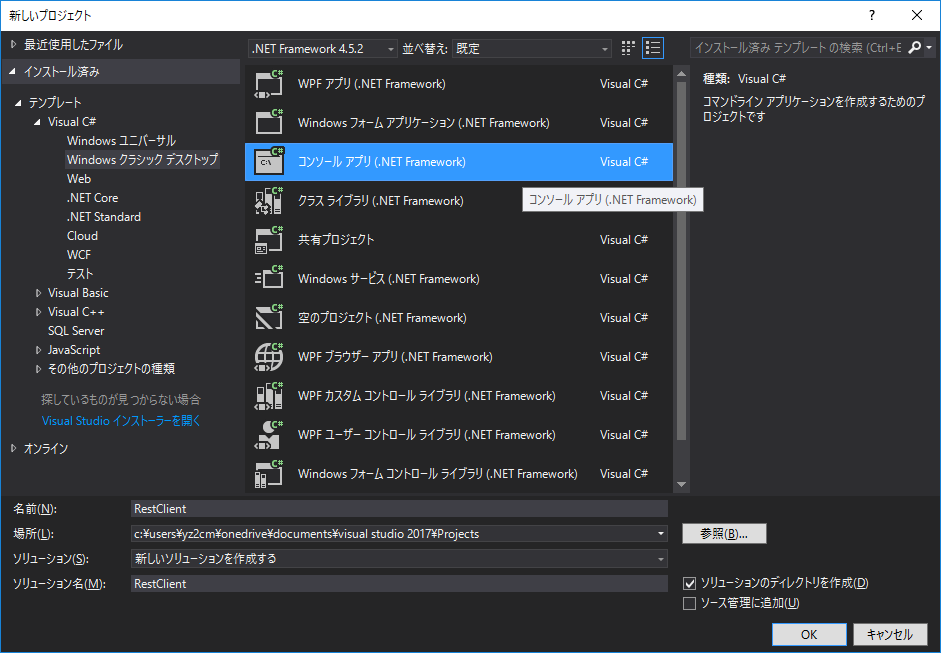
1.プロジェクトの作成
今回はコマンドとして作成するため「コンソールアプリ(.NET Framework)」を選択します。名前は「RestClient」としておきます。
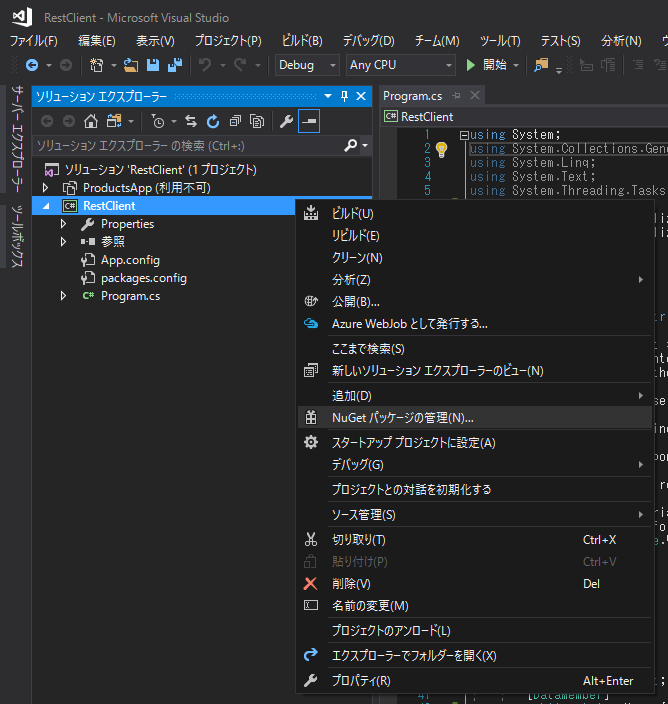
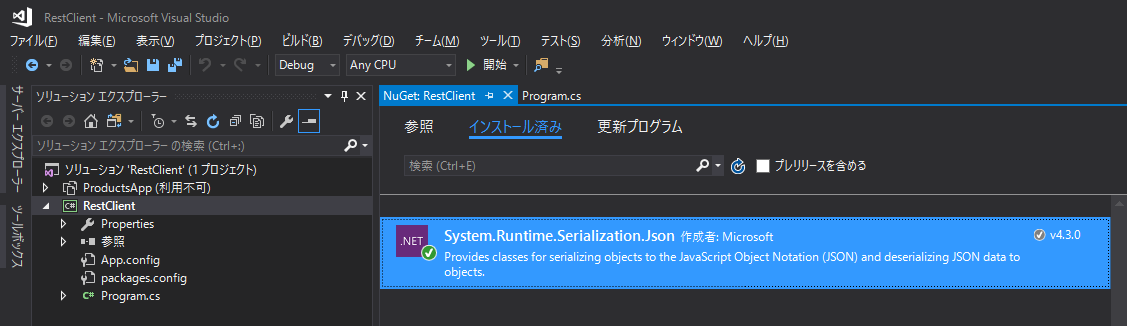
2.JSONシリアライザパッケージのインストール
「NuGet パッケージの管理」から、System.Runtime.Serialization.Jsonをインストールします。
3.プログラムの実装(C#)
以下にソースコードをベタ張りしておきます。HTTPリクエスト、レスポンスのところはメソッド名を見れば、何やってるかはなんとなく分かると思います。
using System;
using System.Collections.Generic;
using System.Linq;
using System.Text;
using System.Threading.Tasks;
using System.Net;
using System.Runtime.Serialization;
using System.Runtime.Serialization.Json;

namespace RestClient
{
    class Program
    {
        static void Main(string[] args)
        {
            var httpRequest = WebRequest.Create(args[0]);
            httpRequest.ContentType = "application/json";
            httpRequest.Method = "GET";

            var httpResponse = httpRequest.GetResponse();
            using (httpResponse)
            {
                using (var resStream = httpResponse.GetResponseStream())
                {
                    var serializer = new DataContractJsonSerializer(typeof(Product));
                    var info = (Product)serializer.ReadObject(resStream);
                    Console.WriteLine("id: {0} name: {1} category: {2} price: {3}",
                        info.Id, info.Name, info.Category, info.Price);
                }
            }
        }
    }

    [DataContract]
    internal class Product
    {
        [DataMember]
        public int Id { get; set; }
        [DataMember]
        public string Name { get; set; }
        [DataMember]
        public string Category { get; set; }
        [DataMember]
        public decimal Price { get; set; }
    }
}
注意点としては、サービス側とのインタフェースとなるクラス(Product)やそのプロパティの名前(Id,Name,Category,Price)は、サービス側で定義した名前に合わせる必要があるということです。大文字/小文字の違いもNGです。
ソースコードを書いたら、ビルドします。
4.動作確認
>RestClient.exe http://localhost:51585/api/products/1
id: 1 name: Tomato Soup category: Groceries price: 1.0
おめでとうございます。
5.配列が返された場合
ところで配列が返ってきた場合、どうするかって?
コード中のProductをProduct[]に修正するだけでOKです。
using (var resStream = httpResponse.GetResponseStream())
{
    //var serializer = new DataContractJsonSerializer(typeof(Product));
    //var info = (Product)serializer.ReadObject(resStream);
    //Console.WriteLine("id: {0} name: {1} category: {2} price: {3}", info.Id, info.Name, info.Category, info.Price);
    var serializer = new DataContractJsonSerializer(typeof(Product[]));
    var info = (Product[])serializer.ReadObject(resStream);
    info.ToList().ForEach( x => Console.WriteLine("id: {0} name: {1} category: {2} price: {3}",
        x.Id, x.Name, x.Category, x.Price));
}
ということで、できました。
>RestClient.exe http://localhost:51585/api/products
id: 1 name: Tomato Soup category: Groceries price: 1.0
id: 2 name: Yo-yo category: Toys price: 3.75
id: 3 name: Hammer category: Hardware price: 16.99
6.プロキシサーバーの資格情報を設定する
リクエストを投げる前に、以下の一文を加えます。
WebRequest.DefaultWebProxy.Credentials = new NetworkCredential("UserName", "Password");
謝辞
HTTPアクセスやJSON解析の方法については、こちらの記事を参考にさせていただきました。
「6.プロキシサーバーの資格情報を設定する」は、こちらの記事を参考にさせていただきました。