1. 概要
Raspberry Pi 3でBitbucketに上げたプログラムをcloneしようとするとエラーがでたので公開鍵を登録したときのメモ。Raspberry Pi 3に限定される訳ではないと思いますが。自分向けのメモとして。
2. 用意するもの
- Raspberry Pi 3
3. 参考サイト
- Set up SSH for Git - Atlassian Documentation
- bitbucket のプライベートリポジトリを clone しようとしたら "Permission denied" って怒られる - sseze's blog
- Bitbucketでssh接続してpushするまで | kazsoga blog
4. 手順
登録せずにgit clone git@bitbucket.org:...しようとすると以下のエラーが出ます。
Warning: Permanently added 'bitbucket.org,104.192.143.2' (RSA) to the list of known hosts.
Permission denied (publickey).
fatal: Could not read from remote repository.

Please make sure you have the correct access rights
and the repository exists.
そこで公開鍵を登録します。
4.1 公開鍵の生成
Raspberry Piのターミナルで以下のように打ち込みます。
cd .ssh/

ssh-keygen -t rsa
以下のような質問に答えると生成されます。
Enter file in which to save the key (/home/pi/.ssh/id_rsa):
Enter passphrase ( empty for no passphrase):
Enter same passphrase again:
4.2 公開鍵の登録
cat ~/.ssh/id_rsa.pubで表示されます。
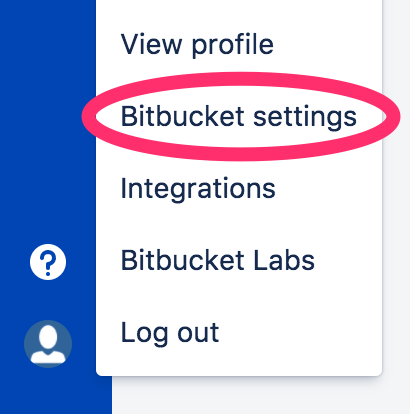
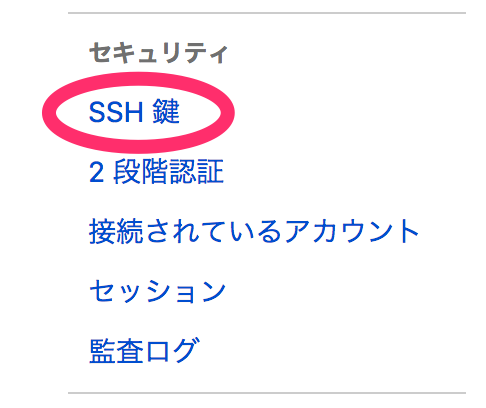
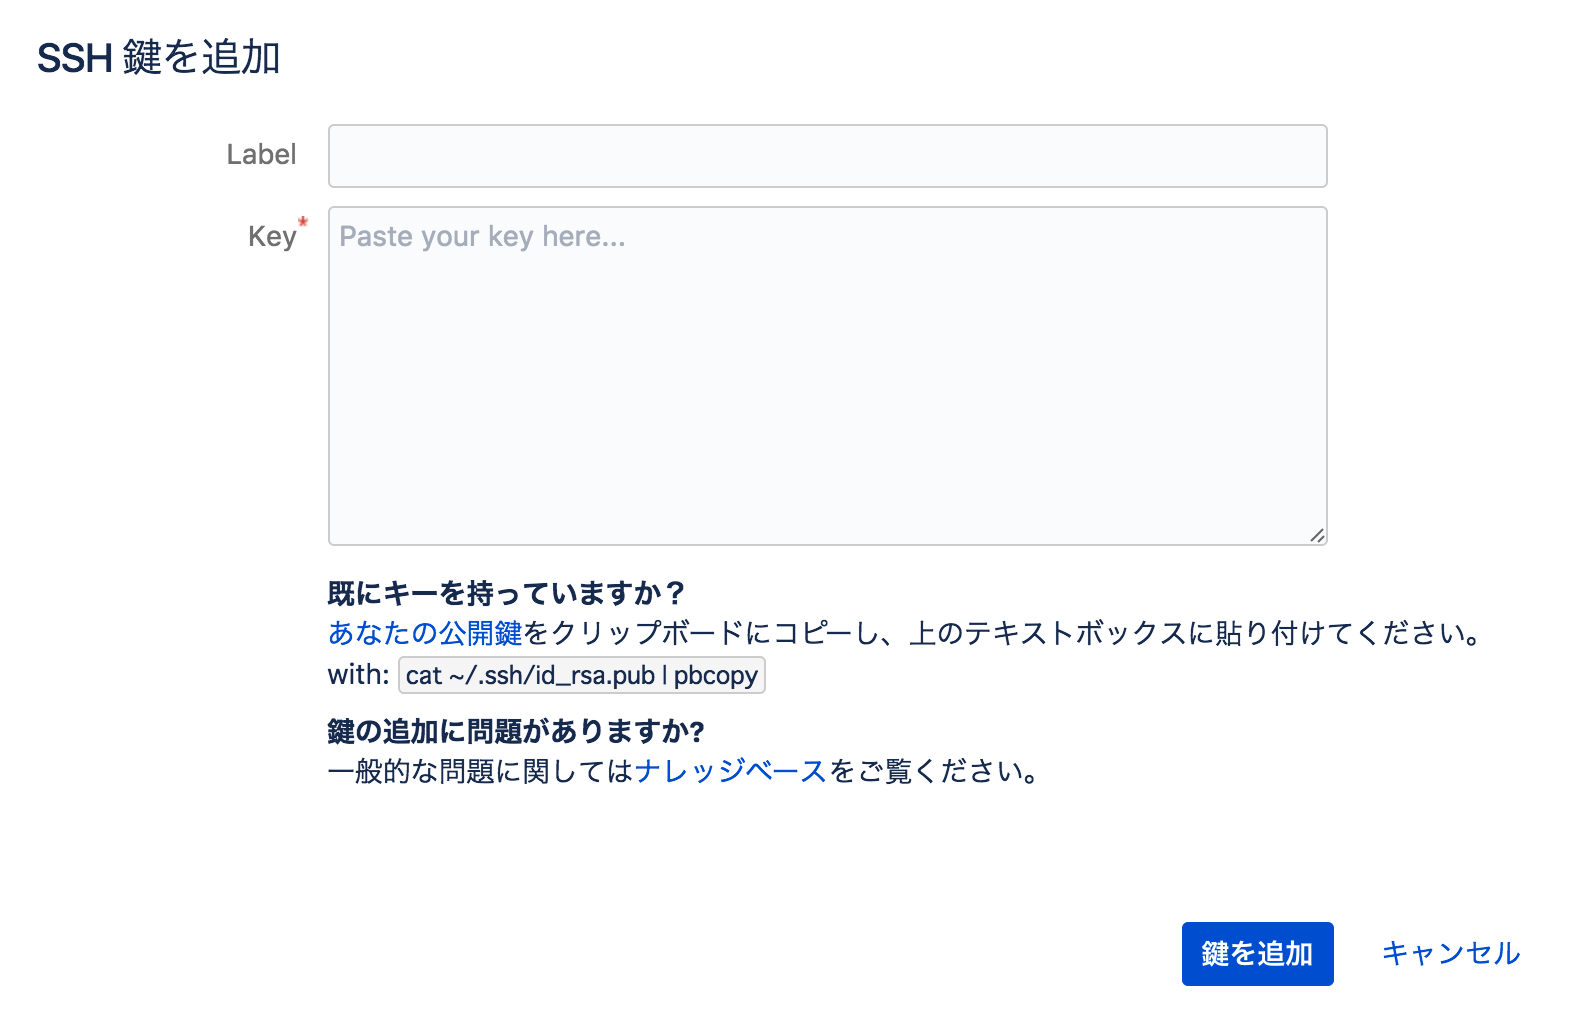
Raspberry PiのブラウザでBitbucketにログインし、左下のアイコンのbitbucket settingsからSSH鍵というメニューに入り、「鍵を追加」を押します。
先程ターミナル上に表示されたキーをコピーして貼り付けます。Labelのところは分かりやすい名前をつければいいと思います。今回は「Raspberry Pi 3」にしました。
これで再度git cloneできるかを確かめます。


