1. 概要
Arduinoに接続されているNeoPixelを光らせるためのデータをoFから送るというプログラムを作成している。しかし、上手く動かないためにoF側でもArduinoがちゃんとデータを受け取れているのか見たい。そこでArduinoでSerial.println();したデータをoFで表示するプログラムを作成したので、その部分をメモしておく。
2. 用意するもの
- Arduino UNO (今回はDuemilanoveを使用)
- NeoPixel (今回はLEDが19個つながっているものを使用)
- PC (MacBook Pro(Retina, 13-inch, Mid 2014) & macOS Sierra 10.12.3)
- Arduino IDE 1.8.1
- openFramewokrs v0.9.8
3. 参考サイト
3.1 oF参考サイト
-
Serial read string from Arduino - 【oF】openFrameworks
- このページ以外にもいろいろなサンプルが載っていて便利そう
-
I touchs: openFrameworks: Serial Read String From Arduino Simulated Sensor
- 1.のサイトを実装したもの
-
oF: HT16K33をopenFrameworksから制御する - Qiita
- シリアル送信の参考にした
-
serial.writeBytes(writeByte, writerSerial.length() + 1);をserial.writeBytes(writeByte, writerSerial.length());に変更した - 私の場合は、載っている通りだとデータが2回送られてしまっていた。
-
ofSerial | openFrameworksでは
+ 1されていな気がしたので
3.2 Arduino参考サイト
-
ArduinoでNeoPixelのLEDを使ってみる。–あかさたな
- NeoPixelのプログラムの参考に
-
How do I receive an entire string as opposed to 1 character at a time on the arduino? - Electrical Engineering Stack Exchange
- 指定の文字(\0)まで読み込むプログラムの参考に
-
arduinoでカンマ区切りのシリアル通信(入力) - なすぶろぐ
- カンマ区切りで文字列を分ける参考に
4. プログラム
4.1 oF側のプログラム
NeoPixelを点灯させるためのデータ形式を「R,G,B,Brightness;」として、キーボードから送信する。
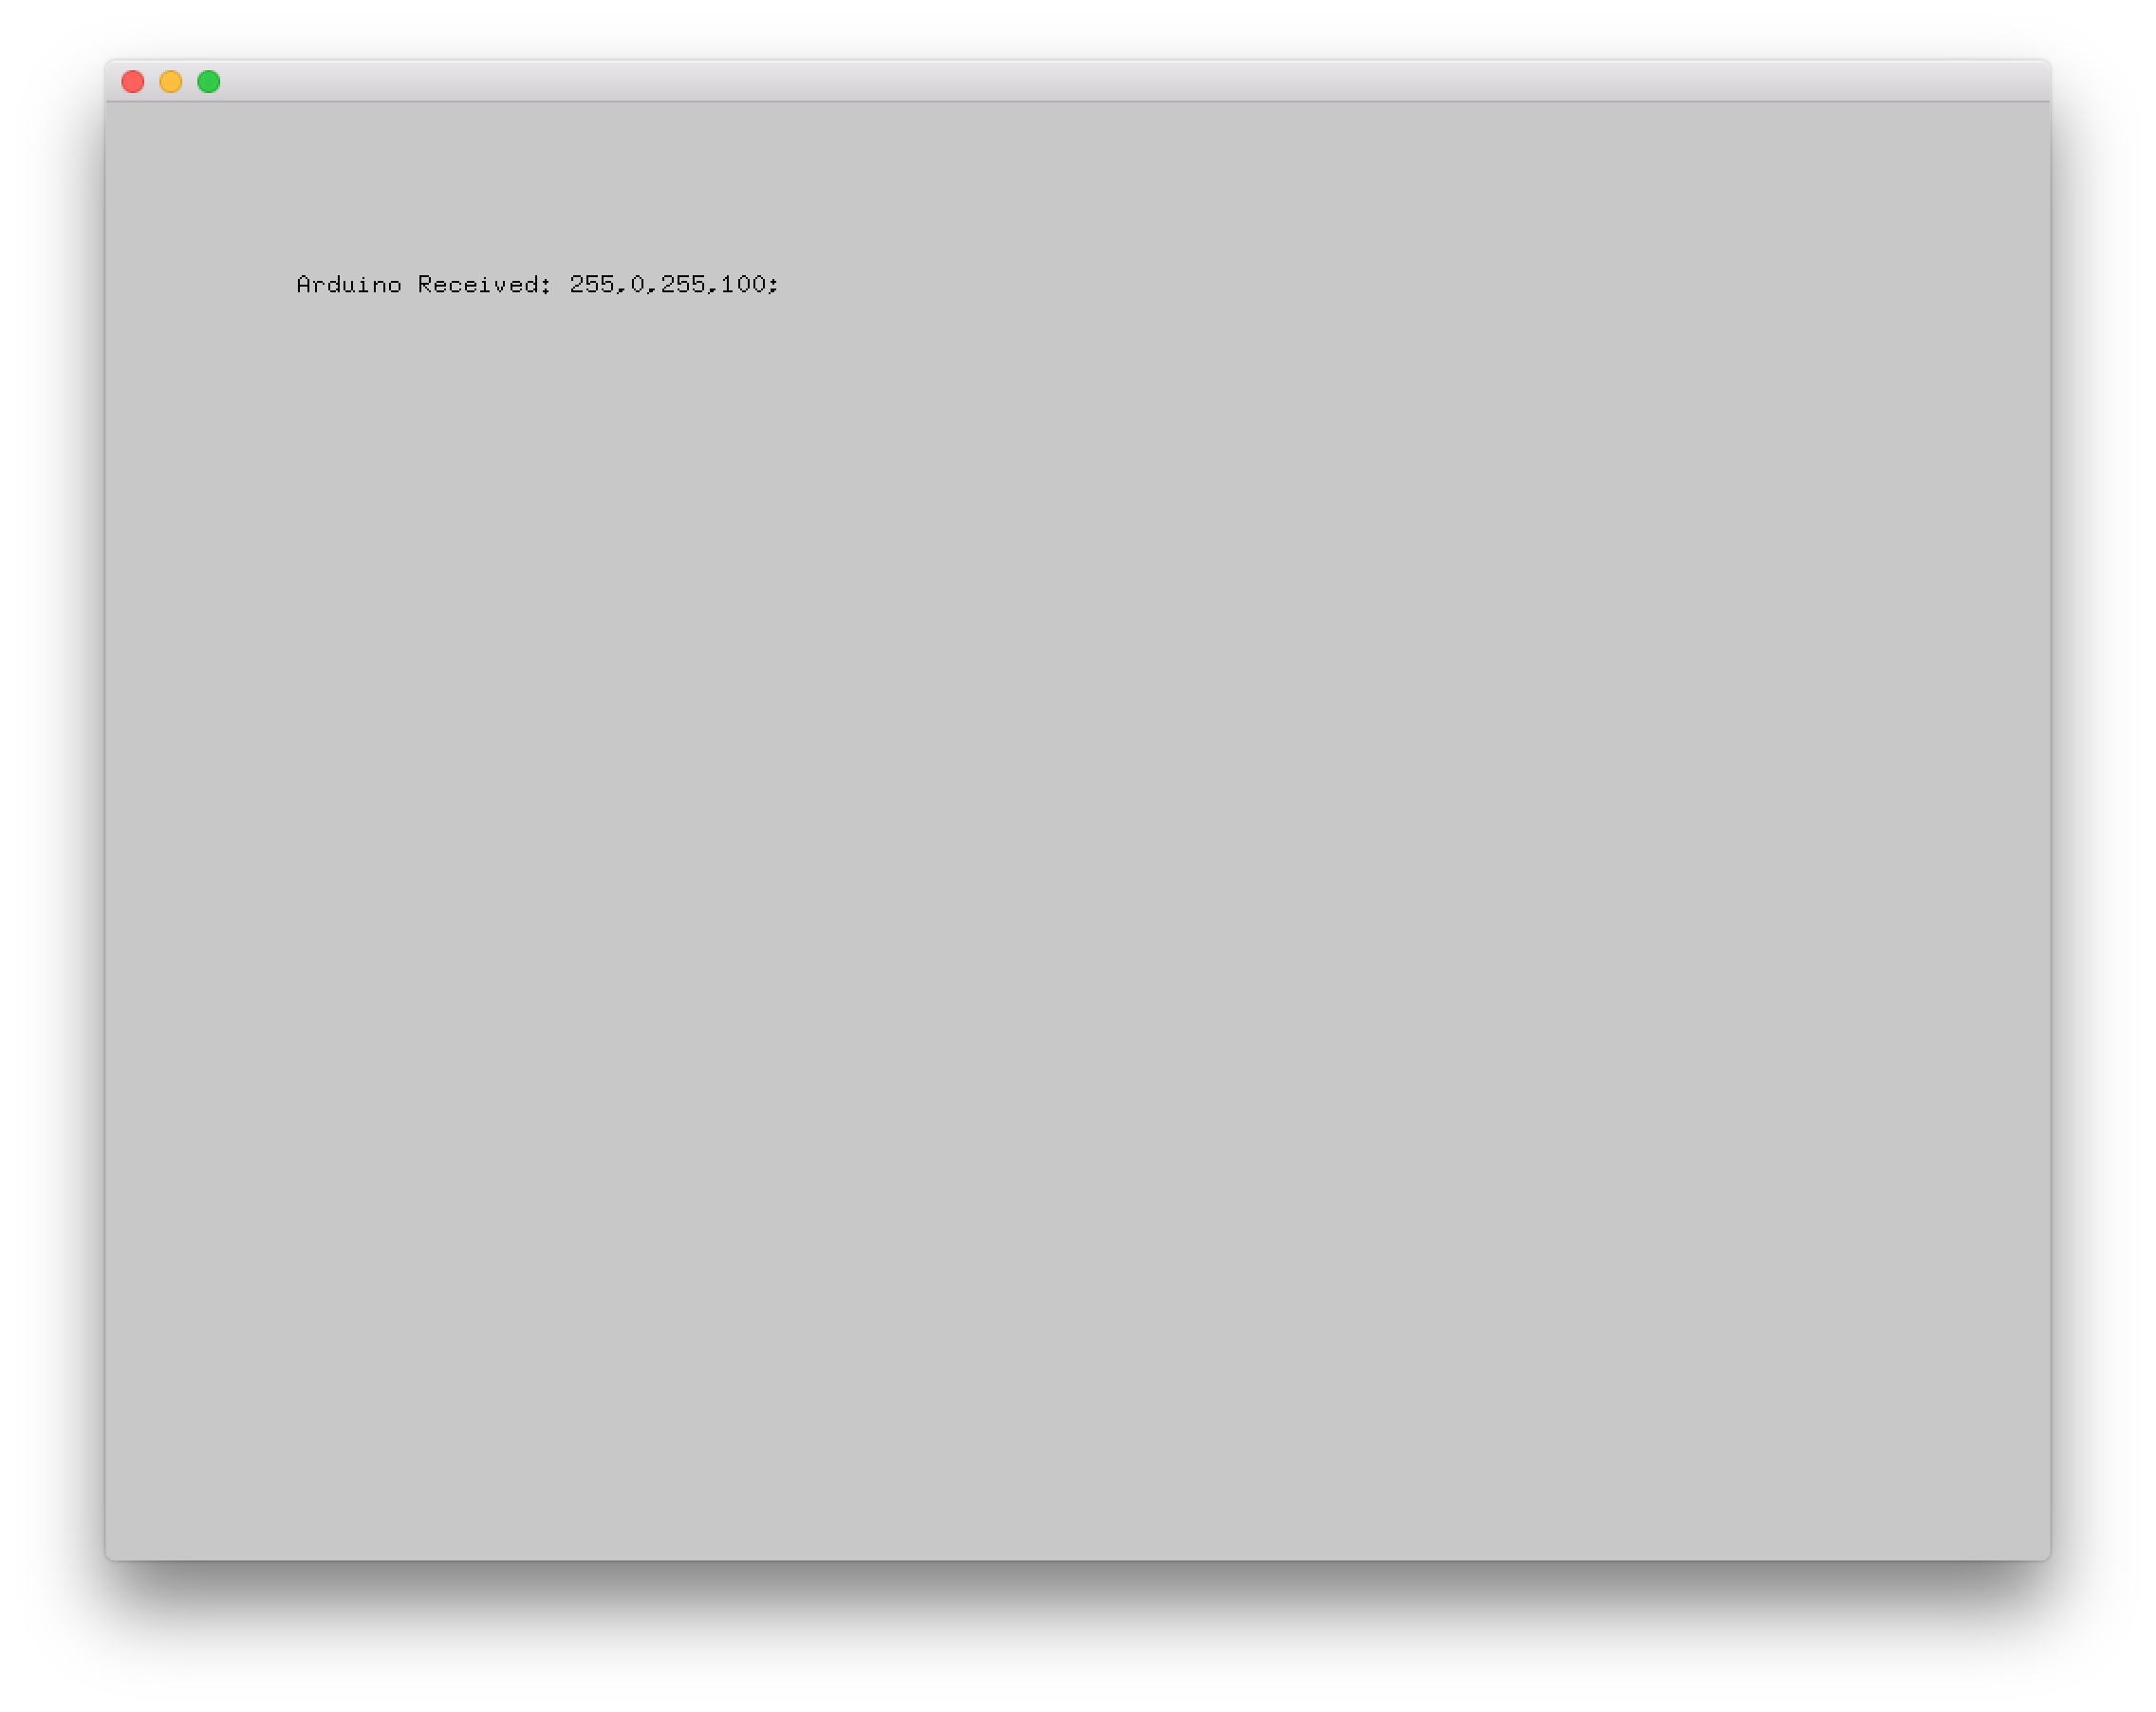
Arduinoからのデータを画面に表示する。
ofApp.h
#pragma once

#include "ofMain.h"

class ofApp : public ofBaseApp{

    public:
        void setup();
        void update();
        void draw();

        void keyReleased(int key);

    // ofSerial
    ofSerial    serial;

    string ofxGetSerialString(ofSerial &serial, char until);
    string ofxTrimStringRight(string str);
    string ofxTrimStringLeft(string str);
    string ofxTrimString(string str);
    string str;
    string msg;

};
ofApp.cpp
#include "ofApp.h"

//--------------------------------------------------------------
void ofApp::setup(){
    ofSetFrameRate(60);

    // ofxSerial
    serial.setup("/dev/cu.usbserial-A600euN6", 9600);

}

//--------------------------------------------------------------
void ofApp::update(){

    str = ofxGetSerialString(serial, '\n');
    if (str.length() > 0) {
        msg = str;
    }

}

//--------------------------------------------------------------
void ofApp::draw(){

    ofSetColor(0);
    ofDrawBitmapString(msg, 100, 100);

}

string ofApp::ofxGetSerialString(ofSerial &serial, char until) {
    static string str;
    stringstream ss;
    char ch;
    int ttl=1000;
    while ((ch=serial.readByte())>0 && ttl-->0 && ch!=until) {
        ss << ch;
    }
    str+=ss.str();
    if (ch==until) {
        string tmp=str;
        str="";
        return ofxTrimString(tmp);
    } else {
        return "";
    }
}

// trim trailing spaces
string ofApp::ofxTrimStringRight(string str) {
    size_t endpos = str.find_last_not_of(" \t\r\n");
    return (string::npos != endpos) ? str.substr( 0, endpos+1) : str;
}

// trim trailing spaces
string ofApp::ofxTrimStringLeft(string str) {
    size_t startpos = str.find_first_not_of(" \t\r\n");
    return (string::npos != startpos) ? str.substr(startpos) : str;
}

string ofApp::ofxTrimString(string str) {
    return ofxTrimStringLeft(ofxTrimStringRight(str));;
}


//--------------------------------------------------------------
void ofApp::keyReleased(int key){
    if( key == '1') {
        string writerSerial = "0,0,0,0;";
        cout << "writerSerial" << writerSerial << endl;
        unsigned char* writeByte = (unsigned char*) writerSerial.c_str();
        int result = serial.writeBytes(writeByte, writerSerial.length() + 1);    }
    else if( key == '2') {
        string writerSerial = "100,100,100,100;";
        unsigned char* writeByte = (unsigned char*) writerSerial.c_str();
        int result = serial.writeBytes(writeByte, writerSerial.length() + 1);
    }
    else if( key == '3') {
        string writerSerial = "255,0,255,100;";
        unsigned char* writeByte = (unsigned char*) writerSerial.c_str();
        int result = serial.writeBytes(writeByte, writerSerial.length() + 1);
    }
}
4.2 Arduino側のプログラム
oFからのデータを終端文字\0区切りで受け取り、その後,と;でRGB,Brightnessに分ける。
test.ino
#include <Adafruit_NeoPixel.h>
#define PIN            6   //Arduinoで使うピン
#define NUMPIXELS      19   //LEDの数。

Adafruit_NeoPixel pixels = Adafruit_NeoPixel(NUMPIXELS, PIN, NEO_GRB + NEO_KHZ800);

int numBlue = 0;
int numGreen = 0;
int numRed = 0;
int numBrightness = 0;

String inData;

void setup() {
  pixels.begin(); // ライブラリ使用開始
  Serial.begin(9600);
  color(10,10,10,100);
}

void loop() {
  if(Serial.available()>0){

    char recieved = Serial.read();
    inData += recieved;

    if (recieved == '\0')
    {
      Serial.print("Arduino Received: ");
      Serial.println(inData);

      numRed = atoi(strtok(inData.c_str(),",")); // .c_str()でString->char変換、strtokでカンマ区切りで分割、atoiでchar->int変換
      numGreen = atoi(strtok(NULL,","));
      numBlue = atoi(strtok(NULL,","));
      numBrightness = atoi(strtok(NULL,";"));

      color(int(numRed),int(numGreen),int(numBlue), int(numBrightness));

      inData = ""; // Clear recieved buffer
    }
  }
  pixels.show();
}


void color(int cred, int cgreen, int cblue, int brightness) {
  pixels.setBrightness(brightness);
  for(int i=0; i < NUMPIXELS; i++){
    pixels.setPixelColor(i,pixels.Color(cred,cgreen,cblue));
  }
}
5.実行結果
Arduinoにプログラムを書き込むとNeoPixelが白く光る。
oFのプログラムを実行し、キーボードを押すとNeoPixelの色が変わり、実行画面にArduinoからのデータが表示される。
