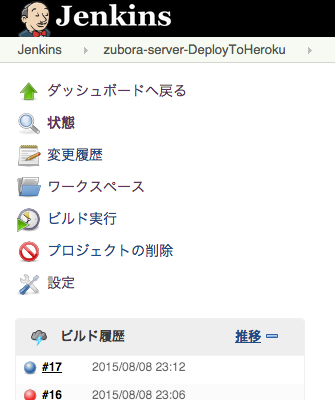
Jenkinsを使って、ローカルの変更をリモートのdevelopブランチへpushした段階で、ボタン一つでHerokuへデプロイしてくれる環境を作った。
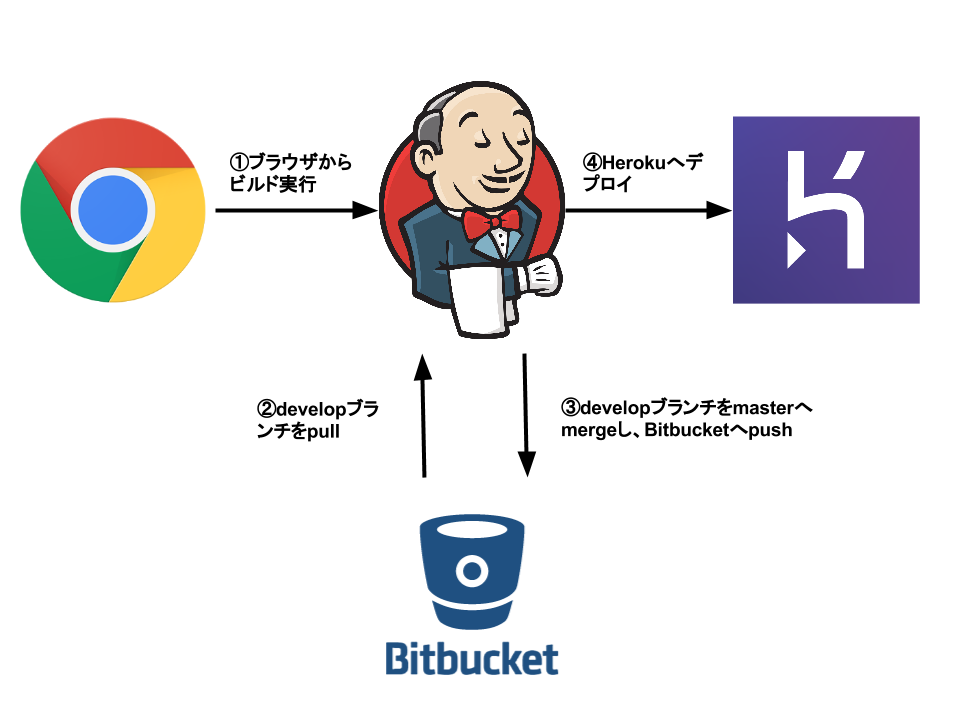
構成はこんなかんじ。

Jenkinsはすでにインストール済みで、Gitプラグインが導入されているのが前提。
ソースのリポジトリはBitbcketを使用。
JenkinsはCentOSで動いている状態。
Jenkinsユーザの設定変更
yumでjenkinsをインストールした場合、デフォルトではコマンドラインでjenkinsユーザに切り替えられないため、/etc/passwdを以下のように書き換える。
jenkins:x:496:497:Jenkins Continuous Build server:/var/lib/jenkins:/bin/bash
heroku toolbeltのインストール
heroku toolbeltをインストールして、herokuへloginする。
$ su - jenkins
$ wget -O- https://toolbelt.heroku.com/install-ubuntu.sh | sh

# .bash_profileに設定を追加
$ echo 'PATH="/usr/local/heroku/bin:$PATH"' >> ~/.bash_profile
$ source ~/.bash_profile

$ heroku login
# Email:
# Password:
# Authentication successful.
Jenkinsの設定
事前準備
ブラウザからherokuデプロイ用のプロジェクトを作っておく。
コマンドラインから以下のコマンドを実行しておき、gitのherokuのリポジトリの設定をしておく。
$ su - jenkins
$ cd workspace/<your-project>
# herokuのgitリポジトリを指定
$ heroku git:remote -a <your-app>
Jenkinsプロジェクトの設定
Jenkinsプロジェクトの設定からデプロイ用の設定を記述する。
Bitbucketからdevelopブランチを取得してくるところは以下のURLを参照。
Bitbucketのprivate repositoryとJenkinsの連携について
シェルの実行のシェルスクリプトをこんな感じで書く。
git checkout develop
git pull --rebase origin develop

git checkout master
git merge develop

# masterブランチをリポジトリにpush
# origin(git@bitbucket.org:xxx/xxx.git)でpushすると"deployment key is read-only."で失敗するので、httpsでpushする。
# パスワードの入力が求められるので、expectで実行する。
expect -c "
spawn git push https://<your-name>@bitbucket.org/<your-name>/<your-project>.git master
expect \"Password:\"
send \"<your-password>\"
"

# heroku へデプロイ
git push heroku master
Hubot と Jenkins をつかって heroku への Deploy 環境を用意した
Bitbucket git push as user
対話式のコマンドをスクリプト化する方法
ここまでの設定を行いビルドを実行すると、Bitbucketからdevelopブランチを取得して、masterブランチへmergeし、Bitbucketへmasterブランチをpushした後、herokuへデプロイしてくれる。
追記:expectでBitbucketのmasterにpushしている箇所が上手くいっていなかったみたい。なにかよいやり方があるだろうか?
herokuコマンドの実行
デプロイ後にherokuのrunコマンドなどをたたきたい場合は、Heroku Plugin for Jenkinsを導入する。
Jenkinsの管理 > プラグインの管理からHeroku Plugin for Jenkinsをインストールする。
※プラグインの管理メニューのフィルターにherokuと打ち込めば表示されるはず。
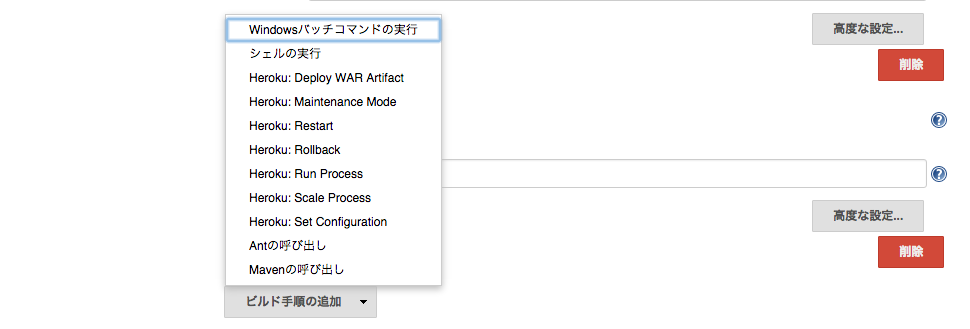
インストールすると、Jenkinsプロジェクトの設定のビルド後の手順の追加にHeroku用のメニューが追加される。
AppName、Command、高度な設定からAPI Keyなどの情報を設定すれば任意の処理が実行される。


