概要
Xming X Server for Windows を利用して、Windows10 から Raspberry Pi のGUI環境を使えるようにします。
Raspberry Pi のHDMI出力を使わず、Windows10からGUI操作することができます。
Raspberry Pi の設定
Raspberry Pi 側の設定として、最低限下記の設定を行う必要があります。
 $ sudo vi /etc/lightdm/lightdm.conf
    [SeatDefaults]
    #xserver-allow-tcp=false
    xserver-allow-tcp=true

    [XDMCPServer]
    #enabled=false
    enabled=true
Xming のインストール
Windows10にて、https://osdn.jp/projects/sfnet_xming/ から Xming-6-9-0-31-setup.exe をダウンロードしてインストールします。
Xming の設定
スタートメニューから XLaunch を起動します。
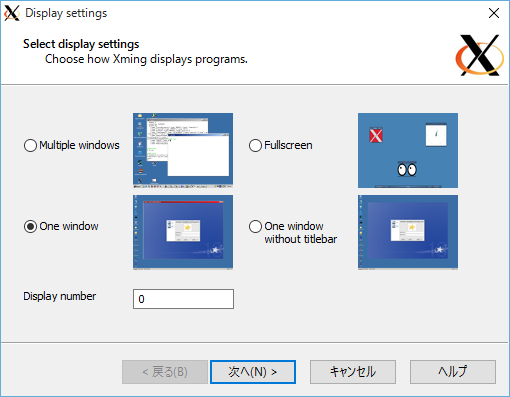
「One Window」を選択して次へ進みます。
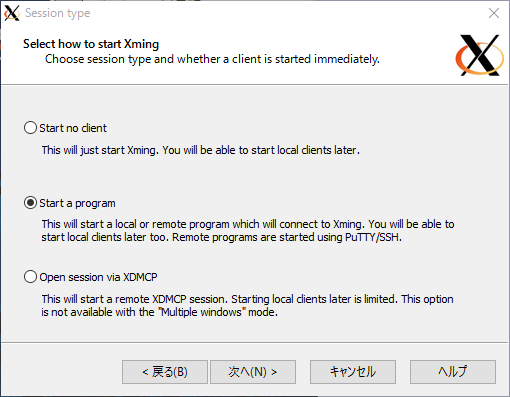
「Start a program」を選択して次へ進みます。
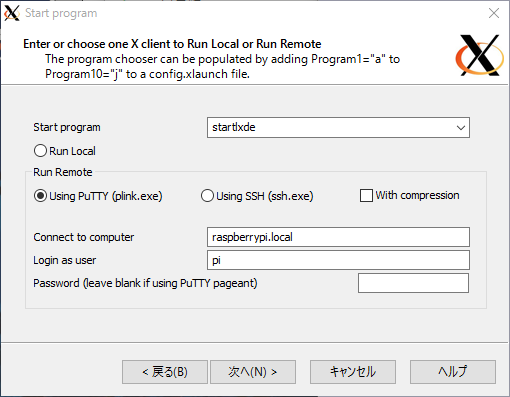
Start program に「startlxde」を入力し、「Using PuTTY(plink.exe)」を選択します。
Connect to computer に Raspberry PiのIPアドレスなどを入力します。
Login as user にログインユーザ名を入力します。
次へ進みます。
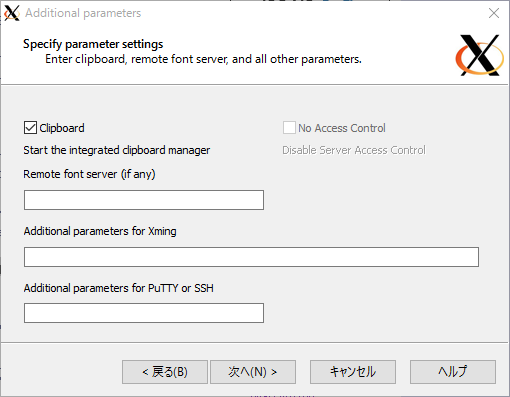
デフォルトのまま次へ進みます。
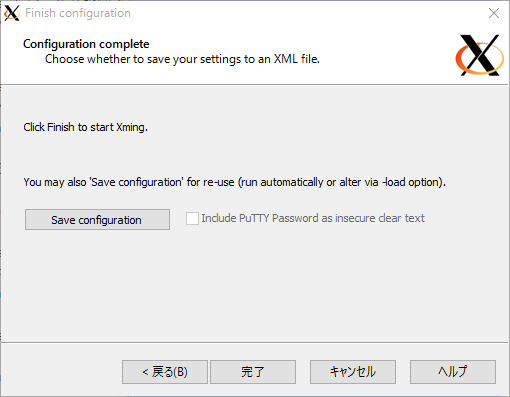
Save configuration を押して、設定ファイルを保存しておきます。
完了を押すと、Xming が起動します。
2回目以降は、先ほど保存した設定ファイルから起動することができます。
Raspberry Pi のGUIを使う
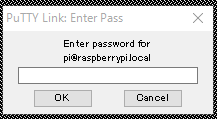
ログインユーザのパスワードを入力し、OKを押します。
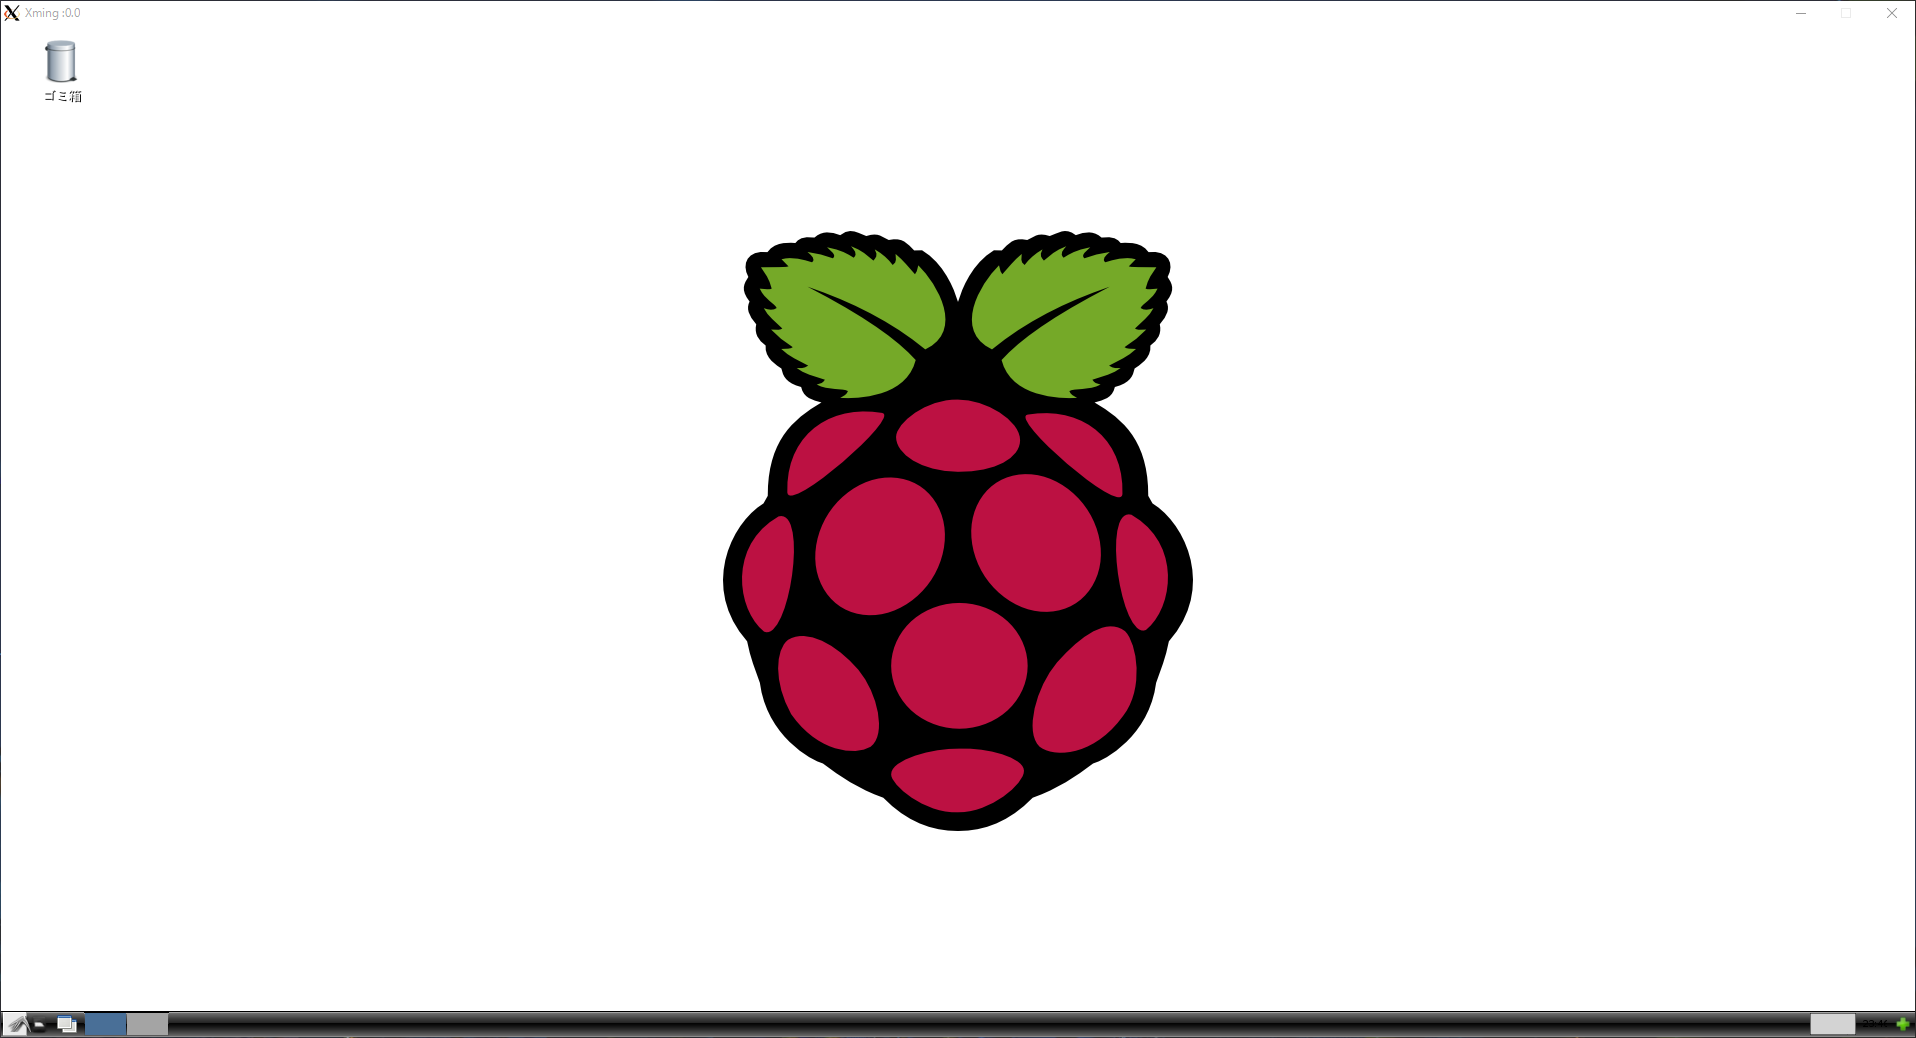
無事 Raspberry Pi のGUIが表示されたら完了です。