ゲームとかで画像がぐわぁ〜っと大きくなっていくときありますよね!?
iOSだとSpriteKitのようなゲーム開発のフレームワークだとUIKitに比べ比較的簡単に実装できるイメージだった僕。そんな中、じゃあUIKitでどうやるんだと考え始めたのでとりあえず作ってみました。
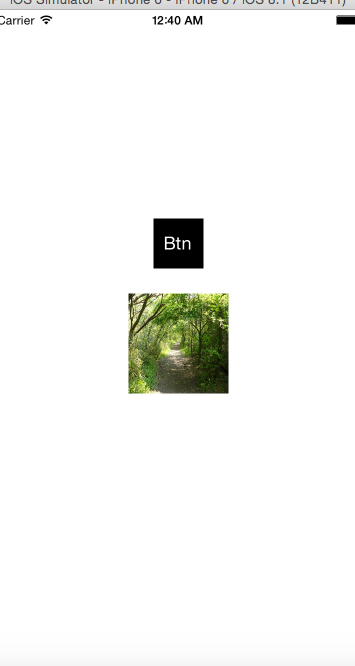
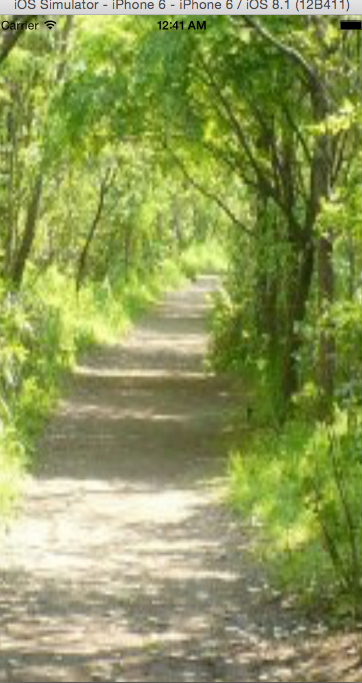
実装内容は、ボタンを押すと画像がぐわぁ〜と大きくなり画面いっぱいに大きくなると処理を止める実装になっています。
実装内容
ViewController.swift
import UIKit

class ViewController: UIViewController {

    var image: UIImage = UIImage(named: "background.jpeg")!
    var ImageView: UIImageView = UIImageView(frame: CGRectMake(0, 0, 20, 20))
    var button: UIButton!

    var countNum = 0
    var timer = NSTimer()
    var timeRanning = false

    override func viewDidLoad() {
        super.viewDidLoad()
        ImageView.image = image
        ImageView.layer.position = CGPoint(x: self.view.bounds.width / 2,y: self.view.bounds.height / 2)

        button = UIButton()
        button.frame = CGRectMake(0, 0, 50, 50)
        button.backgroundColor = UIColor.blackColor()
        button.layer.position = CGPoint(x: self.view.bounds.width / 2,y: self.view.bounds.height / 2 - 100)
        button.setTitle("Btn", forState: .Normal)
        button.addTarget(self, action: "onClickButton:", forControlEvents: .TouchUpInside)
        self.view.addSubview(button)


    }
    func onClickButton(sender: UIButton){
        if timeRanning == false{
            timer = NSTimer.scheduledTimerWithTimeInterval(0.05, target: self, selector: Selector("update"), userInfo: nil, repeats: true)
            timeRanning = true
        }

    }
    func update(){
        countNum++
        if(countNum < 200){
            ImageView.transform = CGAffineTransformMakeScale(0.5 * CGFloat(countNum), 0.5 * CGFloat(countNum))
            ImageView.removeFromSuperview()
            self.view.addSubview(ImageView)
            println("\(countNum)")
        }else{
            timeRanning = false
        }

    }


}
参考動画をみてscheduledTimerWithTimeIntervalの第一引数の数がポイントだと感じたので簡単に解説をします。例えば第一引数が1の場合は1秒ごとにupdate()を呼び出す。つまりは、scheduledTimerWithTimeIntervalの第一引数の値が大きければ画像が大きくなる速度は遅くなり、小さければ画像が大きくなるスピードが速くなります。
細かな解説は参考にした動画の方が参考になると思いますので、以下の参考からみてください。
完成
森の中バトルシーンへとシフトする際のアニメーションをイメージして作ってみました。
画像がぐわぁ〜っと規定の大きさまできたら道からモンスターがぐわぁ〜んと出現するのも面白いかもですね笑