はじめに
KitematicからDockerを試してみるメモ。このメモのゴールとしてはnginx起動してブラウザ表示の確認をする。普段Webアプリを作ってない人でも分かる感じになっている。
OSXやWindowsでDockerを試すときはBoot2dockerを利用するらしいが、KitematicはGUIでDocker環境を試せるのが楽。
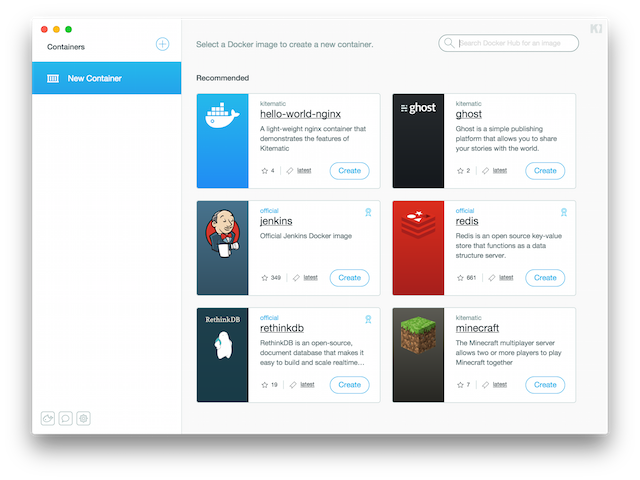
そもそもKitematicはDockerの実行環境となる仮想マシン(VirtualBoxとLinux)をOSXにインストールでき、GUIからDocker Imageをインストールすることができるので、JenkinsやRedisなど予め使いたそうなものが揃っていてすぐ試すことができる。
Macでインストール
Kitematicをインストールする
Kitematicをダウンロードする。
http://docs.docker.com/installation/mac/
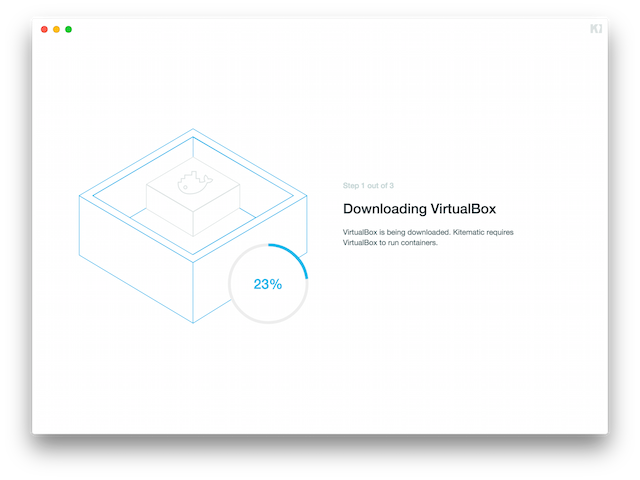
Kitematic-0.5.13.zipをダウンロードし開くとKiteMatic (Beta).appがあるのでアプリケーションディレクトリに移動し実行。
待っていると次のような画面に
コマンドラインで動作確認
バージョン調べる
kitematicでインストールされたdockerのバージョンを調べてみる
$ docker -v
Docker version 1.5.0, build a8a31ef
動作確認
run hello-worldしてみると動作確認できる様子
$ docker run hello-world
出力はエラーっぽい
FATA[0000] Post http:///var/run/docker.sock/v1.17/containers/create: dial unix /var/run/docker.sock: no such file or directory. Are you trying to connect to a TLS-enabled daemon without TLS?
kitematicを再起動しもう一度run hello-world
$ docker run hello-world
Hello from Docker.
This message shows that your installation appears to be working correctly.

To generate this message, Docker took the following steps:
 1. The Docker client contacted the Docker daemon.
 2. The Docker daemon pulled the "hello-world" image from the Docker Hub.
    (Assuming it was not already locally available.)
 3. The Docker daemon created a new container from that image which runs the
    executable that produces the output you are currently reading.
 4. The Docker daemon streamed that output to the Docker client, which sent it
    to your terminal.

To try something more ambitious, you can run an Ubuntu container with:
 $ docker run -it ubuntu bash

For more examples and ideas, visit:
 http://docs.docker.com/userguide/
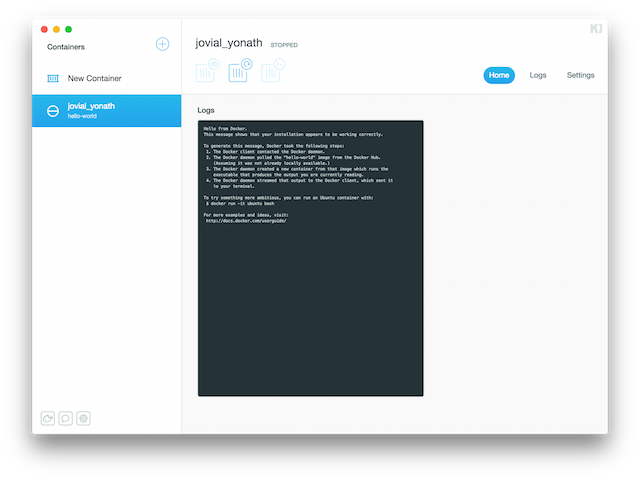
kitematicにも何か表示された
これでdockerにhellow-world的なイメージが実行されたっぽい。
自分の環境ではKitematicを一度再起動しないといけなかったのでそれが注意点。
GUIから動作確認
KitematicのGUIからhello-world-nginxを選ぶ。
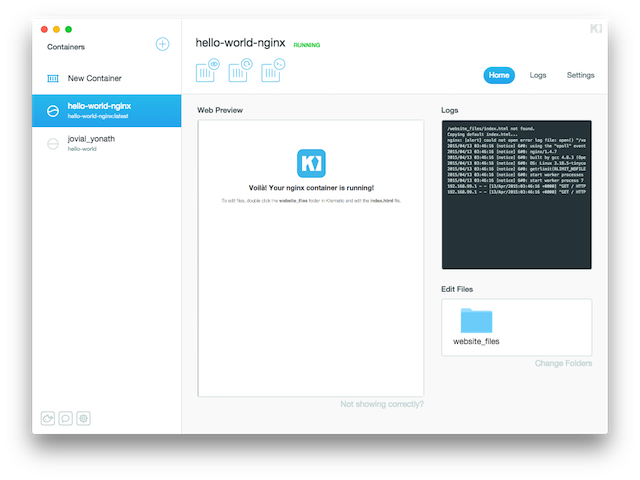
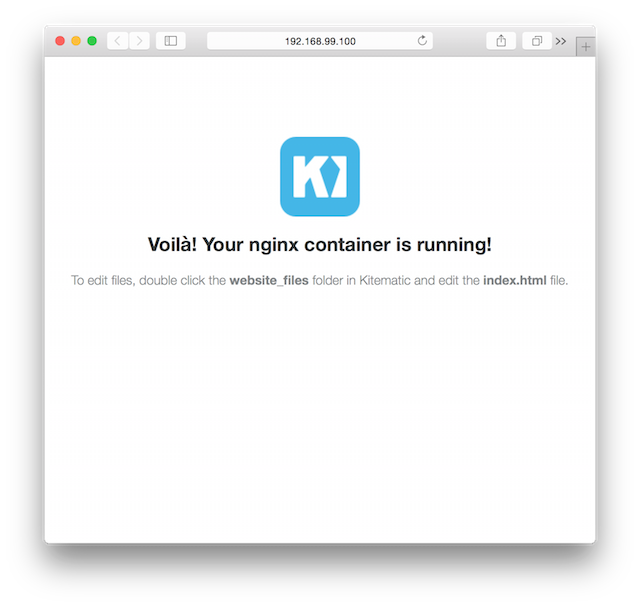
WebPreviewの部分がプレビュー画面になっておりhtmlを表示している。また、この部分はボタンになっており、ここをクリックするとブラウザで確認できる。
ちなみにIPアドレスはGUIでコンテナを選び[Settings]から確認できる。
index.htmlを変更してみる
kitematicの右下にある"Edit Files"にあるwebsite_filesをクリックすると実際のhtmlファイルがあるディレクトリをFinderで開ける。
ちなみにパスは ~/Kitematic/hello-world-nginx/website_files/index.html
<div style="color: #35393B; margin-top: 100px; text-align: center; font-family: HelveticaNeue-Light, sans-serif;">
<img src="https://cloud.githubusercontent.com/assets/251292/5254757/a08a277c-7981-11e4-9ec0-d49934859400.png">
<h2>Voilà! Your nginx container is running!</h2>
<div style="color: #838789;">
<p>To edit files, double click the <strong>website_files</strong> folder in Kitematic and edit the <strong>index.html</strong> file.</p>
</div>
</div>
次のように日本語を入れてUTF-8指定する
<meta http-equiv="Content-Type" content="text/html; charset=UTF-8">
<div style="color: #35393B; margin-top: 100px; text-align: center; font-family: HelveticaNeue-Light, sans-serif;">
<img src="https://cloud.githubusercontent.com/assets/251292/5254757/a08a277c-7981-11e4-9ec0-d49934859400.png">
<h2>Voilà! Your nginx container is running!</h2>
<div style="color: #838789;">
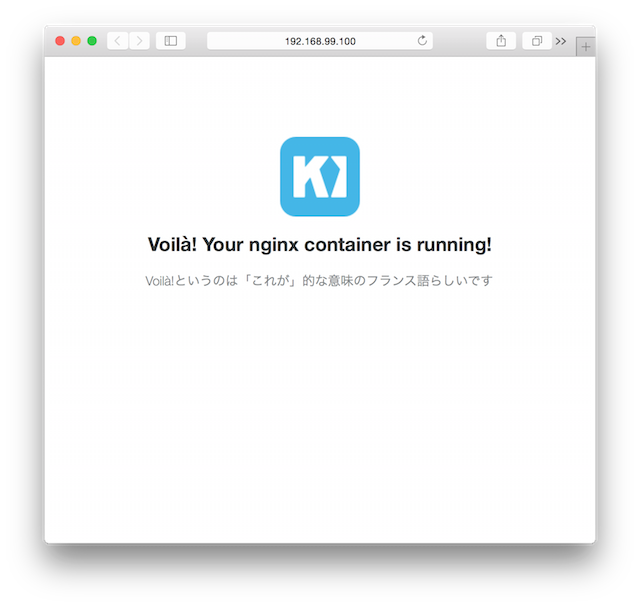
<p>Voilà!というのは「これが」的な意味のフランス語らしいです</p>
</div>
</div>
表示を確認してみる(Web Preview画面は変更されないからブラウザを更新)
index.htmlへの編集が反映されたことが確認できた。
