一般家庭でのIoTを考えた時に、データの流れに着目するとINとOUTがあると思う。
INは情報提供などの機能が該当し、OUTは何らかの情報共有のための機能が該当するのではないだろうか。
INのモデルとしてインターネットに接続された温度計を作ってみたいと思う。これは温度の計測は自前でおこない、ネットからその日の最高最低気温を入手して表示するような代物を考えている。
プラットフォームは以前紹介したFreeBSD/mrubyとArudinoを使う。
mruby on FreeBSDはZRouterビルドしハードオフで購入したAR2315なジャンクルータで動いている。電波法の兼ね合いもあるのでWIFIは使わずEthernetでの接続にしている。
まずmrubyでインターネットからその日の最高最低気温を入手するコードを作ってみる。これはヤフー天気のRSSから拾ってくることにする。
loc = "4410"
# loc = "3530"
h = HttpRequest.new()
r = h.get("http://rss.weather.yahoo.co.jp/rss/days/"+loc+".xml");
s = r.body
pos = s.index('description')
pos = s.index('description', pos+1)
pos = s.index('description', pos+1)
pos = s.index(' - ', pos+1)
npos = s.index('℃', pos+1)
hi = s[pos+3..npos-1]
pos = s.index('/', pos+1)
npos = s.index('℃', pos+1)
lo = s[pos+1..npos-1]
p hi + " " + lo
mrubyには今のところxmlのパーサーが無いようなので、かなり無理矢理スクレイピングしている。これをこらのページに書いたI2Cモジュルを使いArduinoに送るコードは以下のようになる。
t = BsdIic.new(0)
t.write(8,0,hi.to_i)
t.write(8,1,lo.to_i)
p t.read(8,0)
最後の行はおまけで、Arduinoから現在気温を拾っている。
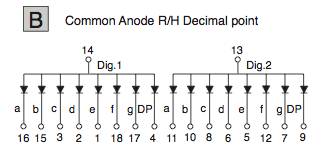
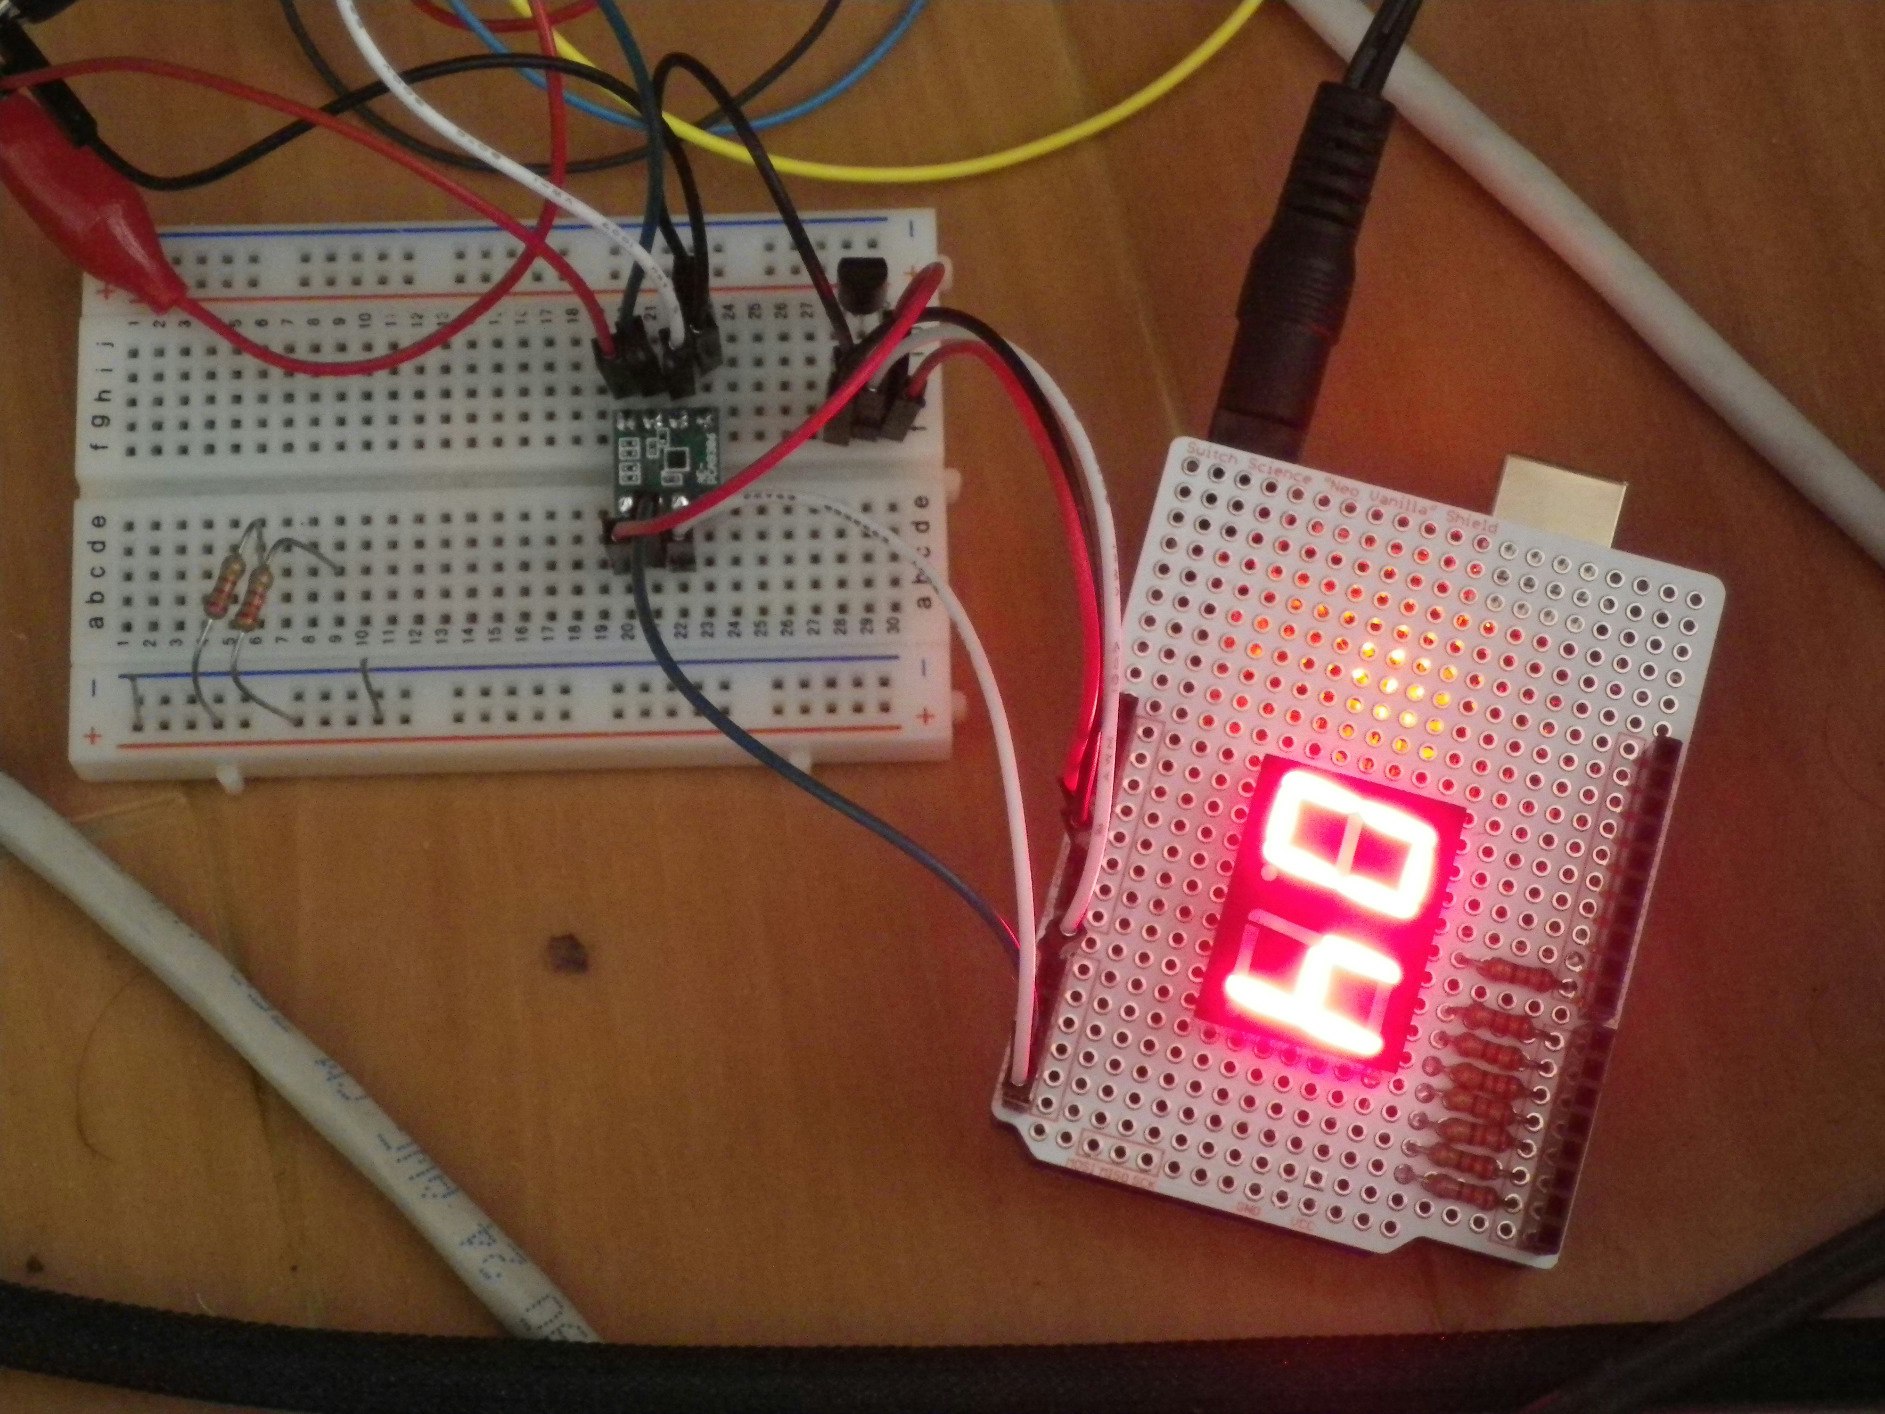
ArudinoはAitendoのびんぼうでいいので温度センサーはLM61で7セグは手元にあったTOD-5261Bという部品を使った。
Arduinoのプログラムは「きむ茶工房ガレージ」さんのI2CのページとLM61のページと「初心者だけど、一歩ずつ Arduino 超小型マイコン電子工作」さんの7セグのページを参考にさせてもらった。
# include <MsTimer2.h>
# include <Wire.h>

//グローバル変数を宣言
int Digit1=0; //左側7セグLED表示用LED
int Digit2=0; //右側7セグLED表示用LED
int Dp;

byte dt[2] ;

int temp;
int hi, lo;

// データを受信すると処理される割込み関数
void receiveEvent(int howMany)
{
  int count = 0;
  while(Wire.available()) {   // 書き込みの時は2バイトで読み込みの時は1バイト
    dt[count] = Wire.read();
    ++count;
  }
  if(count == 2) {
    //書き込みで1バイト目が0が最高気温,1が最低気温
    if(dt[0] == 0) {
      hi = dt[1];
    }
    else {
      lo = dt[1];
    }
  }
}

// データ要求を受信すると処理される割込み関数
void requestEvent()
{
  Wire.write(temp) ;   // LM61で測定した温度を送信
}

//LEDレイアウトを定義
boolean Num_Array[10][7]={
  {
    0,0,0,0,0,0,1    }
  ,{
    1,0,0,1,1,1,1    }
  ,{
    0,0,1,0,0,1,0    }
  ,{
    0,0,0,0,1,1,0    }
  ,
  {
    1,0,0,1,1,0,0    }
  ,{
    0,1,0,0,1,0,0    }
  ,{
    1,1,0,0,0,0,0    }
  ,{
    0,0,0,1,1,1,1    }
  ,
  {
    0,0,0,0,0,0,0    }
  ,{
    0,0,0,1,1,0,0    }
};

//LED表示関数を定義
void NumPrint(){
  static int DigitFlag=2; //表示している桁 1の時は左側、2の時は右側
  int Number;
  if(DigitFlag==1){
    digitalWrite(9,HIGH);
    digitalWrite(10,LOW);
    Number=Digit1;
    DigitFlag=2;
  }
  else{
    digitalWrite(9,LOW);
    digitalWrite(10,HIGH);
    Number=Digit2;
    DigitFlag=1;
  }
  // 数字表示
  for (int w=0; w<=6; w++){
    digitalWrite(w+1,Num_Array[Number][w]);
  }
  // ドット表示
  digitalWrite(8,Dp == DigitFlag ? 0 : 1);
}

//LED2桁表示
//dotは右が1で左が2で無しが0
void NumPrintEx2(int Number, int dot){
  Digit1=Number / 10; //十の位を指定
  Digit2=Number % 10; //一の位を指定 %は余りを計算
  Dp = dot;
}

void setup(){
  //1~8番ピン デジタル出力へセット
  for (int i=1; i<=8; i++){
    pinMode(i,OUTPUT);
  }
  pinMode(9,OUTPUT);
  pinMode(10,OUTPUT);

  MsTimer2::set(10, NumPrint); // 10ms period
  MsTimer2::start();

  Wire.begin(8) ;                    // I2Cの初期化、マイアドレスは8とする
  Wire.onRequest(requestEvent) ;     // 割込み関数の登録
  Wire.onReceive(receiveEvent) ;     // 割込み関数の登録
}

void loop(){
  int ans , tv ;

  ans = analogRead(0) ;              // アナログ0番ピンからセンサー値を読込む
  tv  = map(ans,0,1023,0,5000) ;     // センサー値を電圧に変換する
  temp = map(tv,300,1600,-30,100) ;  // 電圧から温度に変換する

  NumPrintEx2(temp, 0);
  delay(5000);
  NumPrintEx2(hi, 2);
  delay(5000);
  NumPrintEx2(lo, 1);
  delay(5000);
}
現在の気温,最高気温,最低気温の順に表示する。ドットで最低最高気温を表すようにしている。
ルータは3.3V系で、びんぼうでいいのは5V系なので秋月電子で購入したPCA9306を使ったレベル変換モジュールで接続しています。このモジュールにはプルアップ抵抗も入っています。
気温データをインターネットに送る事(OUT)もできますが、利用価値があるアイディアがありません。自分の部屋の温度を他人に知ってもらってもあまり嬉しくないですよね。
IoTってインターネットにつながっているかどうかは意識せずに使われるような物であるのが良いのかなとか思ったりしています。
実はこの仕組みのデータの流れはこちらとほぼ同じなのですが、使っている技術がちょっと違っています。


