この記事はmyThingsハンズオンの参考資料の一部です。
myThingsアプリ上で組み合わせを作成する
下図のように組み合わせを作成します。

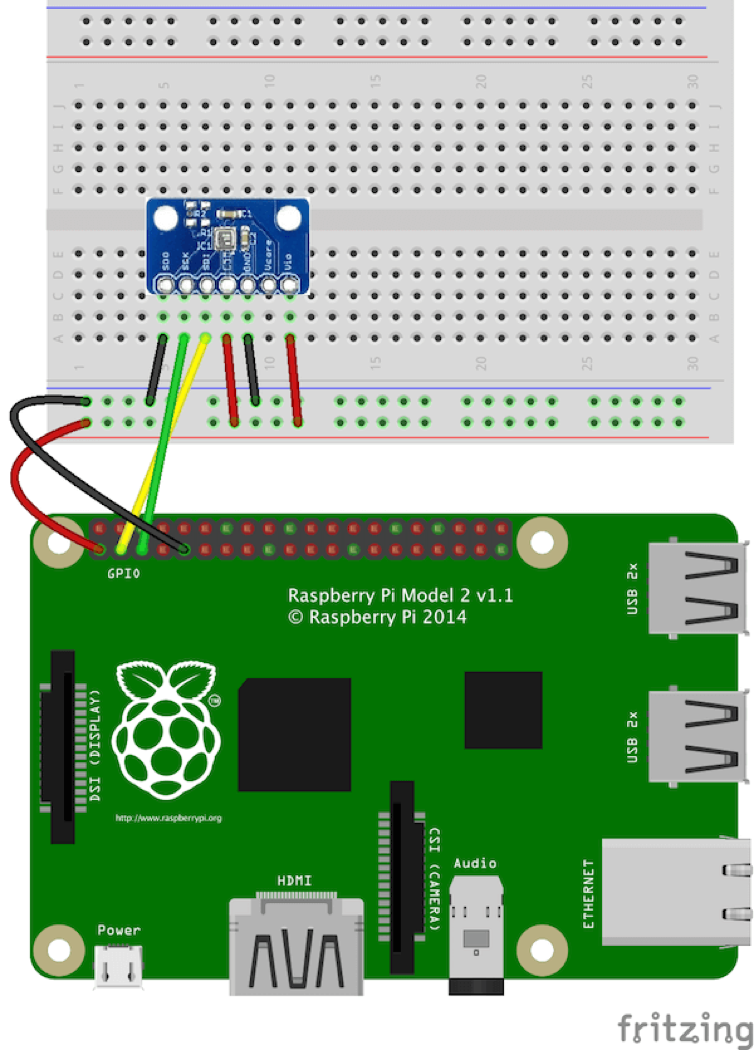
BME280(温度・湿度・気圧センサー)を配線する
ブレッドボード、BME280、ジャンパーワイヤーを使って、下図のように配線してください。
スペースの兼ね合いで消してしまっていますが、シリアル変換アダプターは接続したままとしてください。
配線を確認します
i2cdetectコマンドで配線を確認します
i2cdetect -y 1
以下のように76と表示されれば配線は成功です。
> $ i2cdetect -y 1
     0  1  2  3  4  5  6  7  8  9  a  b  c  d  e  f
00:          -- -- -- -- -- -- -- -- -- -- -- -- --
10: -- -- -- -- -- -- -- -- -- -- -- -- -- -- -- --
20: -- -- -- -- -- -- -- -- -- -- -- -- -- -- -- --
30: -- -- -- -- -- -- -- -- -- -- -- -- -- -- -- --
40: -- -- -- -- -- -- -- -- -- -- -- -- -- -- -- --
50: -- -- -- -- -- -- -- -- -- -- -- -- -- -- -- --
60: -- -- -- -- -- -- -- -- -- -- -- -- -- -- -- --
70: -- -- -- -- -- -- 76 --
サンプルコードをダウンロードする
Githubからサンプルコードをダウンロードします。
mkdir ~/mythings_python_apps
cd ~/mythings_python_apps
git clone https://github.com/IDCFChannel/bme280-meshblu-py
BME280の動作確認を行う
プログラムを実行します。
cd ~/mythings_python_apps/bme280-meshblu-py
python bme280_sample.py
以下のような実行結果になれば成功です。
$ python bme280_sample.py
temp : 29.66  ℃
pressure : 1004.27 hPa
hum :  49.71 %
IDCFチャンネルのトリガーにデータを送信する
プログラムを作成します。{IDCFのIPアドレス}、{trigger-1のuuid}、{trigger-1のtoken}の3箇所を自身の環境に合わせて置換してください。
cd ~/mythings_python_apps/bme280-meshblu-py
sudo vi bme280_trigger.py
# !/usr/bin/python
# -*- coding: utf-8 -*-
from time import sleep
import json
import bme280
import requests
def sensing():
    return bme280.readData()
def main():
    idcp_ip       = "{IDCFのIPアドレス}"
    trigger_uuid  = "{trigger-1のuuid}"
    trigger_token = "{trigger-1のtoken}"

    url = "http://" + idcp_ip + "/data/" + trigger_uuid
    headers = {
        "meshblu_auth_uuid": trigger_uuid,
        "meshblu_auth_token": trigger_token
    }

    while True:
        retval = sensing()
        if retval:
             temperature = retval["temperature"]
             print("temperature: " + temperature)
             if float(temperature) > 27:
                 print("threshold over.")

                 # text1に温度を格納して送信する
                 payload = {"text1":temperature}
                 r = requests.post(url, headers=headers, data=payload)
        sleep(5)
if __name__ == '__main__':
    main()
プログラムを実行します。
python bme280_trigger.py
以下のように5秒間隔で温度が出力されます。BME280に息を吹きかけるなどして27℃を超過させた際に**threshold over.**と表示されれば成功です。
$ python bme280_trigger.py
temperature: 25.43
temperature: 25.41
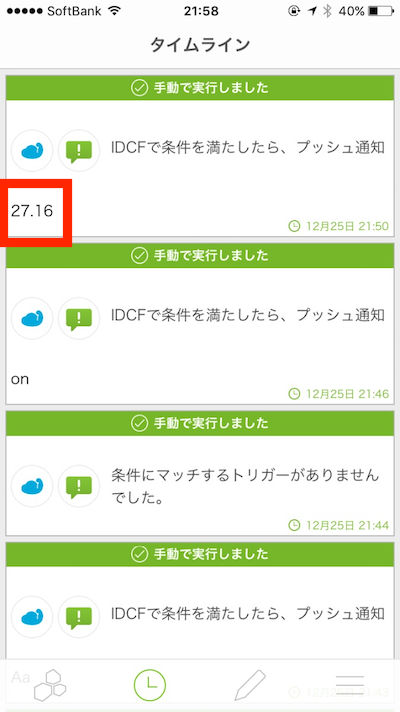
temperature: 27.16
threshold over.
temperature: 26.63
temperature: 26.30
プログラムを停止する場合はCtrl+cで停止します。
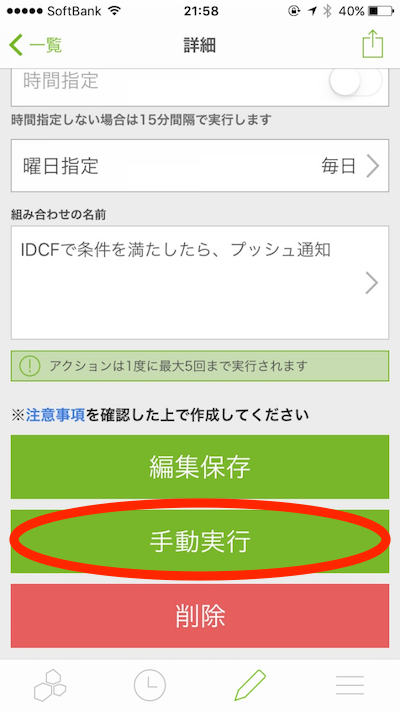
myThingsアプリ上で組み合わせの手動実行を行ってください。
myThingsアプリのタイムラインを確認してください。プログラム中でPOSTリクエストのボディに設定した変数text1の値が、プッシュ通知アクションで設定したメッセージに利用されていることが確認できます。
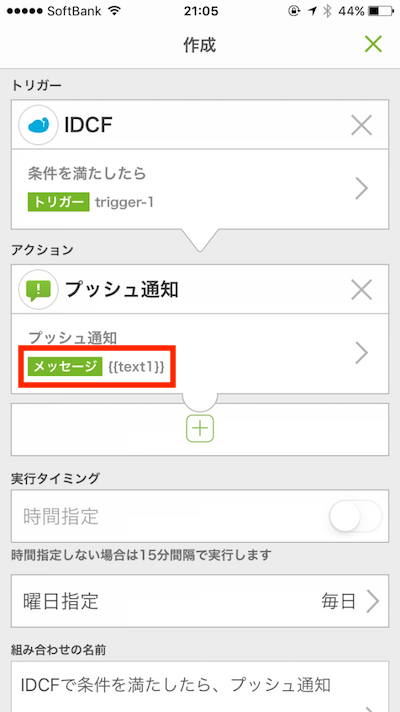
アクションに対して引き渡し可能な変数はtext1、text2、text3、url1、url2、url3の6つです。
課題
myThingsアプリで作成した組み合わせのアクションを他のチャンネルのものに変更してみましょう。
(例えばヤフーメールチャンネルのメールを送信するアクションなど)
組み合わせの設定変更だけで、RaspberryPi側はなにも変更せずに自作デバイスの機能を変えることができます。