Lotusを使った日本で初めてのアプリケーション(Part1)の続き
Part2(ルートの設定)
今回は、基本となるベースルートの作成から、ルーティングの設定について説明して行く。
(環境は前回と同じVagrant環境を使う)
より詳細なことはLotus::Routerを参照。
準備
lotusに書いてあるのを参考に
$ lotus new lotus_blog
$ cd lotus_blog && bundle install
$ lotus server -p 2300 --host=0.0.0.0
をする。そうしたら、http://192.168.33.10:2300/
にアクセスすると
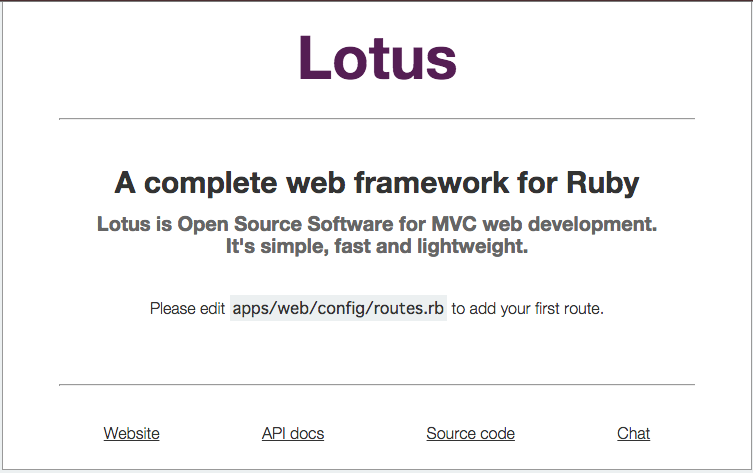
という画面がでる。
基本的なアクセス
ルーティングは基本的に上記のlotus_blogの場合、
lotus_blog/apps/web/config/routes.rbに各種ルーティングの設定をしていく。
例えば、ルートディレクトリのコントローラをlotus_blog/apps/web/controllers/home/index.rbに設定しようとしたら
get '/', to: 'home#index'
と追加する。(getの場合)
他にも、パラメータを受け取りたかったら
get '/article/:id', to: 'home#article'
などとする。
http://192.168.33.10:2300/article/1
にアクセスすると、パラメータ(id=1)を渡すことになる。
また、postアクセスも簡単に
post '/api/tags', to: 'api#tags'
のように指定することができる。(この場合、コントローラの場所はlotus_blog/apps/web/controllers/api/tags.rb)
コントローラの指定
基本的にはMVCの考え方でいいので、各ルートが各コントローラに対応する。
コントローラの指定は、
post '/api/delete/article', to: Web::Controllers::Api::Delete::Article
のように、直にクラスから指定することもできる。
その他に、下記のようなルートの設定方法がある。(Lotus::Router)からの引用
RESTful Resource:
router = Lotus::Router.new
router.resource 'identity'
It will map:
| Verb | Path | Action | Name | Named Route |
|---|---|---|---|---|
| GET | /identity | Identity::Show | :show | :identity |
| GET | /identity/new | Identity::New | :new | :new_identity |
| POST | /identity | Identity::Create | :create | :identity |
| GET | /identity/edit | Identity::Edit | :edit | :edit_identity |
| PATCH | /identity | Identity::Update | :update | :identity |
| DELETE | /identity | Identity::Destroy | :destroy | :identity |
もしも、全てのアクセスポイントが必要でない場合には下記のように個別指定もできる。
router = Lotus::Router.new
router.resource 'identity', only: [:edit, :update]
※ 基本的な部分はRuby on Railsと同じなので、参考にされたし。
※※ より詳細な説明が必要な場合は、Lotus::Routerを参照