CfnClusterとは?
AWS上でクラスタマシンを簡単に構築できるツール
Starclusterの公式版
Getting startedはこちら
環境構築
現在の環境
- ASUS C300
- Chrome OS(linux-64)
- miniconda3-3.18.3
AWS側の準備
AWSのコンソールでユーザを作成する
- 新規ユーザを作成
- ユーザを選択>アクセス許可>ポリシーのアタッチ>AdministratorAccess
他のロールでもいいのかは不明
認証情報>アクセスキーの作成>認証情報のダウンロード
キーペアを作成 > pemファイルをダウンロード
CfnClusterのインストール
- anacondaで仮想環境を構築する
- python 2.7じゃないとダメな様子
conda create -n cfn python=2.7 boto boto3 # 一応、conda公式にあるbotoを入れておく
source activate cfn
pip install cfncluster
configureファイルの生成
(cfn)chronos@localhost / $ cfncluster configure
ウィザード形式で各種情報を入力していく
- Cluster Template: # クラスタマシン名。今回はmycluster
- AWS Access Key ID: #認証情報参照
- AWS Secret Access Key ID: #認証情報参照
- AWS Region ID: #選択肢が表示される。今回はap-northeast-1
- VPC Name: #VPC名なんでもいい 今回はtest
- Key Name: #さっき作った鍵を選択
- VPC ID: #選択肢が表示されるのでその中から選択
- Master Subnet ID: #選択肢が表示されるのでその中から選択
設定したconfigファイルはここに生成してた
~/.cfncluster/config
[aws]
aws_region_name = ap-northeast-1
aws_access_key_id = xxxxxxxxxxxxxxxxx
aws_secret_access_key = xxxxxxxxxxxxxxxxxxxxxxxxxxxxxx

[cluster mycluster]
vpc_settings = test
key_name = xxxxxx

[vpc test]
master_subnet_id = subnet-xxxxxxxx
vpc_id = vpc-xxxxxxxx

[global]
update_check = true
sanity_check = true
cluster_template = mycluster
細かい設定はこちらを参照
使いそうな設定項目
configファイルにの[cluster]セクションの後に追記すればOK
これらの項目は設定しなくてもとデフォルト値で立ち上がる
- master_instance_type:マスターのインスタンスdefaultはt2.micro
- compute_instance_type:計算ノードのインスタンスdefaultはt2.micro
- initial_queue_size: 最初に立ち上がる計算ノードの数。defaultは2
- maintain_initial_size: Auto scalingしないかどうか。デフォルトはfalse(スケーリングする) 感覚と逆なので要注意
- max_queue_size: Auto Scalingするときの最大計算ノード数。defaultは10
-
cluster_type: clusterをondemandでたてるかspotで立てるか。デフォルトはondemand。
spotを指定してもMasterServerはondemand(途中で落ちると困るからね。)
spot_price: cluster_type=spotの時の入札額。defalut=0.00
custom_ami: AMIを指定できる様子
proxy_server: http_proxy server
base_os: defaultはalinux (amazon linux)
下記項目を追加してお試しで立ち上げた
maintain_initial_size = true
initial_queue_size = 1
cluster_type = spot
compute_instance_type = m3.medium
spot_price = 0.02
CfnClusterの使い方
クラスタの起動
(cfn)chronos@localhost / $ cfncluster create mycluster
starclusterと比べるとかなり時間かかる。
1マスター、1計算ノードで20分弱かかっている
内訳はざっくり以下のとおり
- セキュリティ設定: 4min
- マスター立ち上げ: 5min
- スポット入札: 5min
- 計算ノード立ち上げ: 3min
- 後処理: 1min
bidが安すぎて建てられなかった時は、ctrl-xでcfnclusterを止めてもEC2はゾンビ化する。
cfncluster delete myclusterできちんと止めること。
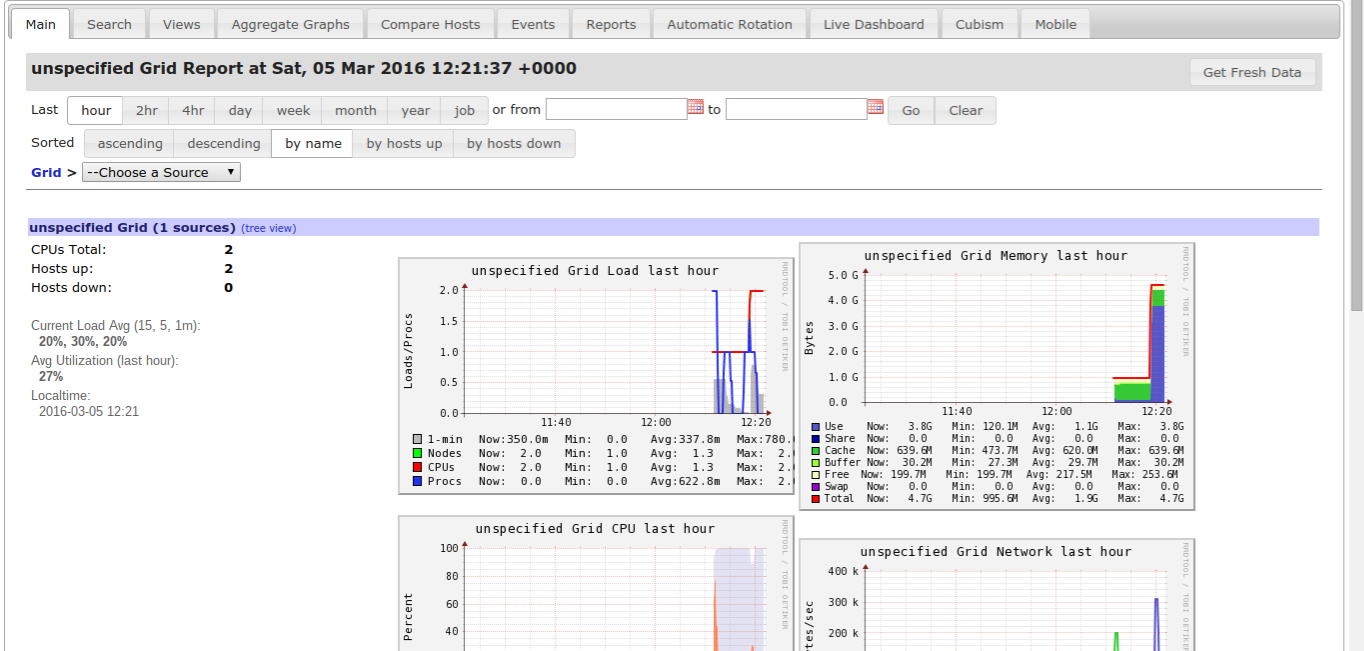
Gangliaの確認
cfnで立ち上げると、一緒にサーバのモニタリングツールGangliaもたちあがる。
Output:"GangliaPublicURL"="http://xx.xxx.xxx.xxx/ganglia/"
sshで接続する
- パブリックipアドレスをメモって、ec2-user@パブリックipでssh接続する
確認
qhost

クラスタの削除
(cfn)chronos@localhost / $ cfncluster delete mycluster
感想&疑問
- 純正な分安心感はある。でもなんでこんなに遅いんだろう?
- 計算ノードの明示的な増減ってどうやるんだろう? update?
- Auto Scalingは面白そうだけど、未調査
- S3との連携も要調査
- 今日はここまで
[よく忘れるのでメモ]chromebook-secureshellでEC2へのSSH接続
- 秘密鍵がkey.pemとして
mkdir sshkey
cp key.pem ./sshkey/
chmod 600 ./sshkey/
sudo ssh-keygen -y -f ./sshkey/key.pem >key.pub
cp key.pem key
生成したkey(key.pemをrenameしたもの)と、key.pubの2つをSecure Shellにimportする。