フロー
流れとしては、ofxExportImageSequenceで連番書き出し→ffmpegで統合といった感じです。
1.ofxExportImageSequenceで連番書き出し
1-1.比嘉さんのレポジトリからcloneしてきます。
1-2.書き出したい範囲を囲みビルド
プロジェクトに追加し、連番書き出しを行いたい範囲をbegin()/end()で囲みビルドするだけです。以下にも記載していますが、ぶっちゃけexampleをみた方が良いかと思います。
//この2行は.hファイルに記述
#include "ofxExportImageSequence.h"
ofxExportImageSequence exp;


void ofApp::setup(){
    exp.setup(1280, 720, 30);
    exp.setOutputDir("out");
    exp.setOverwriteSequence(true);
    exp.setAutoExit(true);
    exp.startExport();
}
void ofApp::draw(){
    exp.begin();
    ofClear(0);
    /*書き出したい何か*/
    exp.end();

    exp.draw(0, 0);
}
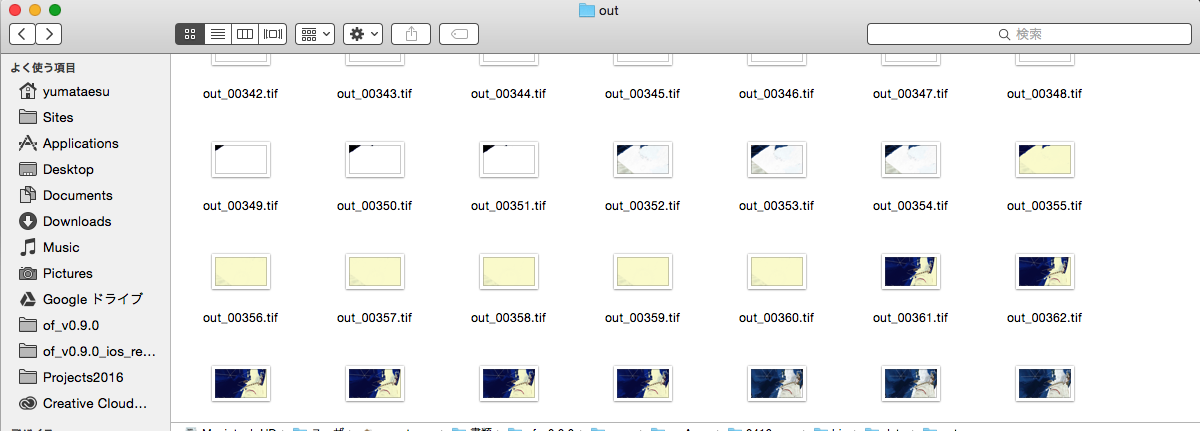
1-3.こんな感じでdataフォルダの中に、outというフォルダが生成され、連番画像が書き出されます。
2.ffmpegで統合
ffmpegとは、オープンソースの動画/音声ファイルのエンコーダー&デコーダーです。多種多様なファイル形式やコーデックを扱える上、マルチプラットフォームの凄いヤツです。まずは、ffmpegを手に入れましょう。
2-1.ffmpegをインストール
ターミナルから、homebrewでffmpegをインストールします。
brew install ffmpeg
2-2.ffmpegで統合
これで、ffmpegが使用可能になったので、ターミナルで連番があるディレクトリまで移動して、連番画像を統合します。書き出し設定は、コーデックH.264、拡張子mov、30fpsです。処理中は、しばらくターミナルにコマンドがダーっと流れますので、コーヒーでも飲みながら待つと良いでしょう。連番画像名や書き出しファイル名やフレームレートは適宜変えてくださいね。(mbaだと60fpsちょっときつかった。。。。)
- -r 30:フレームレートを指定
- -i "out_%05d.tif":インポートする連番ファイル名を指定
- -vcodec libx264:コーデックをh.264に指定
- -pix_fmt yuv420p:エンコーダーに渡すピクセルフォーマットを指定
- out.mov:最終的に書き出すファイル名を指定
ffmpeg -i "out_%05d.tif" -r 30 -vcodec libx264 -pix_fmt yuv420p out.mov
