OpenVPN サーバ作る必要があったので、作業メモ
OpenVPN サーバのローンチ
MarketPlace に AMI があるので、それから作るのが簡単です。
Launch on EC2: OpenVPN Access Server
上のリンクからローンチすればセキュリティグループも作ってくれるけど、自分でセキュリティグループ作りたい場合は、インバウンドで最低限以下を許可するように設定。
| Connection Method | Protocol | Port Range | Source (IP or Group) |
|---|---|---|---|
| SSH | tcp | 22 | Anywhere or IP Range |
| HTTPS | tcp | 443 | Anywhere |
| tcp | 943 | Anywhere | |
| udp | 1194 | Anywhere |
起動したら EIP 割り当てておけば、後々便利。
しばらくすると EC2 起動してくるので、ssh 接続してイニシャルセッティングする。
$ ssh -i ~/.ssh/openvpn.pem openvpnas@xxx.xxx.xxx.xxx
Welcome to OpenVPN Access Server Appliance 2.1.4b

To run a command as administrator (user "root"), use "sudo <command>".
See "man sudo_root" for details.

user-data not available: HTTP Error 404: Not Found: util/ec2:12,util/ec2:7,python2.7/urllib2:154,python2.7/urllib2:437,python2.7/urllib2:550,python2.7/urllib2:475,python2.7/urllib2:409,python2.7/urllib2:558 (urllib2.HTTPError)

          OpenVPN Access Server
          Initial Configuration Tool
------------------------------------------------------
OpenVPN Access Server End User License Agreement (OpenVPN-AS EULA)
 (略)

Please enter 'yes' to indicate your agreement [no]: yes

Once you provide a few initial configuration settings,
OpenVPN Access Server can be configured by accessing
its Admin Web UI using your Web browser.

Will this be the primary Access Server node?
(enter 'no' to configure as a backup or standby node)
> Press ENTER for default [yes]: yes

Please specify the network interface and IP address to be
used by the Admin Web UI:
(1) all interfaces: 0.0.0.0
(2) eth0: 192.168.0.1
Please enter the option number from the list above (1-2).
> Press Enter for default [2]: 2

Please specify the port number for the Admin Web UI.
> Press ENTER for default [943]: 943

Please specify the TCP port number for the OpenVPN Daemon
> Press ENTER for default [443]: 443

Should client traffic be routed by default through the VPN?
> Press ENTER for default [no]: no

Should client DNS traffic be routed by default through the VPN?
> Press ENTER for default [no]: yes

Use local authentication via internal DB?
> Press ENTER for default [yes]: yes

Private subnets detected: ['19.168.0.0/16']

Should private subnets be accessible to clients by default?
> Press ENTER for EC2 default [yes]: yes

To initially login to the Admin Web UI, you must use a
username and password that successfully authenticates you
with the host UNIX system (you can later modify the settings
so that RADIUS or LDAP is used for authentication instead).

You can login to the Admin Web UI as "openvpn" or specify
a different user account to use for this purpose.

Do you wish to login to the Admin UI as "openvpn"?
> Press ENTER for default [yes]: yes
(admin ユーザ名変えたい時は、ここで no 答えて、次の質問で変えたい名前を入力)

Type the password for the 'openvpn' account:
Confirm the password for the 'openvpn' account:

> Please specify your OpenVPN-AS license key (or leave blank to specify later):


Initializing OpenVPN...
Adding new user login...
useradd -s /sbin/nologin "openvpn"
Writing as configuration file...
Perform sa init...
Wiping any previous userdb...
Creating default profile...
Modifying default profile...
Adding new user to userdb...
Modifying new user as superuser in userdb...
Getting hostname...
Hostname: xxx.xxx.xxx.xxx
Preparing web certificates...
Getting web user account...
Adding web group account...
Adding web group...
Adjusting license directory ownership...
Initializing confdb...
Generating init scripts...
Generating PAM config...
Generating init scripts auto command...
Starting openvpnas...

NOTE: Your system clock must be correct for OpenVPN Access Server
to perform correctly.  Please ensure that your time and date
are correct on this system.

Initial Configuration Complete!

You can now continue configuring OpenVPN Access Server by
directing your Web browser to this URL:

https://xxx.xxx.xxx.xxx:943/admin
Login as "openvpn" with the same password used to authenticate
to this UNIX host.

During normal operation, OpenVPN AS can be accessed via these URLs:
Admin  UI: https://xxx.xxx.xxx.xxx:943/admin
Client UI: https://xxx.xxx.xxx.xxx:943/

See the Release Notes for this release at:
   http://www.openvpn.net/access-server/rn/openvpn_as_2_1_4b.html

openvpnas@openvpnas2:~$ sudo apt-get update && sudo apt-get upgrade
これで https://{public IP Address}:943/admin にアクセスすることで、ローンチした OpenVPN サーバの管理パネルに接続できます。
(自己署名証明書による HTTPS 接続なので、セキュリティ例外追加しないと接続できないので注意)
OpenVPN サーバで接続用のユーザ作成
https://{public IP Address}:943/admin から管理パネルにログインして [User Management] の [User Permitions] でユーザを追加。
[Allow Auto-login] にチェックしておくと、ユーザの設定が簡略化されるのでオススメ。
他の設定とか諸々はドキュメント参照。
OpenVPN クライアントのインストールと設定
Tunnelblick あたりをインストールしておけばいいです。
上の設定で VPN 接続用のユーザを作成してあるのであれば https://{public IP Address}:943/ にログイン。
すると、以下のような画面が表示されるので [Yourself (autologin profile)] ってリンクから ovpn ファイルをダウンロード。
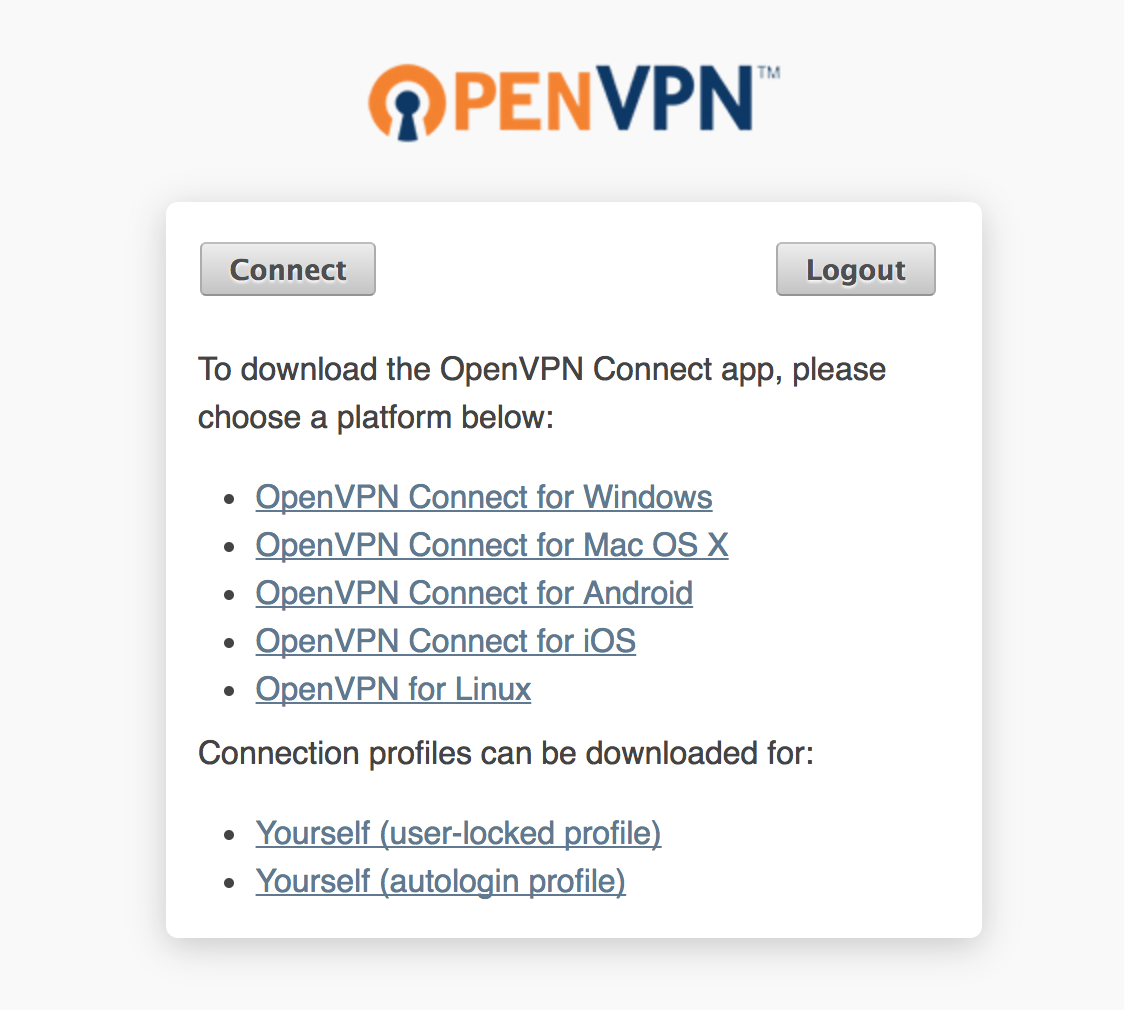
ダウンロードした ovpn ファイルをダブルクリックすると Tunnelblick が起動して、よしなに設定してくれます。
iPhone とかでも VPN 接続したい場合は iPhoneやiPad (iOS) でOpenVPNを使ってみよう! を参考にしてみましょう。
MarketPlace にある AMI 使うと簡単にできて便利すなぁ。