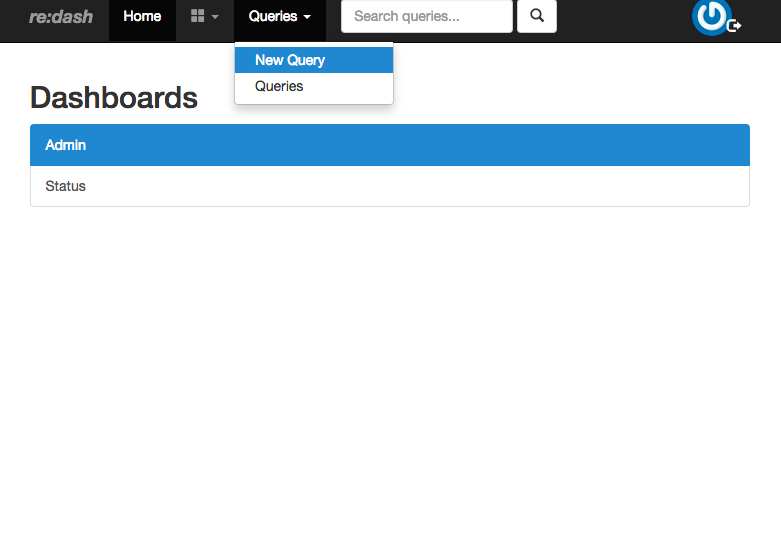
話題のre:dashでMySQLのデータをグラフ化してみました。
公式のセットアップ手順は以下のページに載っています。
http://redash.io/deployment/setup.html
masterをインストールしようとしたところいくつか躓いたので、トラブりたくない場合は公式のAMIからEC2上にインスタンスを作るのが良いと思われます。
セットアップ環境
- re:dash 1914ed7c7c
- Ubuntu Server 14.04 LTS (on Vagrant)
- MySQL 5.5
- Employees Sample Database
セットアップ手順
# とりあえずapt update & upgrade
sudo apt update
sudo apt upgrade

# 先にMySQLをインストールしておく
sudo DEBIAN_FRONTEND=noninteractive apt -y install mysql-server
sudo apt -y install git

# 環境に応じてinnodb_buffer_pool_sizeを調整
# sudo sed -i '/^\[mysqld\]/a innodb_buffer_pool_size = 16M' /etc/mysql/my.cnf
# sudo service mysql restart

# re:dashをclone
git clone https://github.com/EverythingMe/redash.git
cd redash/
# git checkout 1914ed7c7ca73ef0fd63902d888694088624c8c0

# bootstrapスクリプトを実行
sudo bash setup/bootstrap.sh

# pythonのパッケージが足りないので手動でインストール
sudo pip install flask-admin
sudo pip install peewee
sudo pip install wtf-peewee

# .env.exampleはtypoがあるようなので自前で.envを作成
cat > .env <<EOF
export REDASH_CONNECTION_ADAPTER=pg
export REDASH_CONNECTION_STRING="dbname=redash"
export REDASH_STATIC_ASSETS_PATH="../rd_ui/dist/"
export REDASH_LOG_LEVEL="INFO"
export REDASH_WORKERS_COUNT=6
export REDASH_REDIS_URL=redis://localhost:6379/1
export REDASH_DATABASE_URL="postgresql://redash"
export REDASH_COOKIE_SECRET=veryverysecret
export REDASH_GOOGLE_APPS_DOMAIN=
EOF

# サンプルデータのダウンロード
wget https://launchpad.net/test-db/employees-db-1/1.0.6/+download/employees_db-full-1.0.6.tar.bz2
tar xf employees_db-full-1.0.6.tar.bz2

# サンプルデータをインポート
cd employees_db/
mysql -u root -t < employees.sql
cd ..

# データソースを追加(問い合わせがあるので以下のように入力)
sudo -u redash ./bin/run ./manage.py ds new
# -> Name: employees
#    Select type:
#    1. bigquery_gce
#    2. script
#    3. url
#    4. mongodb
#    5. bigquery
#    6. graphite
#    7. pg
#    8. mysql
# -> [1-8]: 8
#    Password (optional):
# -> Host (optional): localhost
# -> Database name (required): employees
# -> User (optional): root
#    Port (optional):
#    Creating mysql data source (employees) with options:
#    {"host": "localhost", "db": "employees", "user": "root"}
#    Id: 2

# データソースを確認
sudo -u redash ./bin/run ./manage.py ds list
# Id: 1
# Name: re:dash metadata
# Type: pg
# Options: {"user": "redash_reader", "password": "ohchoqua", "host": "localhost", "dbname": "redash"}
# --------------------
# Id: 2
# Name: employees
# Type: mysql
# Options: {"host": "localhost", "db": "employees", "user": "root"}
動作確認
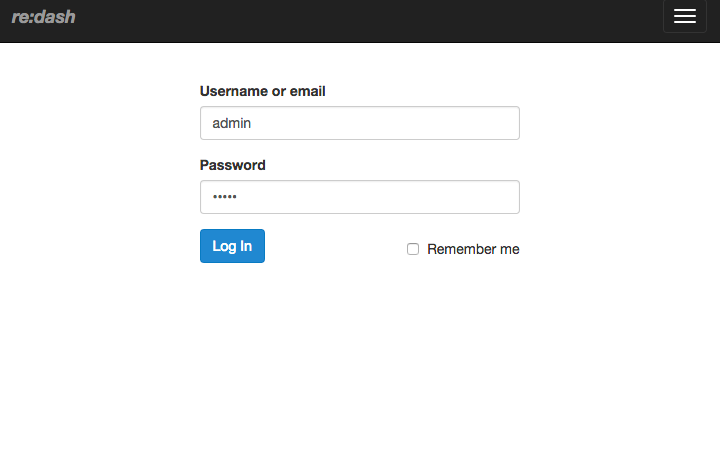
ポート80にアクセスするとログイン画面が表示されるので admin/adminでログインします。
クエリ作成画面でData Source: employeesを選択して…
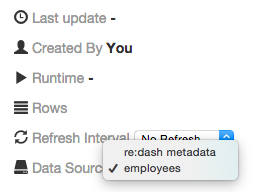
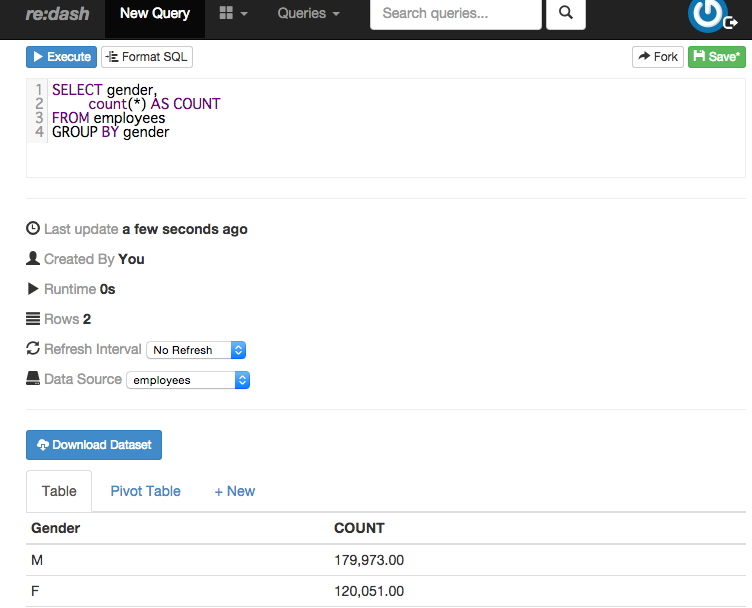
以下のようなクエリを実行すると、とりあえず実行結果が表示されます。
SELECT gender,
       count(*) AS COUNT
FROM employees
GROUP BY gender
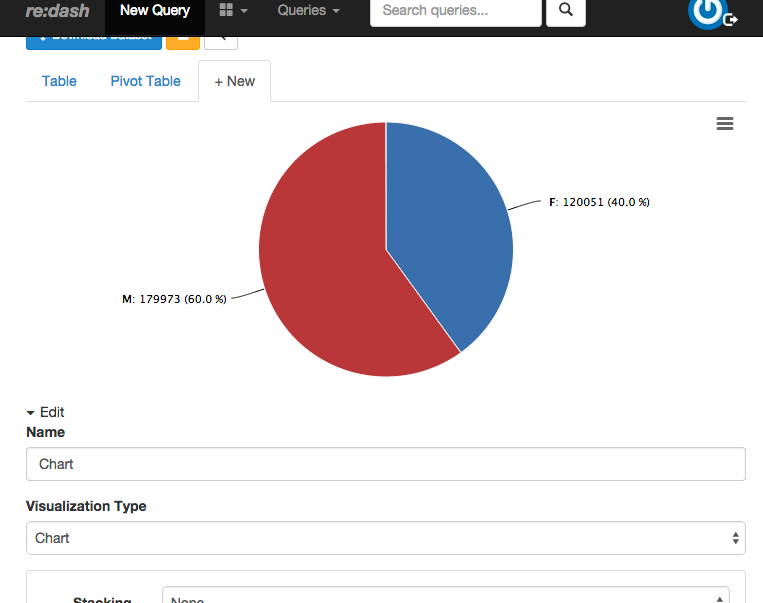
さらに「+ New」タブをクリックして、パラメーターを編集するとグラフ化されます。
