まず以下記事を参照に2画面の遷移を実装する。
XIBやストーリーボードを使わずにEmpty Projectに画面を2つ追加し、お互いに画面遷移させるには #Objective-C #iOS - Qiita [キータ] http://qiita.com/items/9eaf6c7d9a04081e3ffc
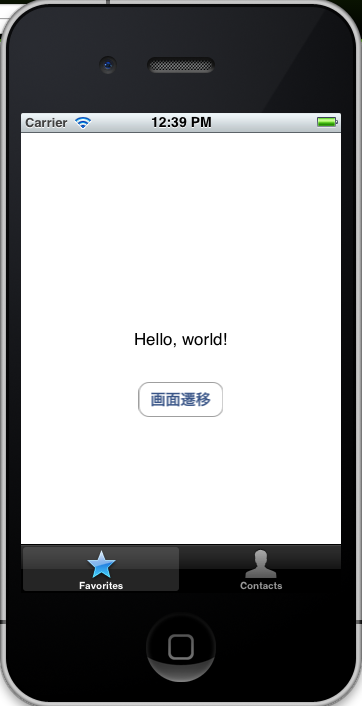
上記記事をベースに変更を行い、ボタンで遷移していたのを、タブバーを使って遷移するようにする。
-
アプリケーション本体のコードを書く
2つのビューの代わりに「rootController」をつくる。
AppDelegate.h
〜略〜

@interface AppDelegate : UIResponder <UIApplicationDelegate>
{
//    UIViewController* viewController1_;
//    UIViewController* viewController2_;
    UIViewController* rootController_;
}

〜略〜
2つのビューのインスタンスは実装コードの中でつくり、それらをNSArrayに入れて、UITabBarController setViewControllers: animated:のsetViewControllers:引数に入れる。
AppDelegate.m
# import "AppDelegate.h"
# import "ViewController1.h"
# import "ViewController2.h"

@implementation AppDelegate

@synthesize window = _window;

- (void)dealloc
{
//    [viewController1_ release];
//    [viewController2_ release];
    [rootController_ release];

    [_window release];
    [super dealloc];
}

- (BOOL)application:(UIApplication *)application didFinishLaunchingWithOptions:(NSDictionary *)launchOptions
{
    self.window = [[[UIWindow alloc] initWithFrame:[[UIScreen mainScreen] bounds]] autorelease];
    // Override point for customization after application launch.
//    self.window.backgroundColor = [UIColor whiteColor];

//    [self.window addSubview:viewController1_.view];
//    [self.window addSubview:viewController2_.view];
//    [self.window bringSubviewToFront:viewController1_.view];

    rootController_ = [[UITabBarController alloc] init];
    ViewController1* tab1 = [[[ViewController1 alloc] init] autorelease];
    ViewController2* tab2 = [[[ViewController2 alloc] init] autorelease];
    NSArray* controllers = [NSArray arrayWithObjects:tab1, tab2, nil];
    [(UITabBarController*)rootController_ setViewControllers:controllers animated:NO];
    [self.window addSubview:rootController_.view];

    [self.window makeKeyAndVisible];
    return YES;
}
- 各ビューのコードを書く
ViewController1.m
〜略〜

- (id)initWithNibName:(NSString *)nibNameOrNil bundle:(NSBundle *)nibBundleOrNil
{
    self = [super initWithNibName:nibNameOrNil bundle:nibBundleOrNil];
    if (self) {
        // Custom initialization
        self.title = @"Hello";
        self.tabBarItem = [[[UITabBarItem alloc] initWithTabBarSystemItem:UITabBarSystemItemFavorites tag:0] autorelease];
    }
    return self;
}

〜略〜
ViewController2.m
〜略〜
- (id)initWithNibName:(NSString *)nibNameOrNil bundle:(NSBundle *)nibBundleOrNil
{
self = [super initWithNibName:nibNameOrNil bundle:nibBundleOrNil];
if (self) {
// Custom initialization
self.title = @"こんにちは";
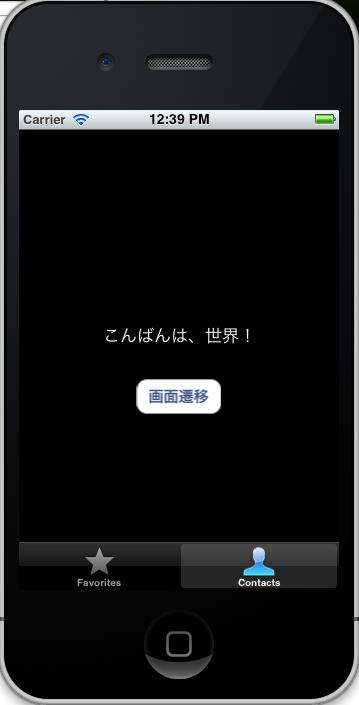
self.tabBarItem = [[[UITabBarItem alloc] initWithTabBarSystemItem:UITabBarSystemItemContacts tag:0] autorelease];
}
return self;
}
〜略〜
これでタブバーにより2画面を切り替えることができるようになった。
ブログやってます:PAPA-tronix !