===
Pebbleって何?
Kickstarterで資金をえて作られたスマートウォッチです。
まだ日本で購入することはできませんが、個人輸入で購入することができます。
何ができるの?
スマートウォッチではありますが、単体ではほぼ何もできません。iPhoneやAndroidなどのスマホと連携をして、コントロールしたり通知を受け取ったりする仕組みです。
どうやらシリコンバレーで流行りつつあるらしいので、ちょっと試してみました。
Hello Worldしよう!
というわけで、まだロクなアプリをつくっていませんがHello Worldまでいきたいと思います。今回はMacの手順です。
SDKのインストール
まず、SDKをインストールしましょう。以下のコマンドでインストールできます。
curl -sSL http://developer.getpebble.com/install.sh | sh
echo 'export PATH=~/pebble-dev/PebbleSDK-2.0.1/bin:$PATH' >> ~/.bash_profile
source ~/.bash_profile
pebbleコマンドを使う準備
プロジェクトのひな形をつくってくれる、pebbleってコマンドがあります。これはpythonでできてるみたいです。
僕はあまり/usr/binとかに入ってるコマンドは使いたくないので、homebrewでインストールしたpythonを使いました。pyenvつかってる人であればそっちのほうがスマートだとは思います。
また、いくつか必要なライブラリがあるのでインストールしておきます。
brew install python
pip install websocket-client
pip install sh

sudo ln -s /opt/X11/include/X11 /usr/local/include/X11
pip install PIL
一部、X11のライブラリが見えなくてアレするのでsymlinkはって逃げます。これでOK!
プロジェクト作成
pebble new-project hello_world
iOS側の設定
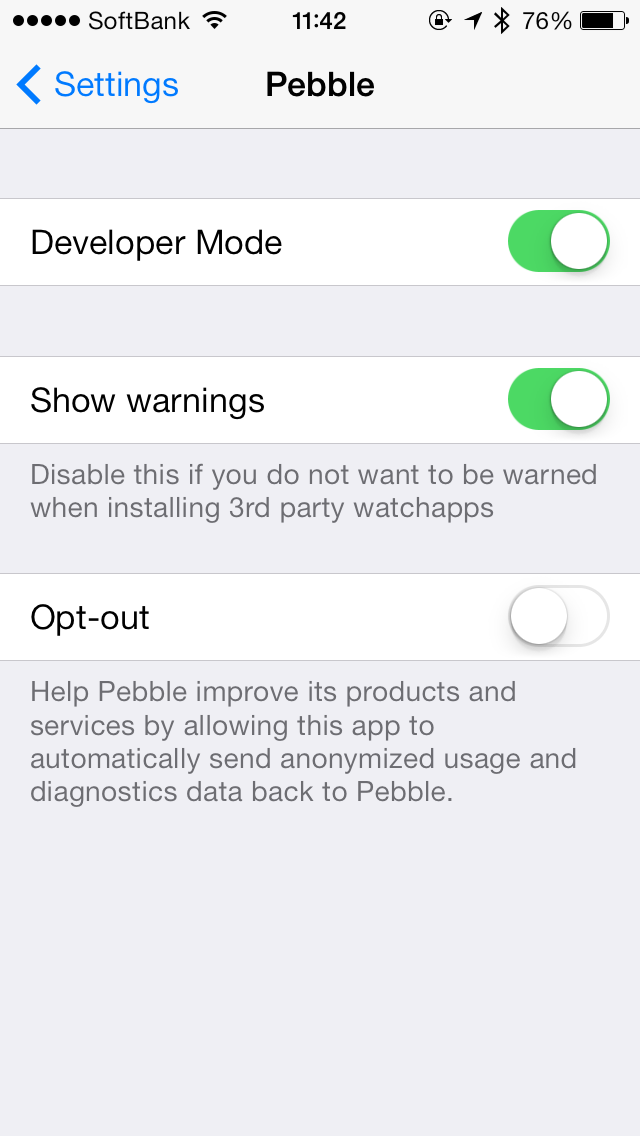
次は、iPhone側でDeveloperモードに変更する必要があります。アプリ内の設定ではなく、iPhoneのSettingsから行きます。まずはここのDeveloperをONにしてください。
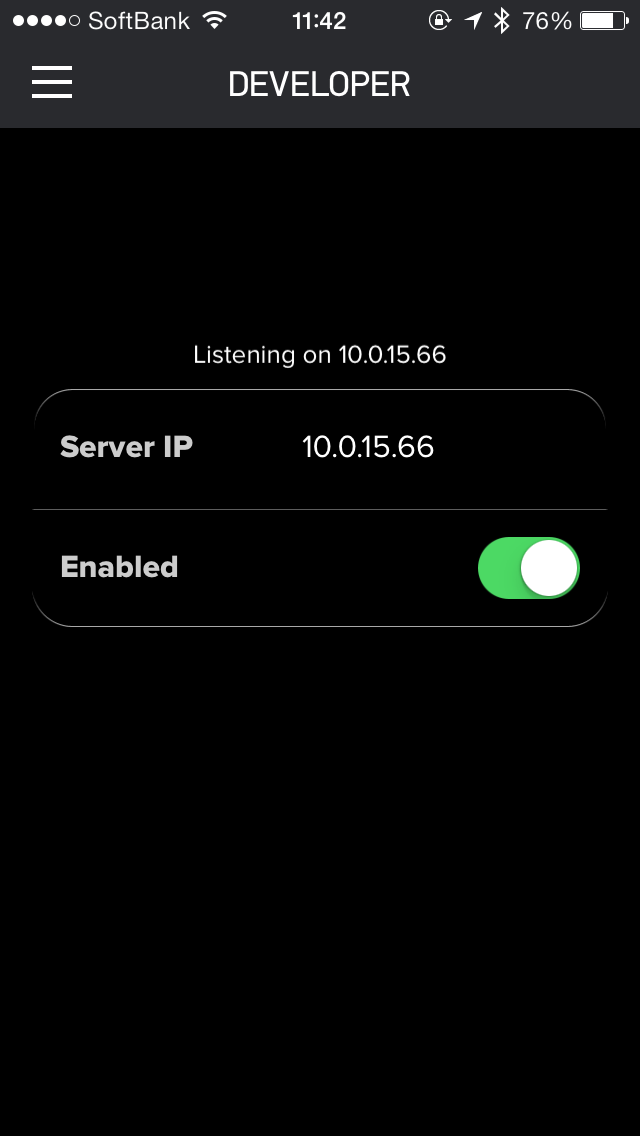
つづいて、Pebble内のDeveloperの設定をONにします。ここまでくればOKです。なお、使用しているiPhoneのIPアドレスはビルド時に使用しますのでメモしておいてください。
ビルド&実機転送
さて、ここまでくればビルドできます。以下のようにしてビルドします。ここで指定しているIPアドレスは、pebbleとペアリングしているiPhoneのIPアドレスです。
pebble build
pebble install --phone 10.0.15.66
なお、環境変数を使って以下のようにビルドすることもできます。
export PEBBLE_PHONE=10.0.15.66
pebble install
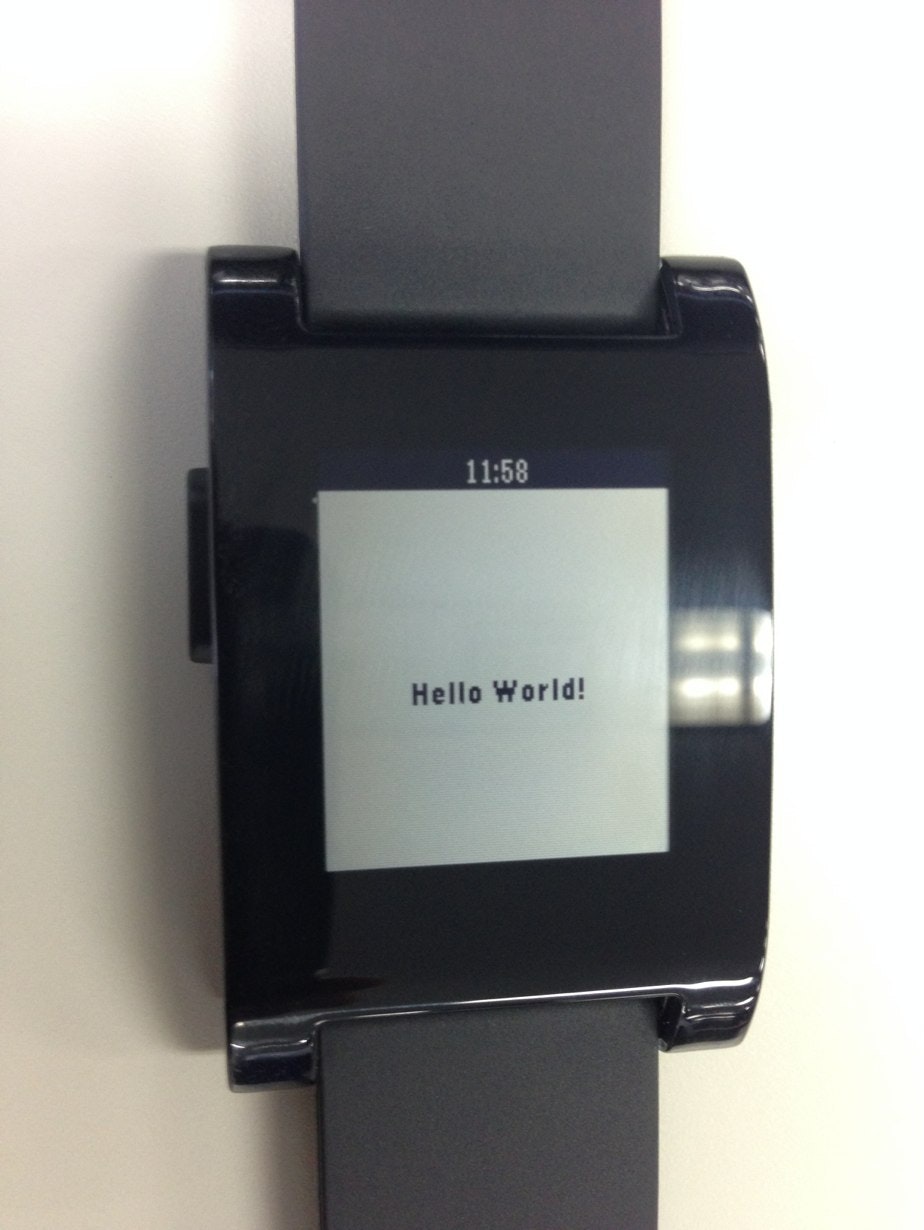
これでまずは動きます。
適当にいじる
pebbleのアプリを書く場合はCで書きます。プロジェクト構造は以下のようになっています。src/hello_world.cあたりをいじればいけそうな感じですね。
$ tree .
.
├── appinfo.json
├── resources
├── src
│   └── hello_world.c
└── wscript

5 directories, 19 files
というわけで、src/hello_world.cを適当にいじってみます。
#include <pebble.h>

static Window *window;
static TextLayer *text_layer;

static void select_click_handler(ClickRecognizerRef recognizer, void *context) {
  text_layer_set_text(text_layer, "Hello Select button");
}

static void up_click_handler(ClickRecognizerRef recognizer, void *context) {
  text_layer_set_text(text_layer, "Hello Up button");
}

static void down_click_handler(ClickRecognizerRef recognizer, void *context) {
  text_layer_set_text(text_layer, "Hello Down button");
}

static void click_config_provider(void *context) {
  window_single_click_subscribe(BUTTON_ID_SELECT, select_click_handler);
  window_single_click_subscribe(BUTTON_ID_UP, up_click_handler);
  window_single_click_subscribe(BUTTON_ID_DOWN, down_click_handler);
}

static void window_load(Window *window) {
  Layer *window_layer = window_get_root_layer(window);
  GRect bounds = layer_get_bounds(window_layer);

  text_layer = text_layer_create((GRect) { .origin = { 0, 72 }, .size = { bounds.size.w, 20 } });
  text_layer_set_text(text_layer, "Hello World!");
  text_layer_set_text_alignment(text_layer, GTextAlignmentCenter);
  layer_add_child(window_layer, text_layer_get_layer(text_layer));
}

static void window_unload(Window *window) {
  text_layer_destroy(text_layer);
}

static void init(void) {
  window = window_create();
  window_set_click_config_provider(window, click_config_provider);
  window_set_window_handlers(window, (WindowHandlers) {
    .load = window_load,
    .unload = window_unload,
  });
  const bool animated = true;
  window_stack_push(window, animated);
}

static void deinit(void) {
  window_destroy(window);
}

int main(void) {
  init();

  APP_LOG(APP_LOG_LEVEL_DEBUG, "Done initializing, pushed window: %p", window);

  app_event_loop();
  deinit();
}
これで、また再度ビルドして転送すればOK!iOSに比べてとりあえず転送するまでの敷居は低めですね!ただ、IBとかはないのでインターフェイス組むのは苦労しそうです。
というわけで、引き続きもうちょっといじってみようかと思います。


