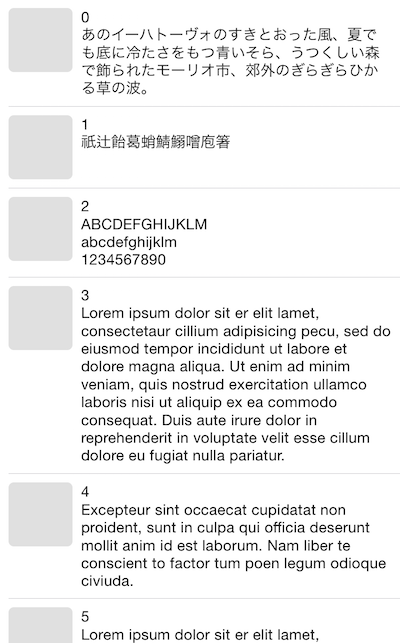
Twitter のように文字列の長さ・行数によって高さが変わる UITableViewCell の実装方法です。
iOS 8 + Autolayout
iOS 8 からは Self Sizing Cells という方法で計算処理はすべて Autolayout システムに任せられるようになったので、かつてのような面倒なやり方は不要です。
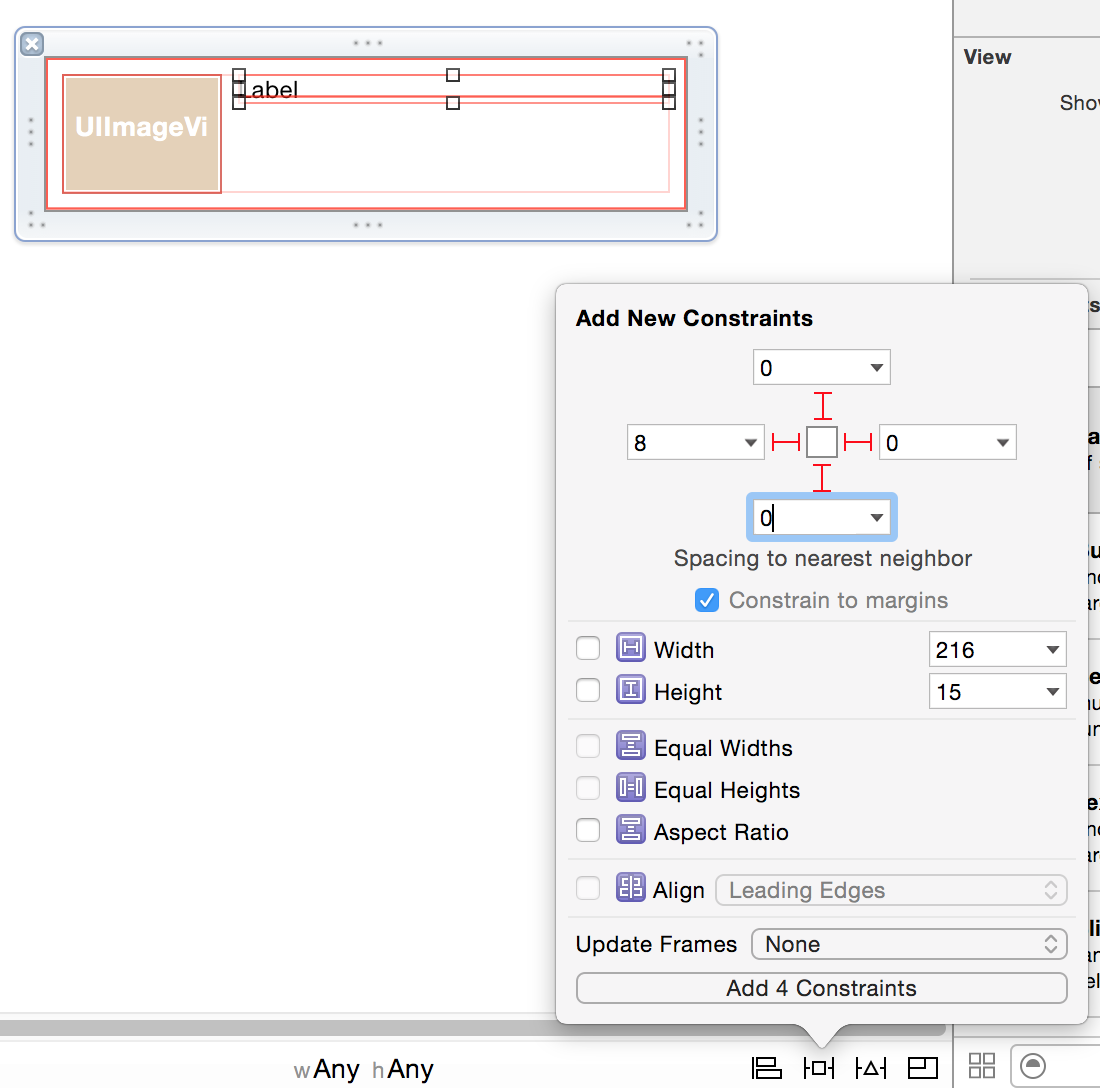
UITableViewCell を Storyboard や xib でレイアウトする際に適切な制約を付けておき、UITableView.rowHeight に UITableViewAutomaticDimension を指定しておけば良いみたいです。
tableView.rowHeight = UITableViewAutomaticDimension;
UITableViewDataDelegate の -tableView:heightForRowAtIndexPath: -tableView:estimatedHeightForRowAtIndexPath: は実装しなくてもこれだけで自動で高さを計算してくれます。
ソースコード
関連記事
Autolayout で UITableViewCell の高さを設定すると reloadData 後にカクカクすることがある
http://qiita.com/usagimaru/items/664d0d67fe6f8f7fafed
古いやり方
Autosizing + 高さ自前計算
UITableViewDataSource / UITableViewDelegate
UITableViewDataSource/UITableViewDelegate
// データソース数
- (NSInteger)tableView:(UITableView *)tableView numberOfRowsInSection:(NSInteger)section
{
	return self.items.count;
}

// セル生成
- (UITableViewCell *)tableView:(UITableView *)tableView cellForRowAtIndexPath:(NSIndexPath *)indexPath
{
	NSString *identifier = @"cell";
	// 使い回しセルの取得を試みる
	UITableViewCell *cell = [tableView dequeueReusableCellWithIdentifier:identifier];

	// セルを新たに生成
	if (!cell)
	{
		// セルを新たに生成
		cell = [[UITableViewCell alloc] initWithStyle:UITableViewCellStyleDefault reuseIdentifier:identifier];

		// カスタムセルの中身
		MyCellContentView *contentView = [MyCellContentView cellContentView];

		[cell.contentView addSubview:contentView];
	}

	// contentViewに乗っけているカスタムセルの中身を取得
	// サブビューは1つしかないという前提
	MyCellContentView *contentView = [cell.contentView subviews][0];

	// データソースの値を反映
	contentView.text = self.items.text;

	return cell;
}

// セルの高さを返す. セルが生成される前に実行されるので独自に計算する必要がある
- (CGFloat)tableView:(UITableView *)tableView heightForRowAtIndexPath:(NSIndexPath *)indexPath
{
	MyItem *item = [self.items objectAtIndex:indexPath.row];
	// カスタムセルのクラスメソッド内で高さを計算. 後述
	CGFloat cellHeight = [MyCellContentView cellHeightWithText:[item text]];

	return cellHeight;
}

- (void)tableView:(UITableView *)tableView willDisplayCell:(UITableViewCell *)cell forRowAtIndexPath:(NSIndexPath *)indexPath
{
	// contentViewに乗っけているサブビュー, カスタムセルの中身を取得
	MyCellContentView *contentView = [[cell.contentView subviews] objectAtIndex:0]; // サブビューは1つしかないという前提

	// ここでカスタムセルの中身のframeを再設定する
	cell.contentView.frame = cell.bounds; // iOS 6 以降では必要みたい
	contentView.frame = cell.bounds;
}
カスタムセルの中身と高さ計算
MyCellContentView.h
@interface MyCellContentView : UIView

@property (copy, nonatomic) NSString *text;

// 初期化
+ (instancetype)cellContentView;

// text が収まるのに必要な高さを計算して返す
+ (CGFloat)cellHeightWithText:(NSString*)text;

@end
MyCellContentView.m
# import "MyCellContentView.h"

@interface MyCellContentView ()

@property (weak, nonatomic) IBOutlet BALabel *textLabel;

@end

@implementation MyCellContentView

// セルの高さを計算する際に使う
static CGFloat _standardCellHeight;
static CGRect _standardLabelRect;
static NSLineBreakMode _labelLineBreakMode;
static UIFont *_labelFont;

+ (void)initialize
{
	[super initialize];

	if (self == [MyCellContentView class])
	{
		// セルの高さを計算する際に使う情報を保持しておく
		MyCellContentView *view = [MyCellContentView cellContentView];

		_standardCellHeight = CGRectGetHeight(view.frame); // xib の時点でのセルの高さ. 基本これが最小値
		_standardLabelRect = view.textLabel.frame; // xib の時点でのラベルの frame
		_labelLineBreakMode = view.textLabel.lineBreakMode; // xib の時点でのラベルの LineBreakMode
		_labelFont = view.textLabel.font; // xib の時点でのラベルのフォント
	}
}

// nib(xib)がロードされたときに呼ばれる
- (void)awakeFromNib
{
	[super awakeFromNib];

	self.text = self.text; // 値を更新する
}

+ (instancetype)cellContentView
{
	UINib *nib = [UINib nibWithNibName:@"MyCellContentView" bundle:nil];
	return [nib instantiateWithOwner:self options:nil][0];
}

// 文字列が収まるのに必要な高さを計算して返す
+ (CGFloat)cellHeightWithText:(NSString*)text
{
	if (!text || text.length == 0) {
		return _standardCellHeight;
	}

	// 横幅を適宜指定
	CGFloat width = _standardLabelRect.size.width;

	// 文字列が描画される矩形の大きさを取得
	CGSize size = [self boundingRectWithSize:CGSizeMake(width, CGFLOAT_MAX)
								   	 options:NSStringDrawingUsesLineFragmentOrigin | NSStringDrawingTruncatesLastVisibleLine
							   	  attributes:@{NSFontAttributeName : _labelFont}
									 context:nil].size;

	// 余白とか
	CGFloat margin = fabs(_standardCellHeight - CGRectGetHeight(_standardLabelRect));
	cellHeight = size.height + margin;

	// 計算した高さが最小値を下回っていたら無理矢理最小値に補正
	if (cellHeight < _standardCellHeight) {
		return _standardCellHeight;
	}

	return cellHeight;
}


// textプロパティのセッターを上書き
// textが設定されると同時に、ラベルにも反映させる
- (void)setText:(NSString *)text
{
	_text = [text copy];

	// ラベルに値を反映
	self.textLabel.text = text;
}

@end
MyCellContentView.xib
- UITableViewCellを直接レイアウトしても良いが、今回は「カスタムセルの中身」をUIViewでレイアウトする
- 複数行表示にしたいので、textLabelの行数設定を "0" にする
- textLabelのAutoresizingMaskは、四辺マージン固定・縦横可変にする