OS X の Assets にもレンダリングモードがあり、iOS のように画像そのものの色を使うか Tint Color をマスクするかを指定できますが、仮に Template としたところで Tint Color を指定する方法が見つかりませんでした。Cocoa Touch には UIImageRenderingMode がありますが Cocoa の NSImage には template というプロパティがあるのみなのでこの辺りが異なるようです。
- 基本的に自由に設定できる Tint Color の仕組みがない
- UIImageRenderingMode に相当する enum ではなく、
templateプロパティで判定する - Template 描画される色はセルによって決められる模様
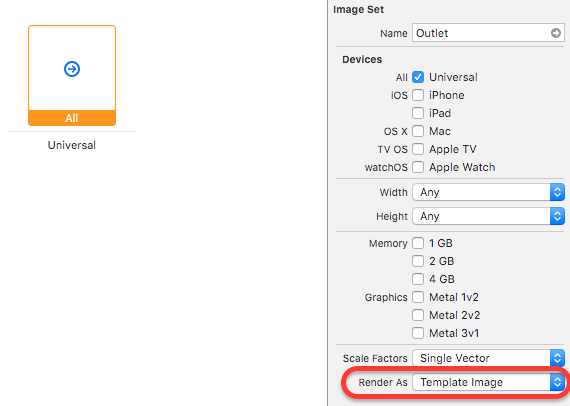
Assets では Template Image にできる
セルが決めた色ではなく iOS の Tint Color 的に好きな色で描画したいので、そのように NSImage を拡張してみます。
NSImage
import Cocoa

extension NSImage {
	func imageWithTintColor(tintColor: NSColor) -> NSImage {
		if self.template == false {
			return self
		}

		let image = self.copy() as! NSImage
		image.lockFocus()

		tintColor.set()
		NSRectFillUsingOperation(NSMakeRect(0, 0, image.size.width, image.size.height), NSCompositingOperation.CompositeSourceAtop)

		image.unlockFocus()
		image.template = false

		return image
	}
}
Sample
let tintColor = NSColor(red: 1.0, green: 0.08, blue: 0.50, alpha: 1.0)
let image = NSImage(named: "NAME").imageWithTintColor(tintColor)
imageView.image = image
元々青い色のアイコンに Tint Color を適用した結果がこれになります。
![]()