Salesforce Developers Blogで紹介されていたIonic Frameworkを使ったモバイルアプリ
の開発について勉強しました。IonicとはJavaScript、HTML5とCSSを使って美しいモバイルアプリを構築できるFrameworkで、現在ベータ版となっています。
ionic
http://ionicframework.com/
Getting Started
Node.jsのインストール
必要なファイルをnpmコマンドでインストールしたりするのでNode.jsをインストールしている必要があります。
Node.js
http://nodejs.org/
Ionicのインストール
次のコマンドでionicのインストールを実行できます。自分の環境ではサイトに載っているコマンドをそのまま使うとエラーが発生しましたがsudoをつけることで正常に実行できました。
$ sudo npm install -g cordova ionic
ionicのプロジェクト作成
次のコマンドでプロジェクトを作成できます。
$ ionic start myApp tabs
これで必要なファイル一式が作成されていることを確認できます。
ionicをつかってVisualforceページをつくる
静的リソースへファイルのアップロード
www → lib → icoincの中にあるCSSやJSなどのフォルダ一式をZipでまとめ、静的リソースへアップロードします。※デモ動画では「ioniclib」という名前でキャッシュコントロールは公開に設定してアップしていました。
続いてwww → jsフォルダ内にあるapp.js, controllers.js, services.jsを静的リソースへ同じようにアップロードします。
それぞれ「myapp_app_js」「myapp_controllers_js」「myapp_services_js」というように名前をつけています。
Visualforceページの作成
myapp_index_htmlという名前で新規ボタンから作成します。wwwフォルダ内のindex.htmlのコードをコピーしてつくります。
<apex:page showHeader="false" sidebar="false" standardStylesheets="false" applyBodyTag="false" applyHtmlTag="false">
<html>
  <head>
    <meta charset="utf-8"></meta>
    <meta name="viewport" content="initial-scale=1, maximum-scale=1, user-scalable=no, width=device-width"></meta>
    <title></title>

    <link href="lib/ionic/css/ionic.css" rel="stylesheet"></link>
    <link href="css/style.css" rel="stylesheet"></link>

    <!-- IF using Sass (run gulp sass first), then uncomment below and remove the CSS includes above
    <link href="css/ionic.app.css" rel="stylesheet">
    -->

    <!-- ionic/angularjs js -->
    <script src="lib/ionic/js/ionic.bundle.js"></script>

    <!-- cordova script (this will be a 404 during development) -->
    <script src="cordova.js"></script>

    <!-- your app's js -->
    <script src="js/app.js"></script>
    <script src="js/controllers.js"></script>
    <script src="js/services.js"></script>
  </head>
  <body ng-app="starter" animation="slide-left-right-ios7">
    <!--
      The nav bar that will be updated as we navigate between views.
    -->
    <ion-nav-bar class="bar-stable nav-title-slide-ios7">
      <ion-nav-back-button class="button-icon icon ion-chevron-left">
        Back
      </ion-nav-back-button>
    </ion-nav-bar>
    <!--
      The views will be rendered in the <ion-nav-view> directive below
      Templates are in the /templates folder (but you could also
      have templates inline in this html file if you'd like).
    -->
    <ion-nav-view></ion-nav-view>
  </body>
</html>
</apex:page>
cssやjsのファイルを静的リソースへ読み込ませたりはこの後対応します。
index.htmlのコピーがうまく行ったらtemplateフォルダにも複数のhtmlファイルが存在するので同様にVisualforceページを用意します。
例) myapp_friend_detail_html.page
<apex:page showHeader="false" sidebar="false" standardStylesheets="false" applyBodyTag="false" applyHtmlTag="false">
<ion-view title="{{friend.name}}">
  <ion-content has-header="true" padding="true">
  </ion-content>
</ion-view>
</apex:page>
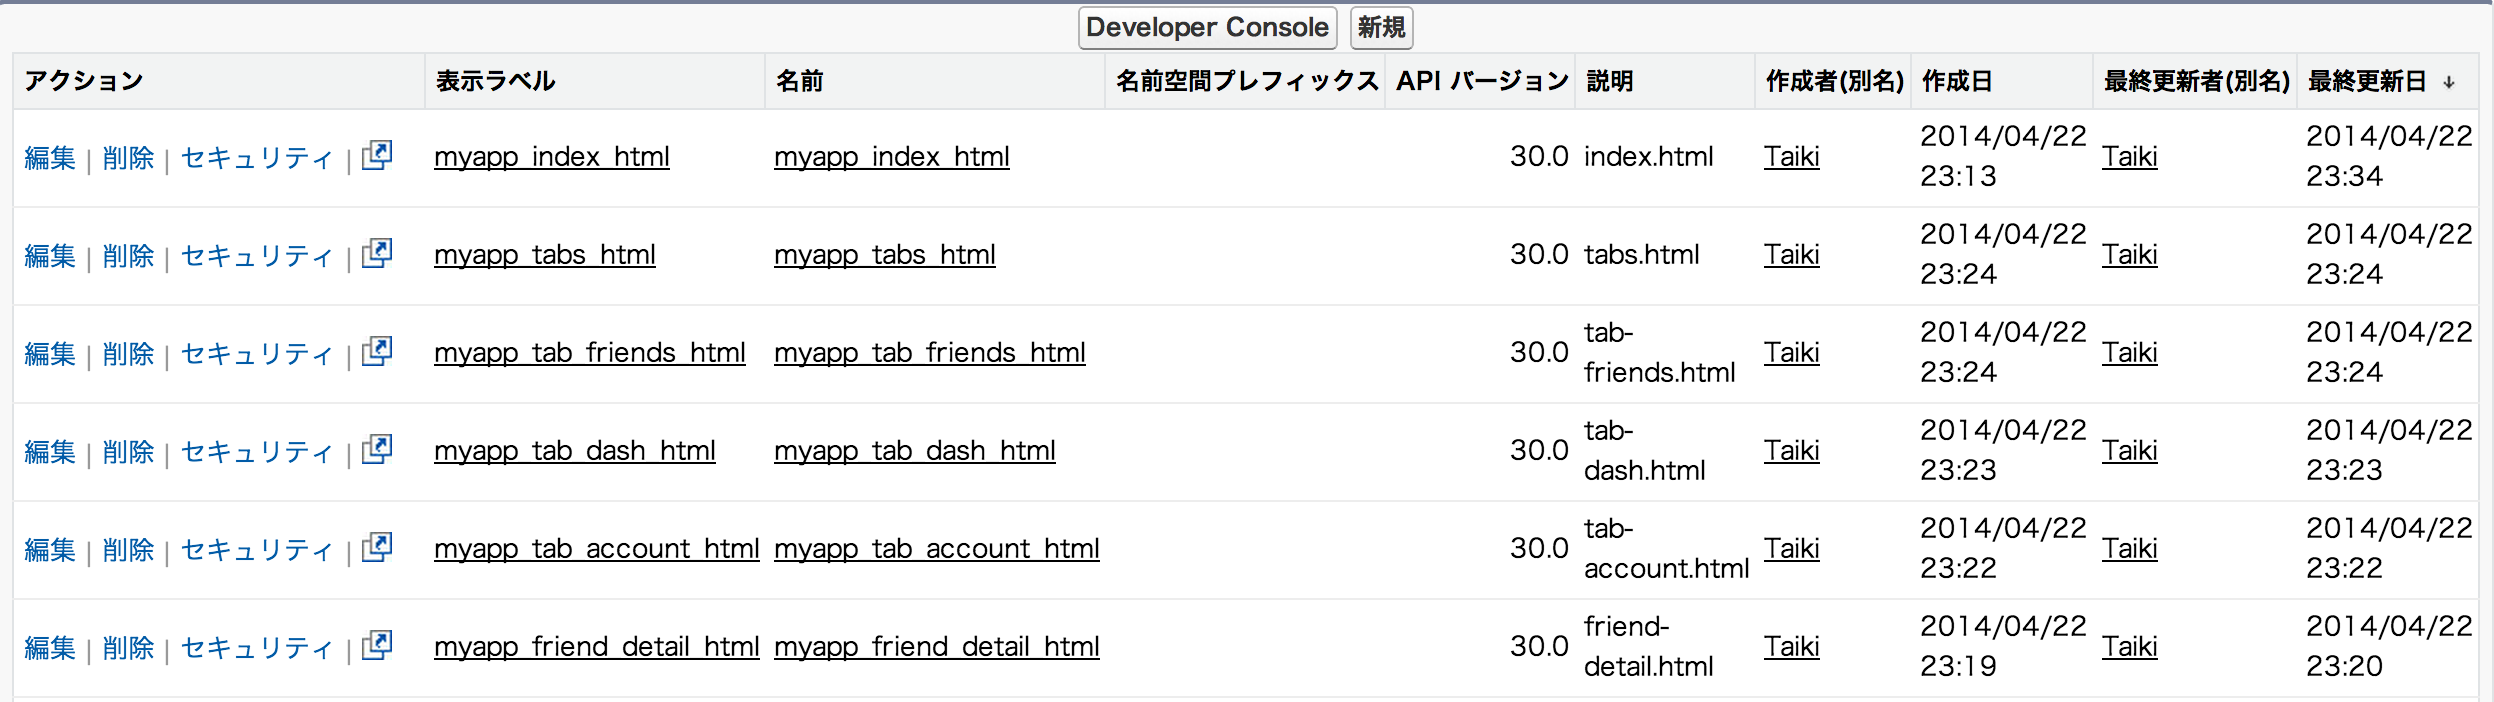
これで必要な静的リソースとVisualforceページの準備ができました。つくったページはここまででこんな感じになっています。
コードの編集
headタグ変更
必要なファイルを静的リソースから読み込むように修正します。
<head>
    <meta charset="utf-8"></meta>
    <meta name="viewport" content="initial-scale=1, maximum-scale=1, user-scalable=no, width=device-width"></meta>
    <title></title>

    <link href="{!URLFOR($Resource.ioniclib, 'css/ionic.css')}" rel="stylesheet"></link>
    <link href="{!URLFOR($Resource.ioniclib, 'css/style.css')}" rel="stylesheet"></link>

    <!-- ionic/angularjs js -->
    <script src="{!URLFOR($Resource.ioniclib, 'js/ionic.bundle.js')}"></script>

    <!-- your app's js -->
    <script src="{!$Resource.myapp_app_js}"></script>
    <script src="{!$Resource.myapp_controllers_js}"></script>
    <script src="{!$Resource.myapp_services_js}"></script>
  </head>
myapp_app_jsの編集
template URLの値をそれぞれ用意したVisualforceのURLに変更します。
例)
.state('tab', {
      url: "/tab",
      abstract: true,
      templateUrl: "apex/myapp_tabs_html"
    })
ここまで作業が終わるとmyapp_index_html.pageをプレビューボタンで見た時に次のページが表示されることを確認できます。フッダーのアイコンをクリックすると各ページに切り替わります。ページ遷移はせずに内容が切り替わるシングルページアプリケーションになっています。

これでIonic FrameworkをつかったVisualforceページをつくるところまで確認できました。これをベースにいろいろカスタマイズしていけると思います。
参考サイト
次のサイトを参考に試してみました。今回試したのはPart 1の部分です。現在Part 3まで公開されているみたいです。
Building Beautiful Mobile Apps In Visualforce Using AngularJS And Ionic (Part 1)
https://developer.salesforce.com/blogs/developer-relations/2014/04/building-beautiful-mobile-apps-in-visualforce-using-angularjs-and-ionic-part-1.html